
Creating a lead submission page
What is a lead submission page?
A lead submission page is a dedicated page on your partner portal where leads can be submitted by partners, affiliates, or other contributors. It works as a stand-alone page, allowing anyone with the link to submit leads, while registered affiliates can also submit leads directly from within the partner portal.
Leads page link (URL)
The leads page will be hosted on the same domain as your partner portal, at /submit. For example:
Partner portal URL:
partners.company.com
Leads page URL:
partners.company.com/submit
To find your leads page link and preview, open the program Overview tab and click View next to Leads page: 

Add leads page content
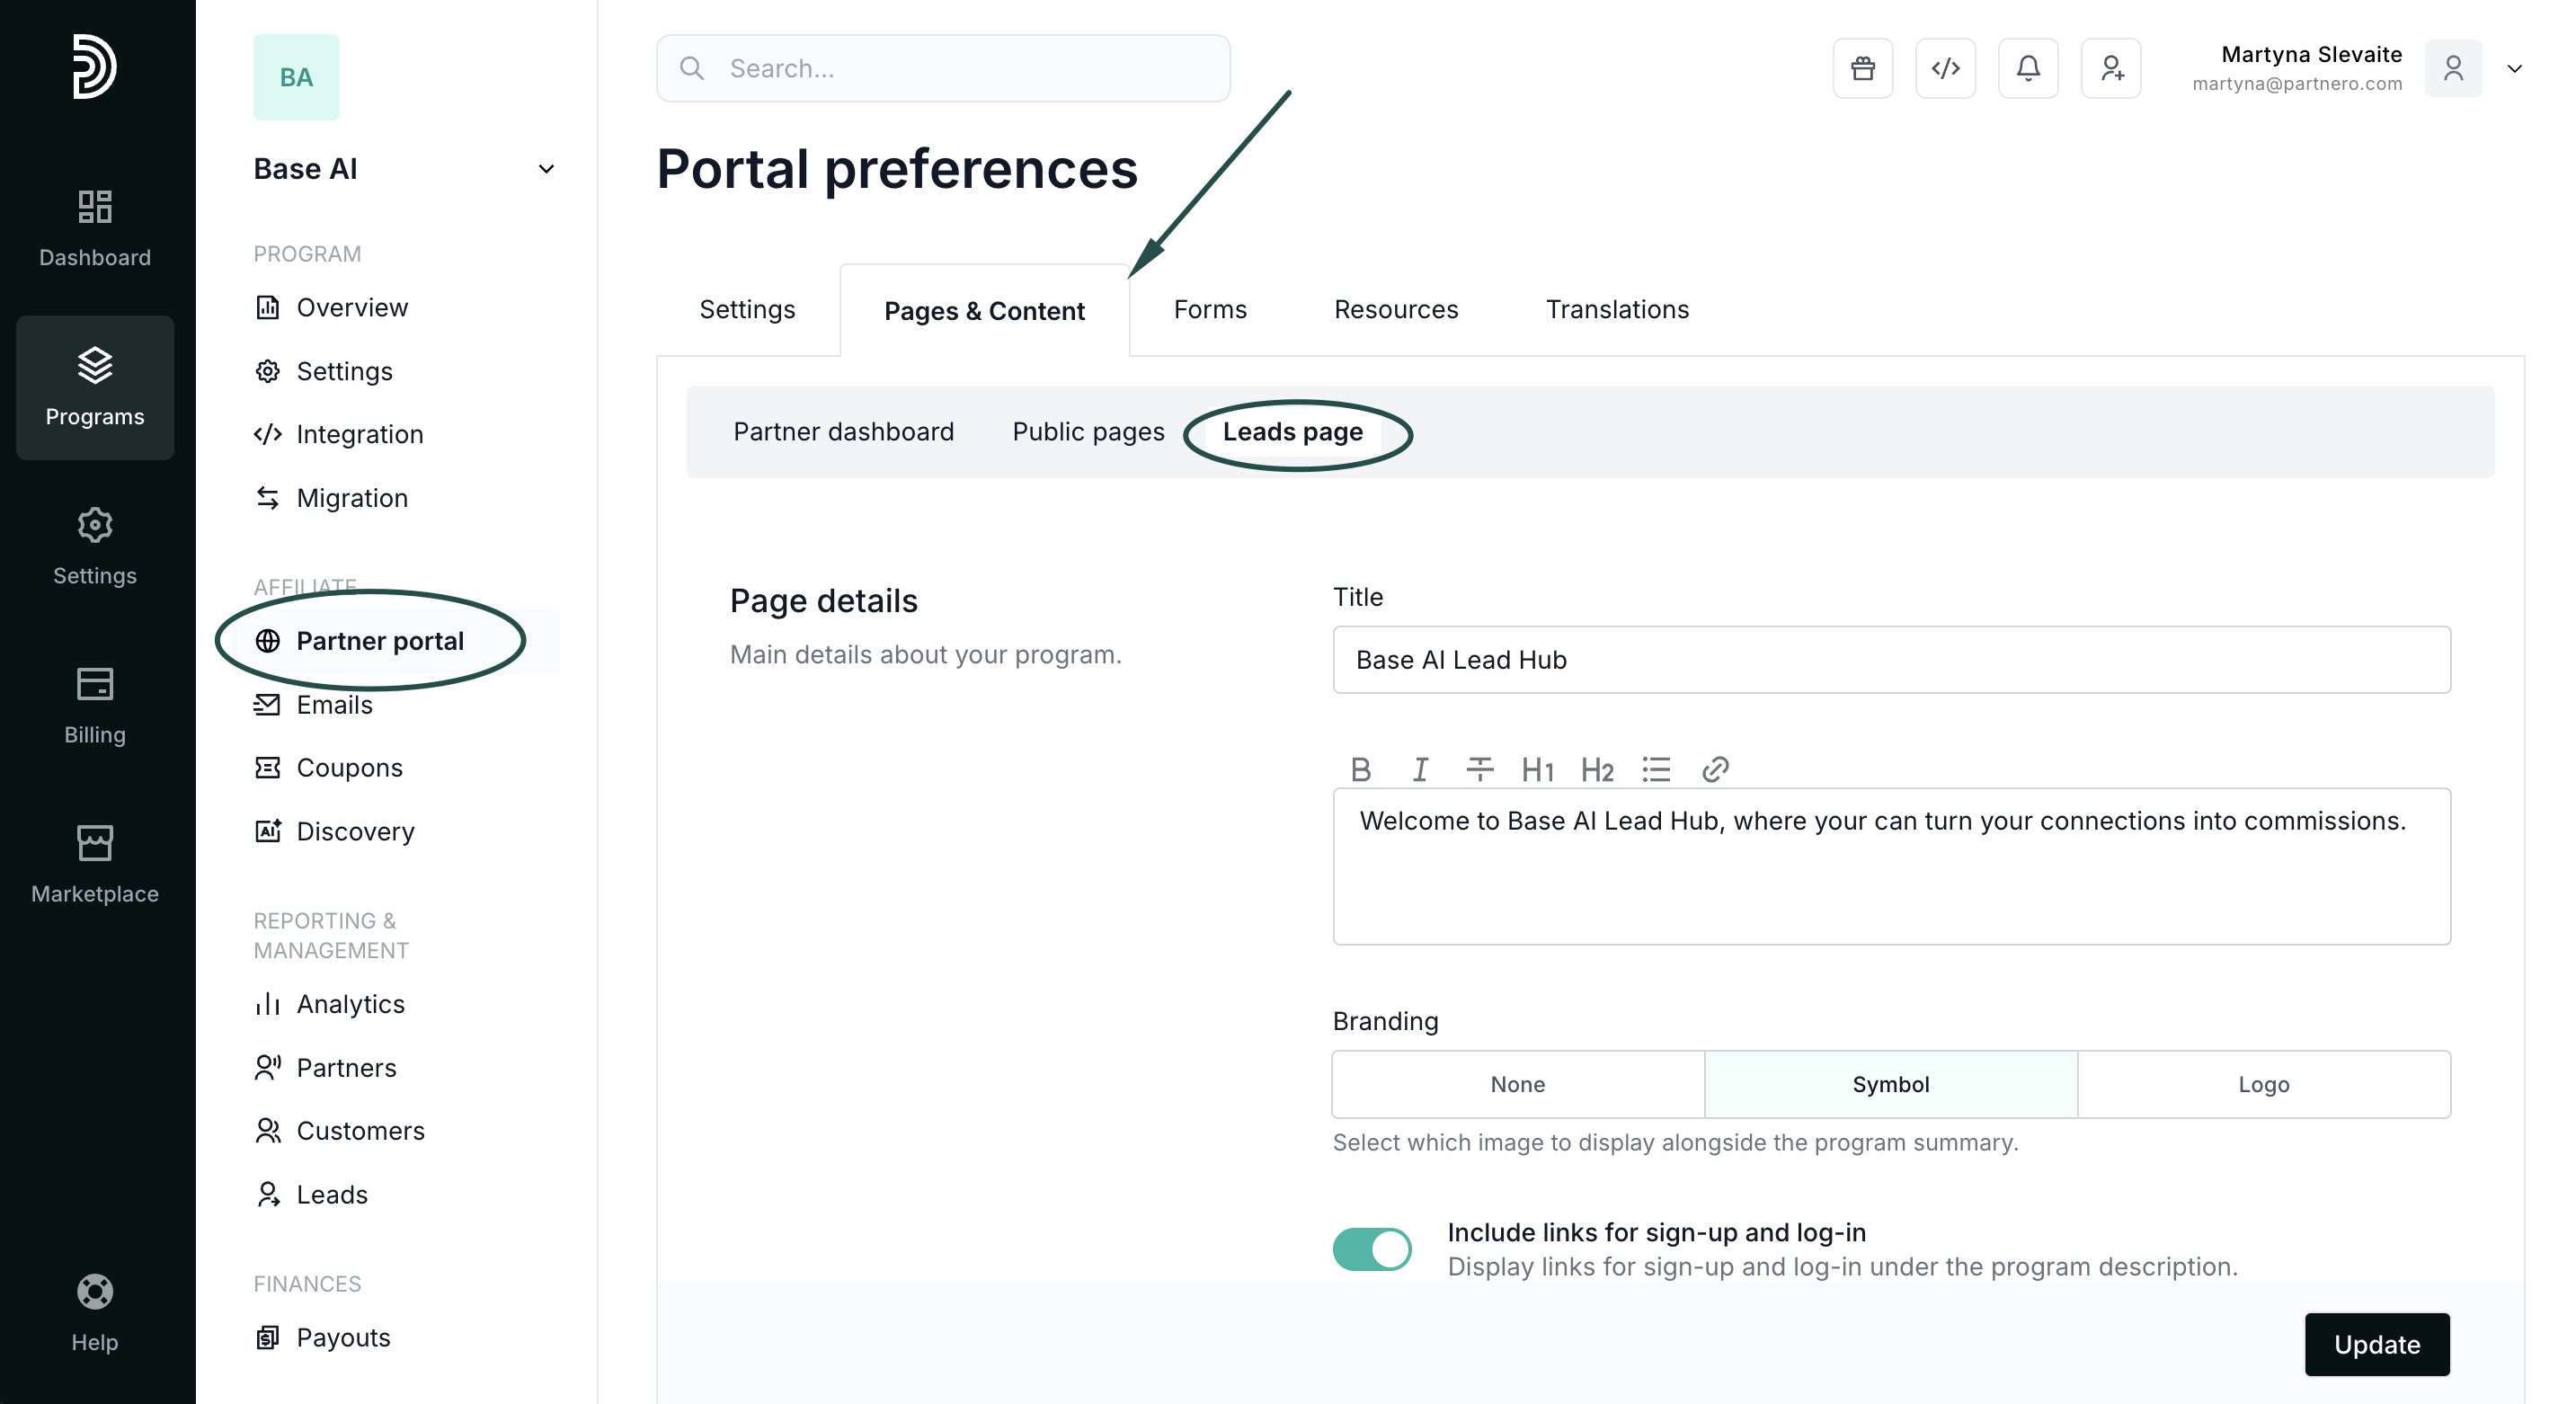
To add content to your leads page:
- Click on Partner portal under Affiliate.
- On the Pages & Content tab, switch to Leads page:

Let's go through each section in this page.
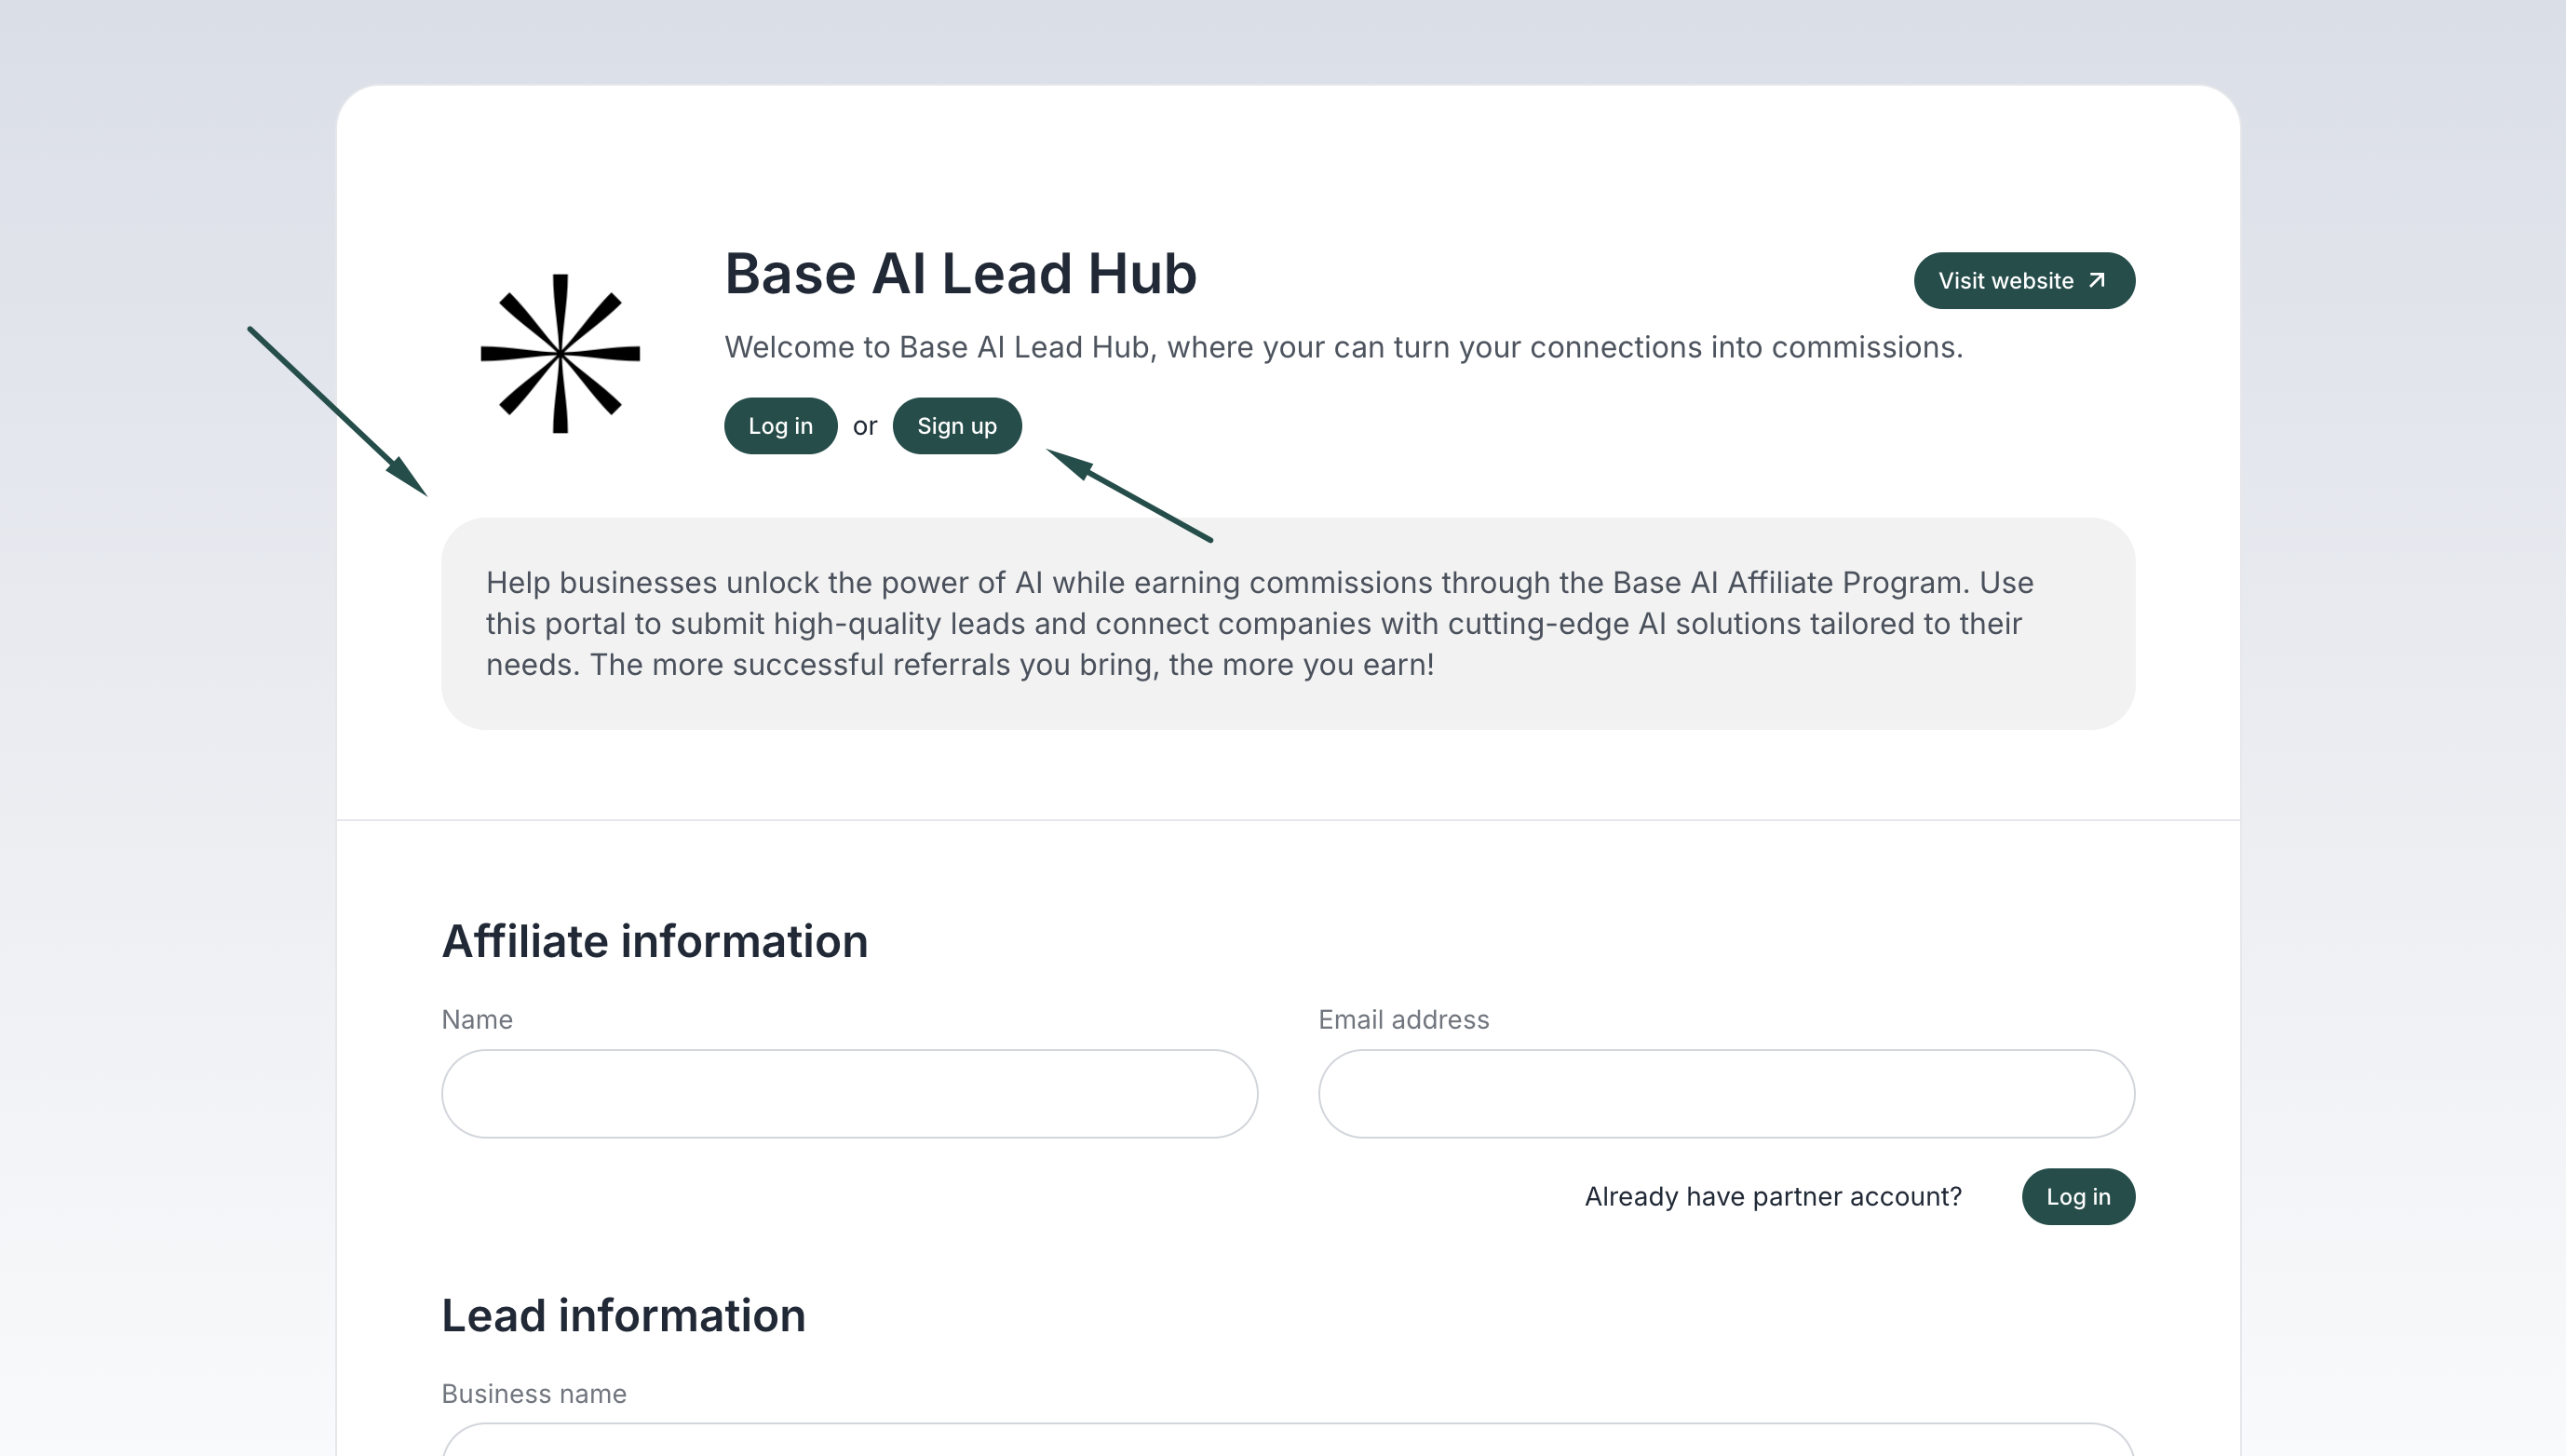
Page details
 Here, you can
- enter the page title and description;
- select between different branding options;
- include links for partner portal sign-up and log-in;
- include an additional section where you can promote program benefits, for example:

Commission structure
Next, you'll find the Commission structure section. You can choose to use your existing program commission structure or offer custom rewards for converted leads; for example, offer a fixed commission amount:
Lead form
Lastly, you can customize the submission form. Click Add field to add more fields to the form and select from the available options:

Then, add the label (question) and, if the field requires, answer options:

Don't forget to click Update to save your changes!
You can add the following fields:
- Text: include any text in your form, such as an explanation, additional details, etc.;
- Input: free-form text question with a field for the submitter to type a short answer to;
- Textarea: free-form text question with a field for the submitter to type a long answer to;
- Checkbox: allows to select from one or multiple predefined options;
- Radio: allows to select one predefined option;
- Select: allows to select one predefined option from a dropdown;
- Countries: adds a list of countries to select.
Here's an example of how each field type would look like in a lead submission page: 
Design the leads page appearance
Use Live Designer to update the page design (and edit content or other settings):
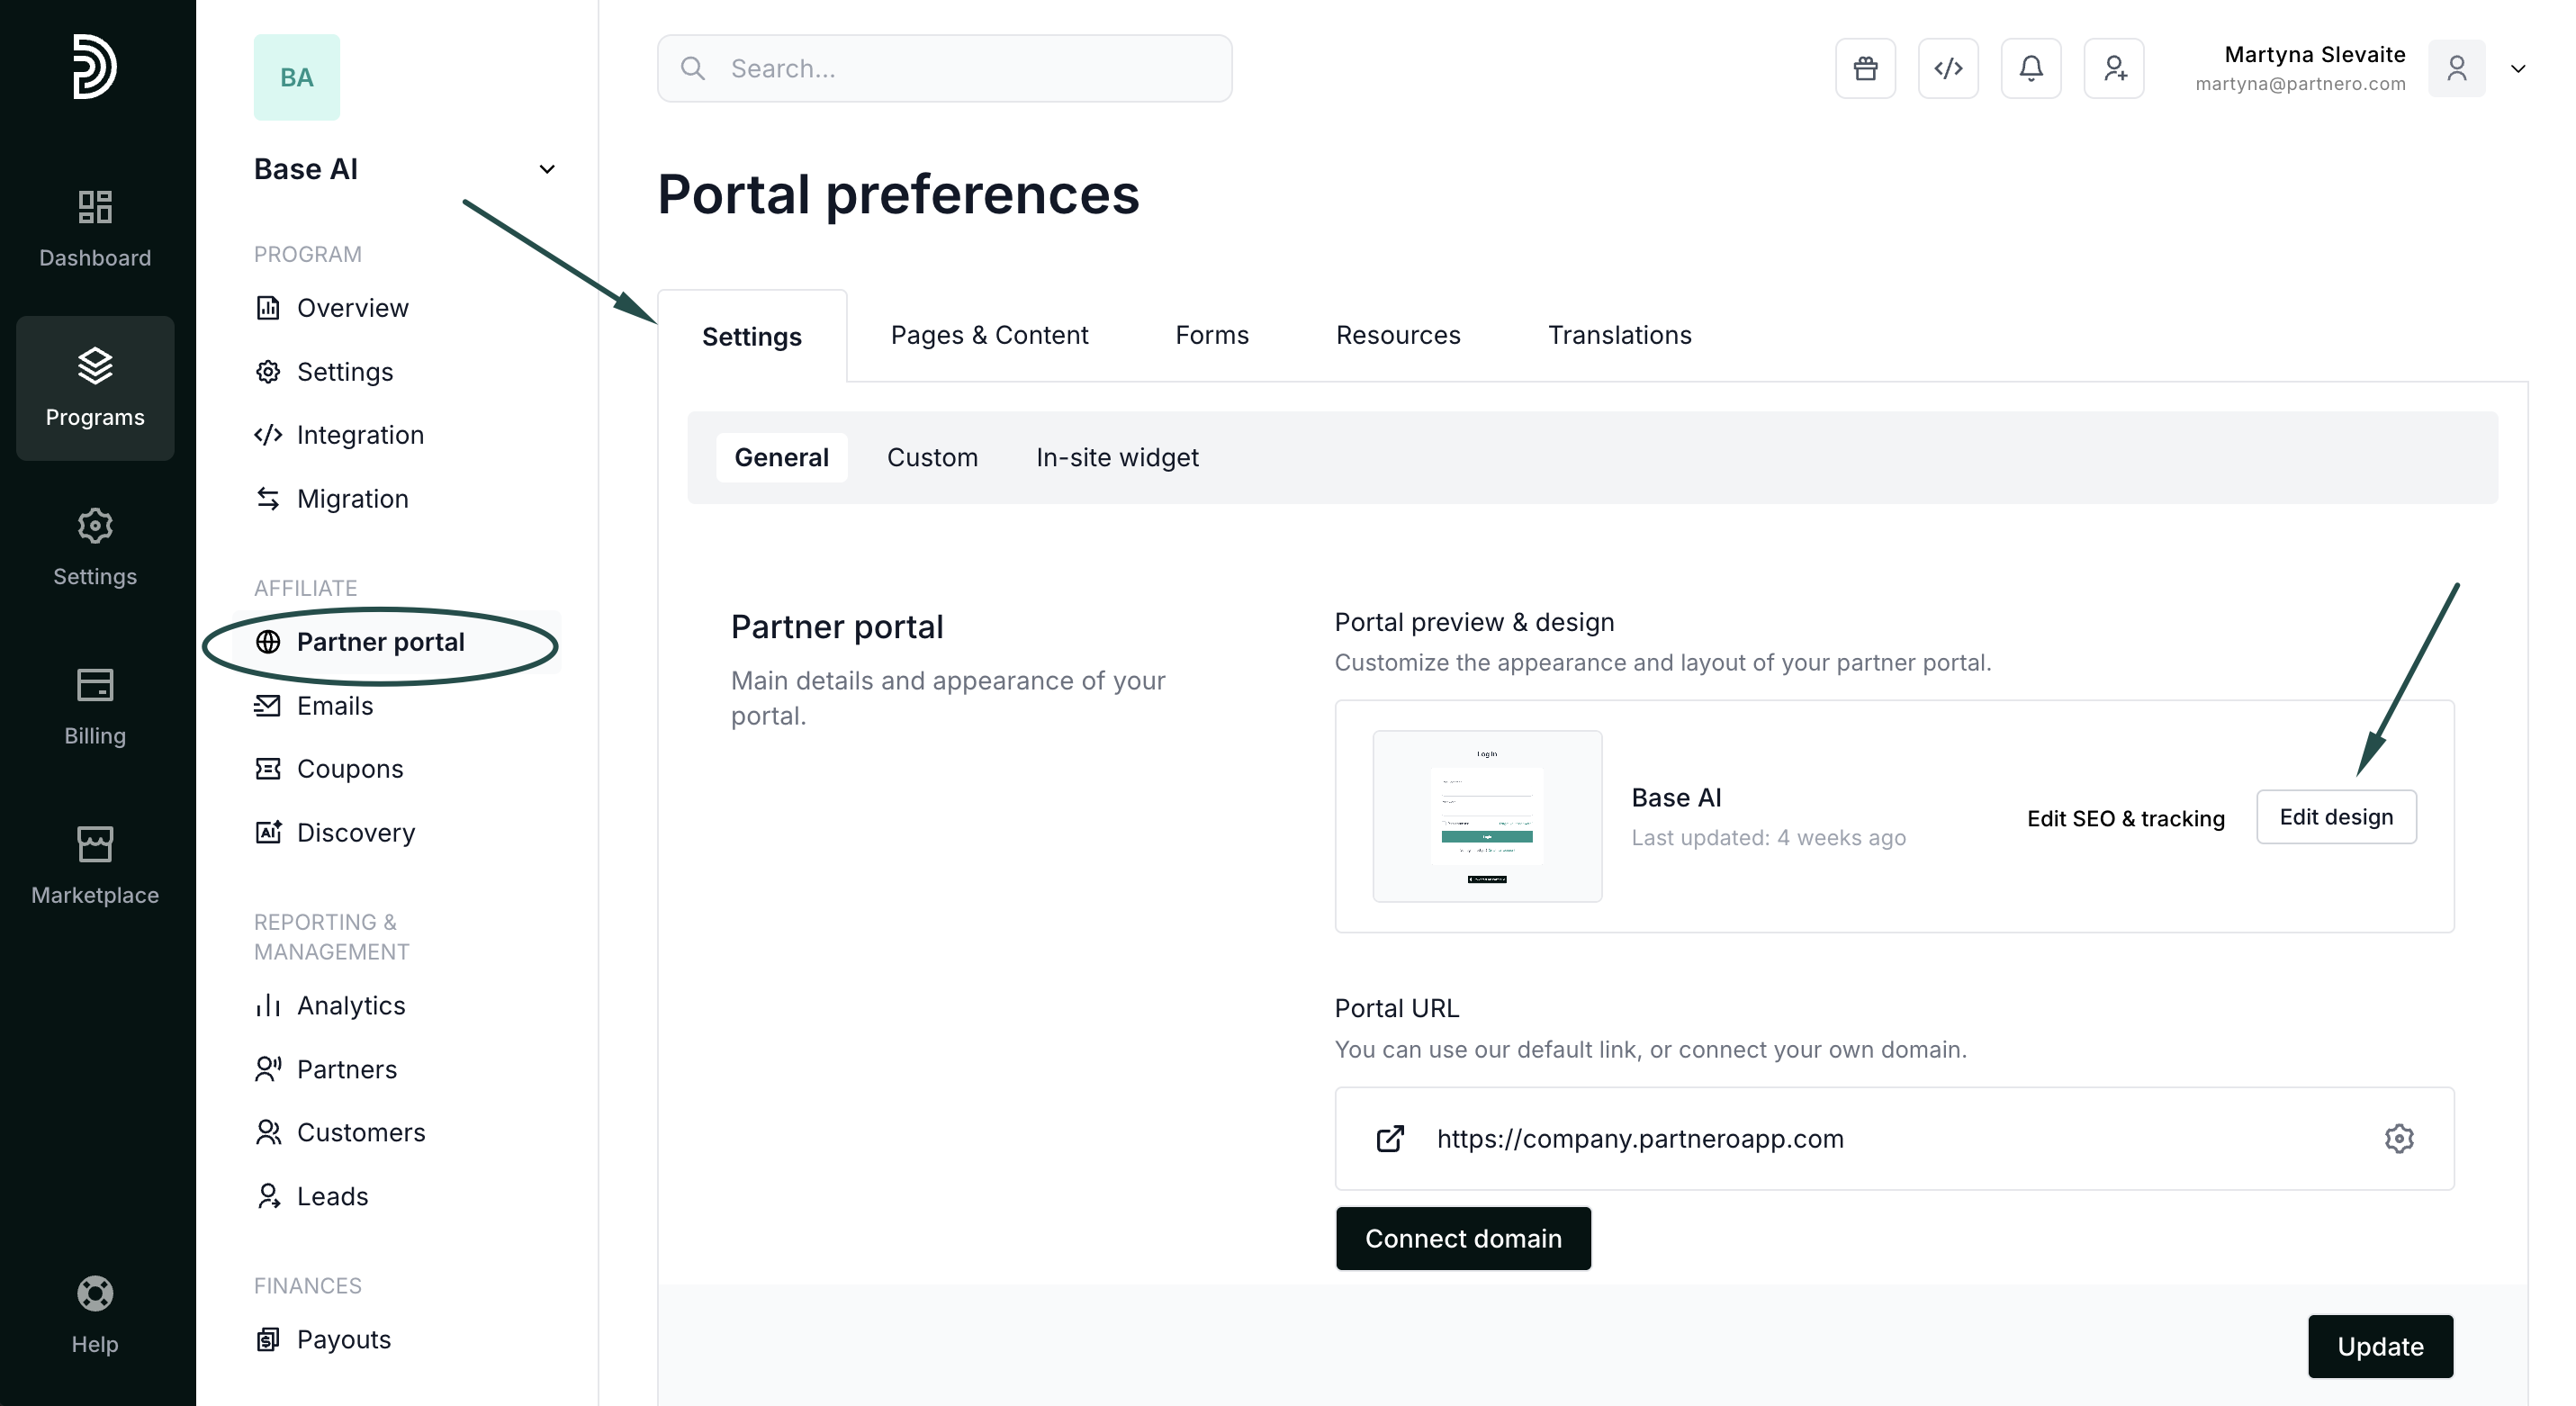
- Go to Partner portal under Affiliate.
- In the Settings tab → General section, click Edit design:
- You will be presented with the Live Designer view, with the editor on the left and a real-time preview in the center. In the top right corner, switch to edit the Leads page:
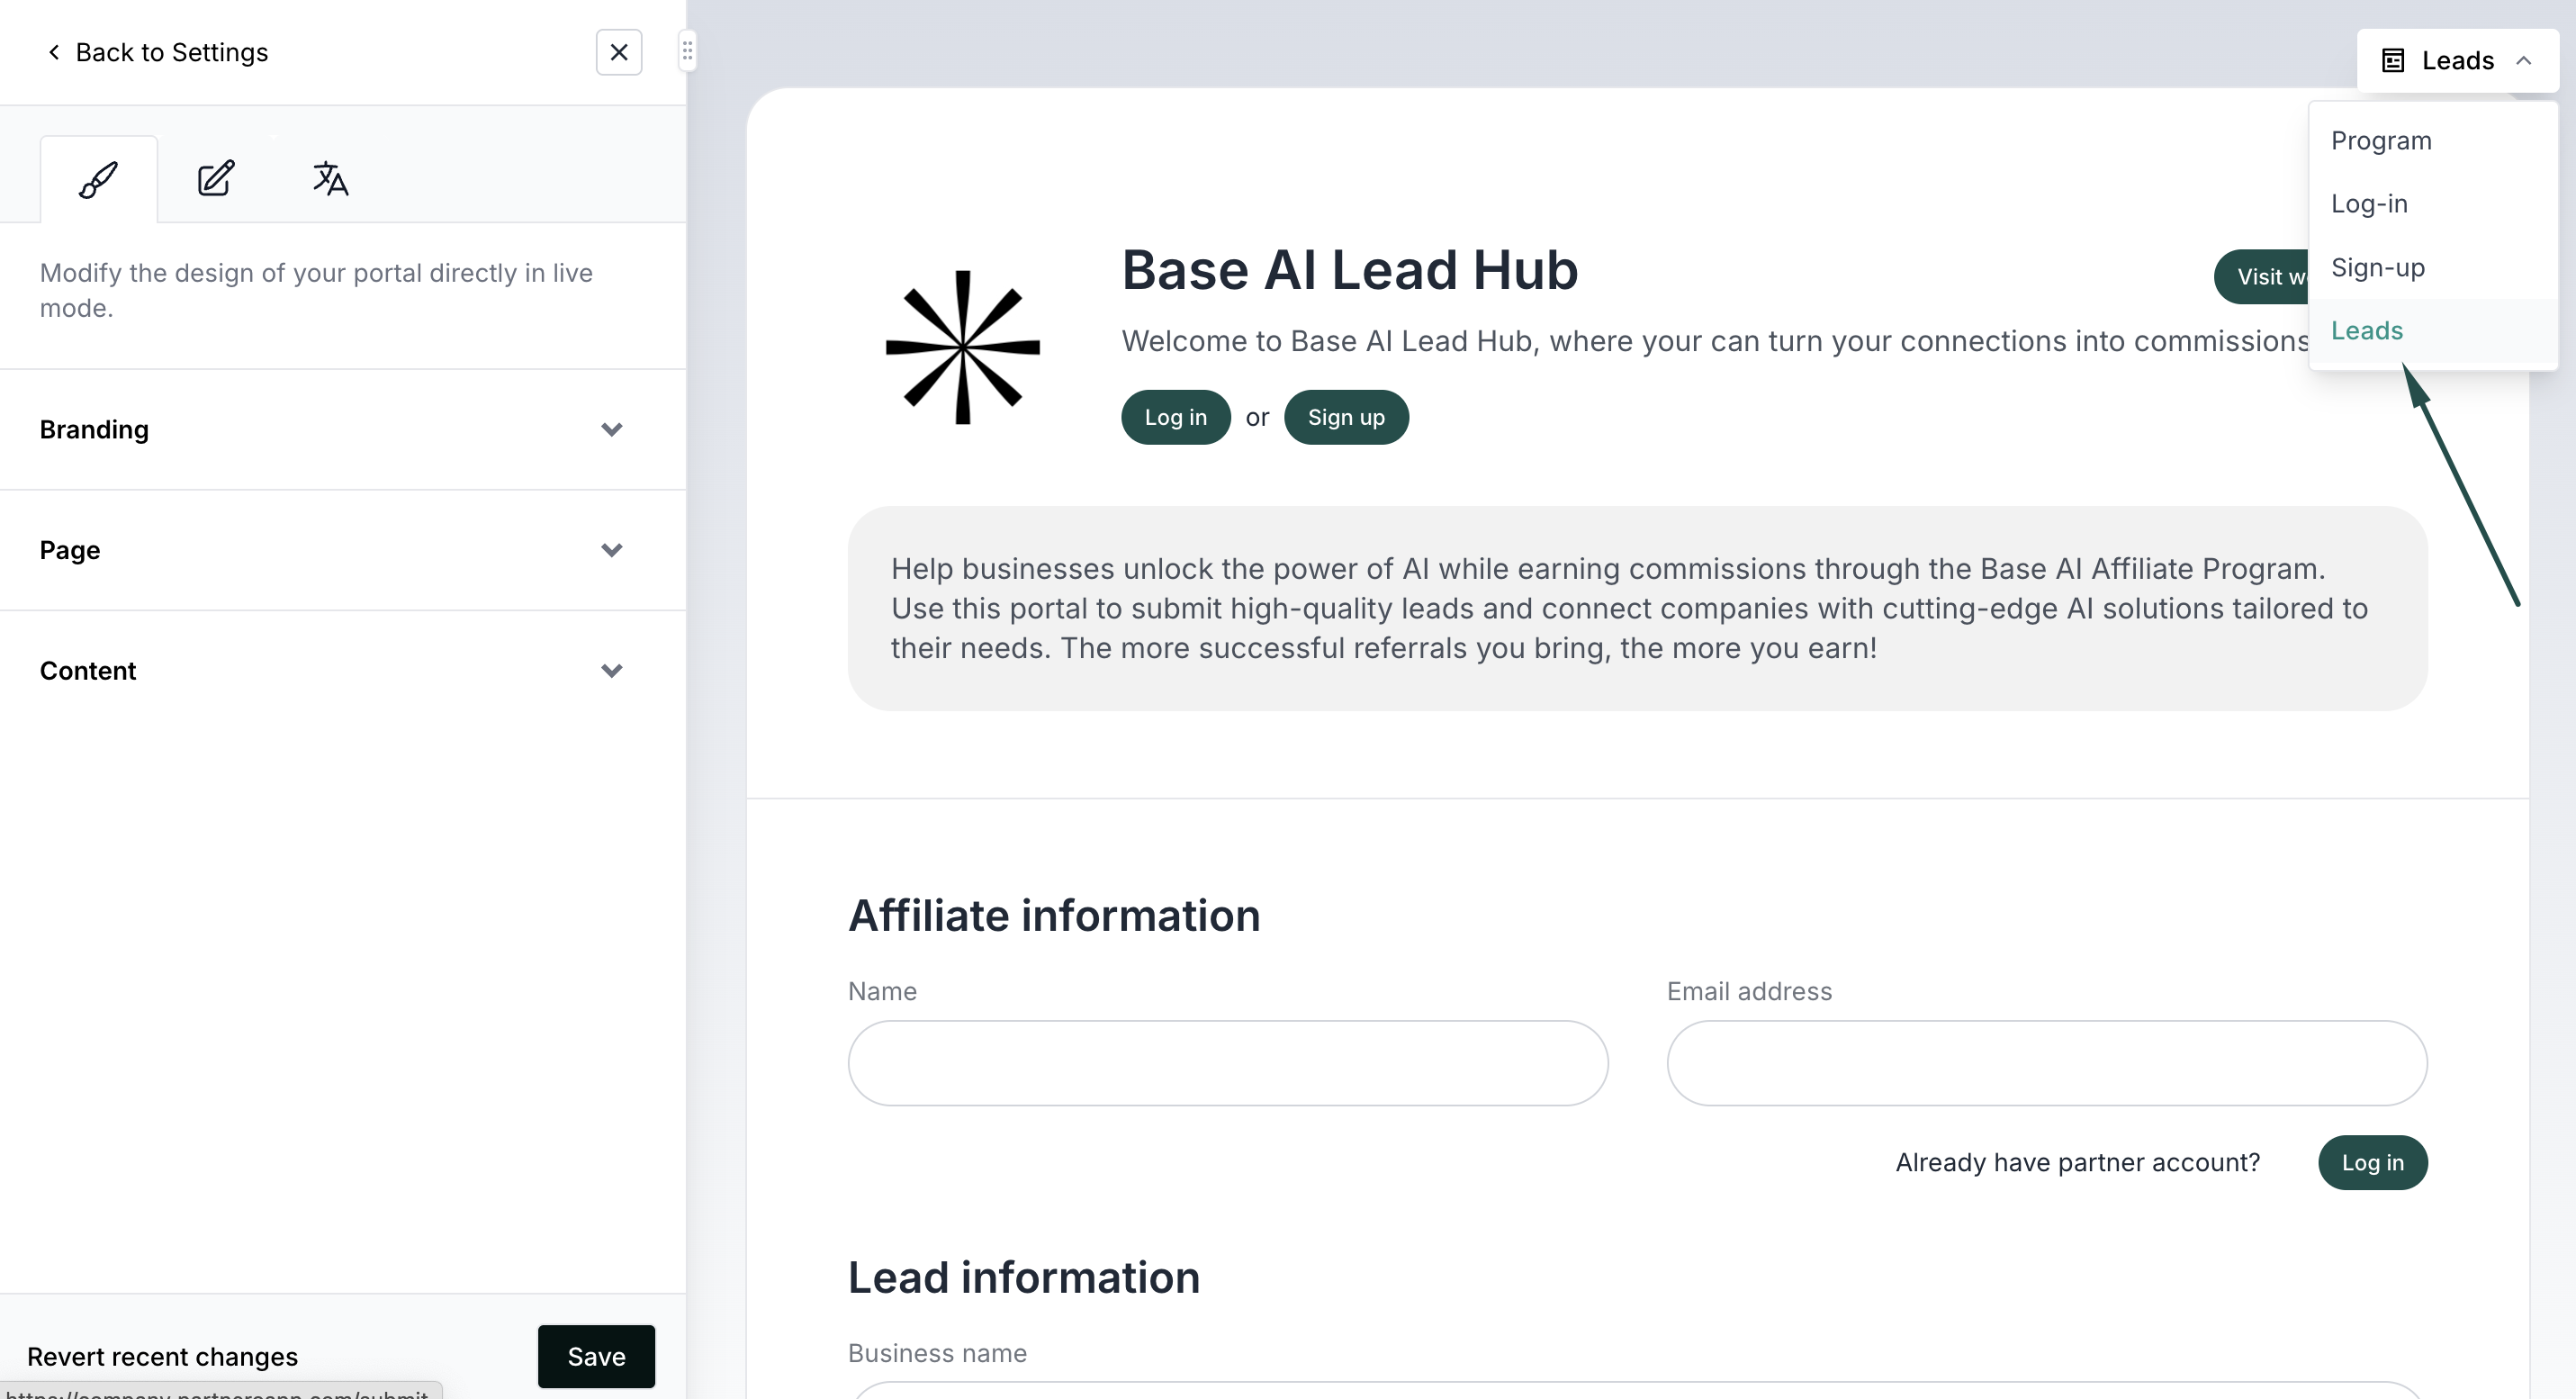
- Use the design tab on the editor to change colors, layouts, and other design elements:
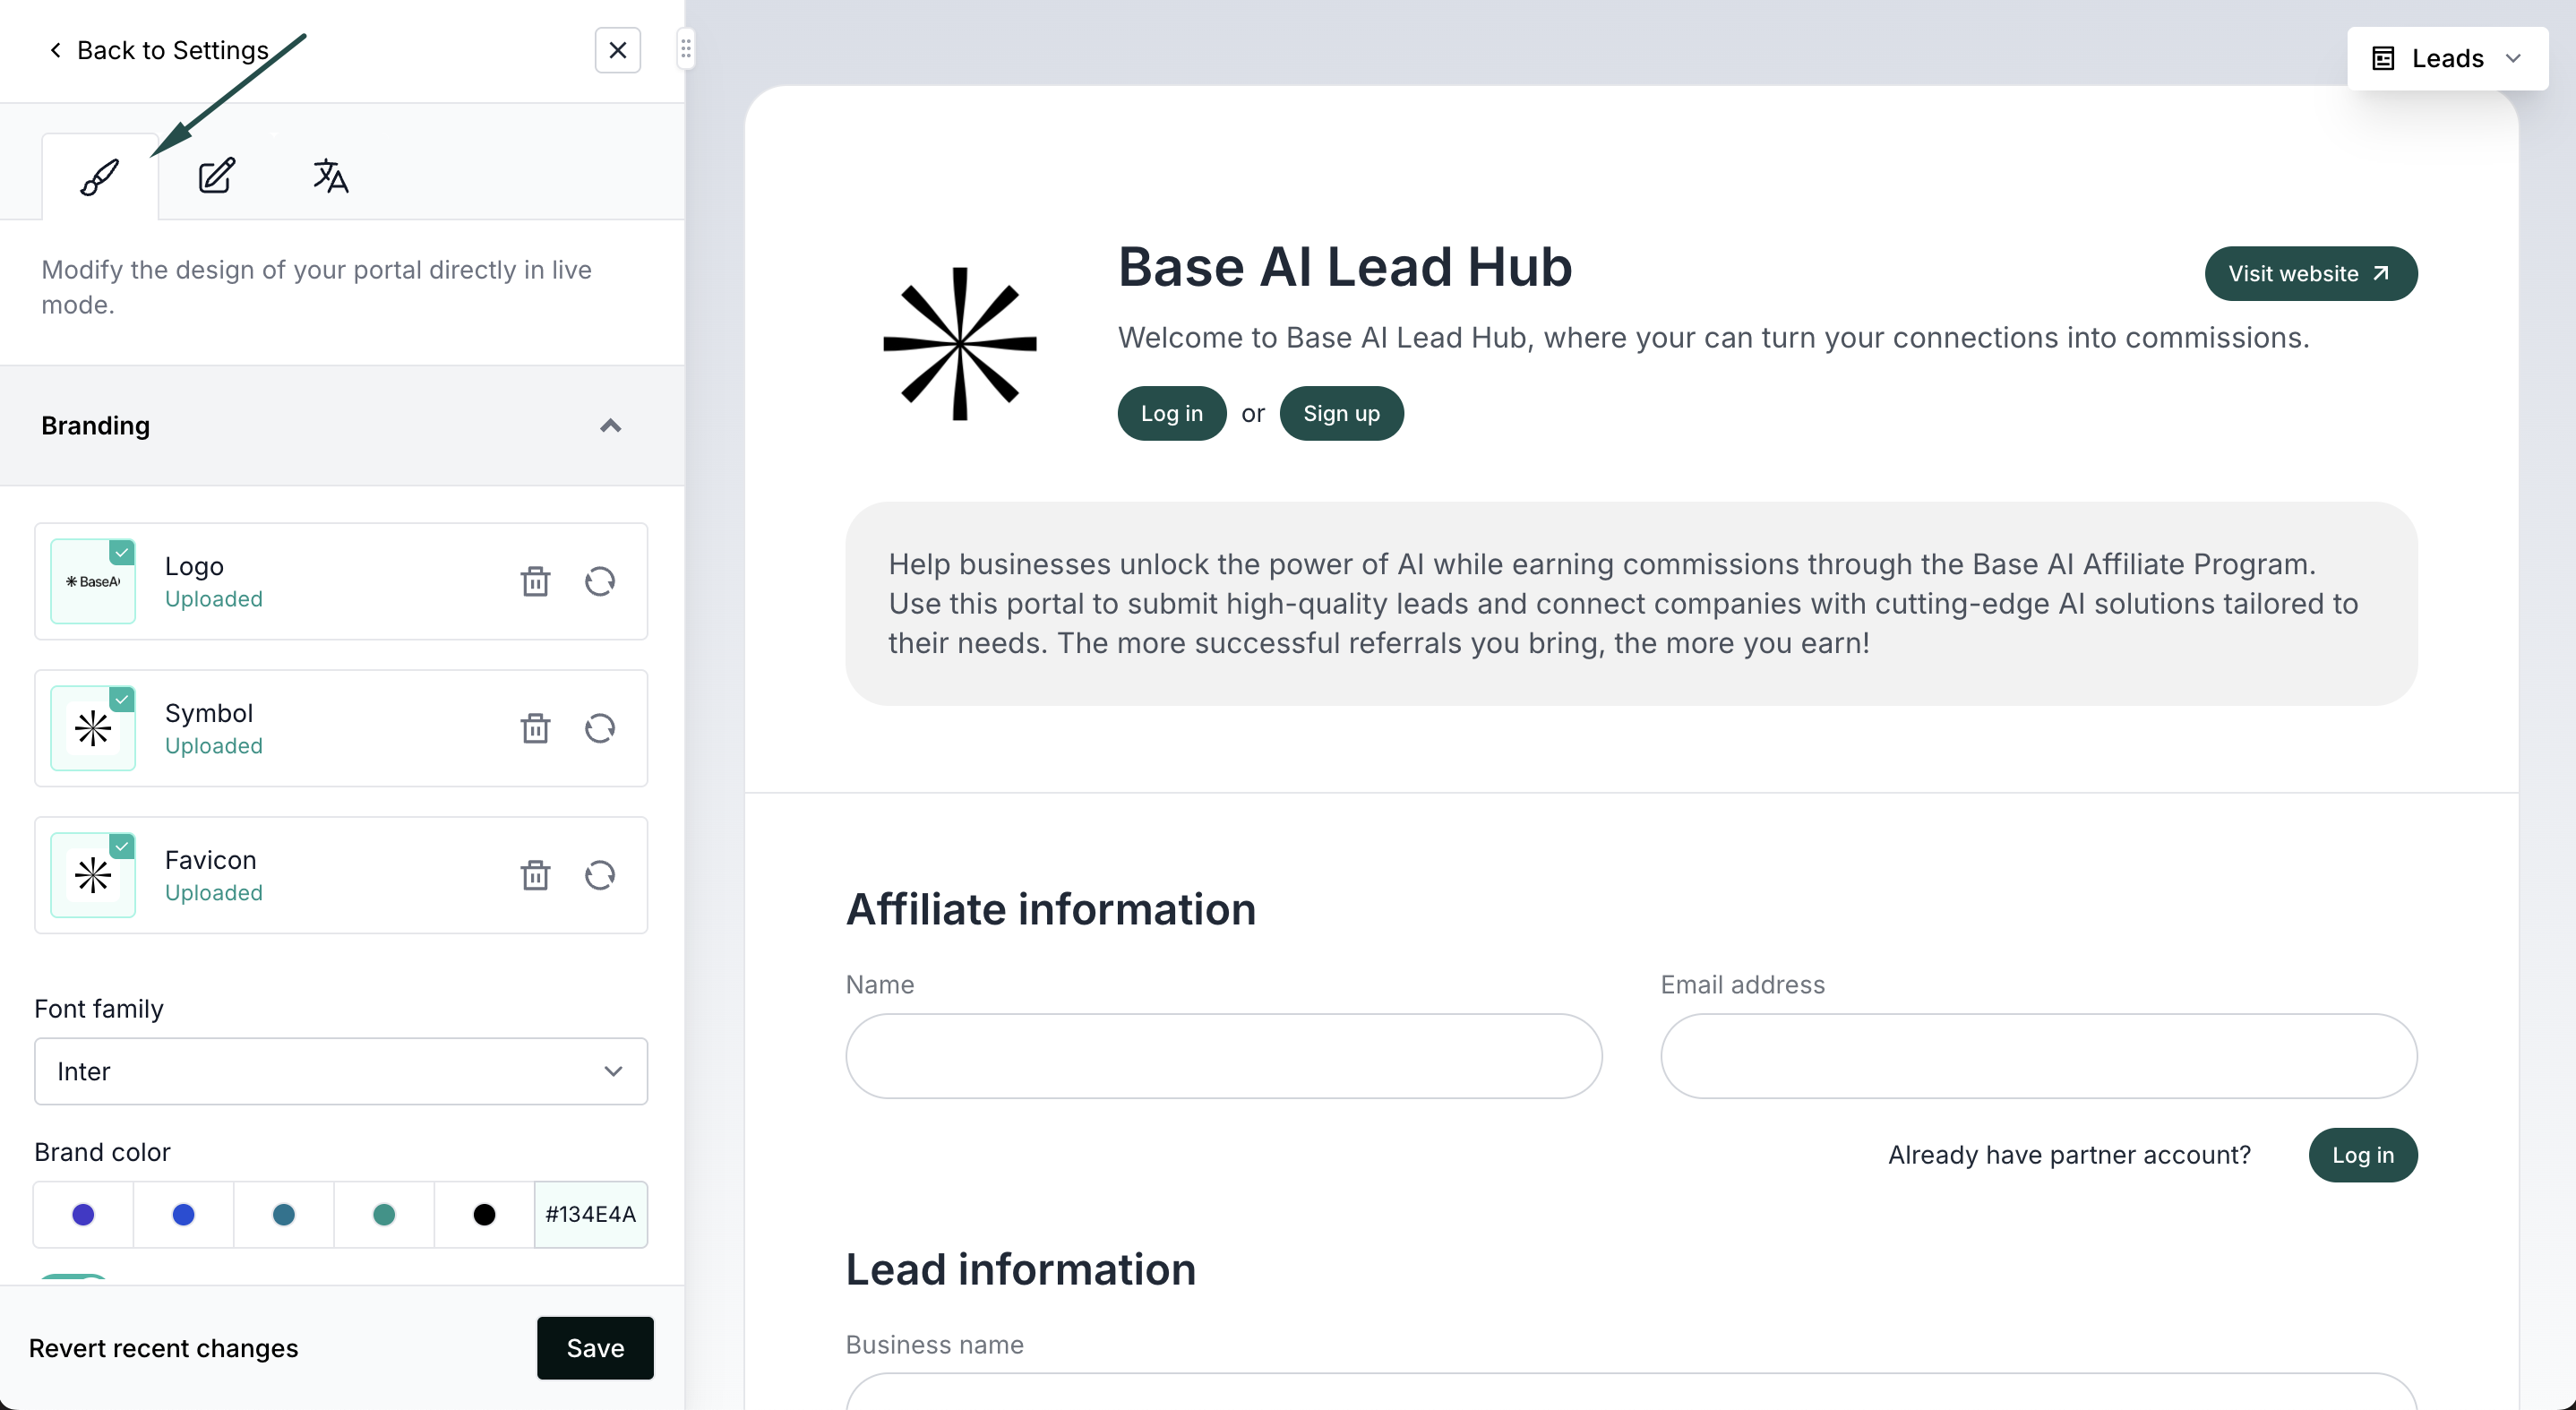
- Use the content tab to change page settings and add content blocks:
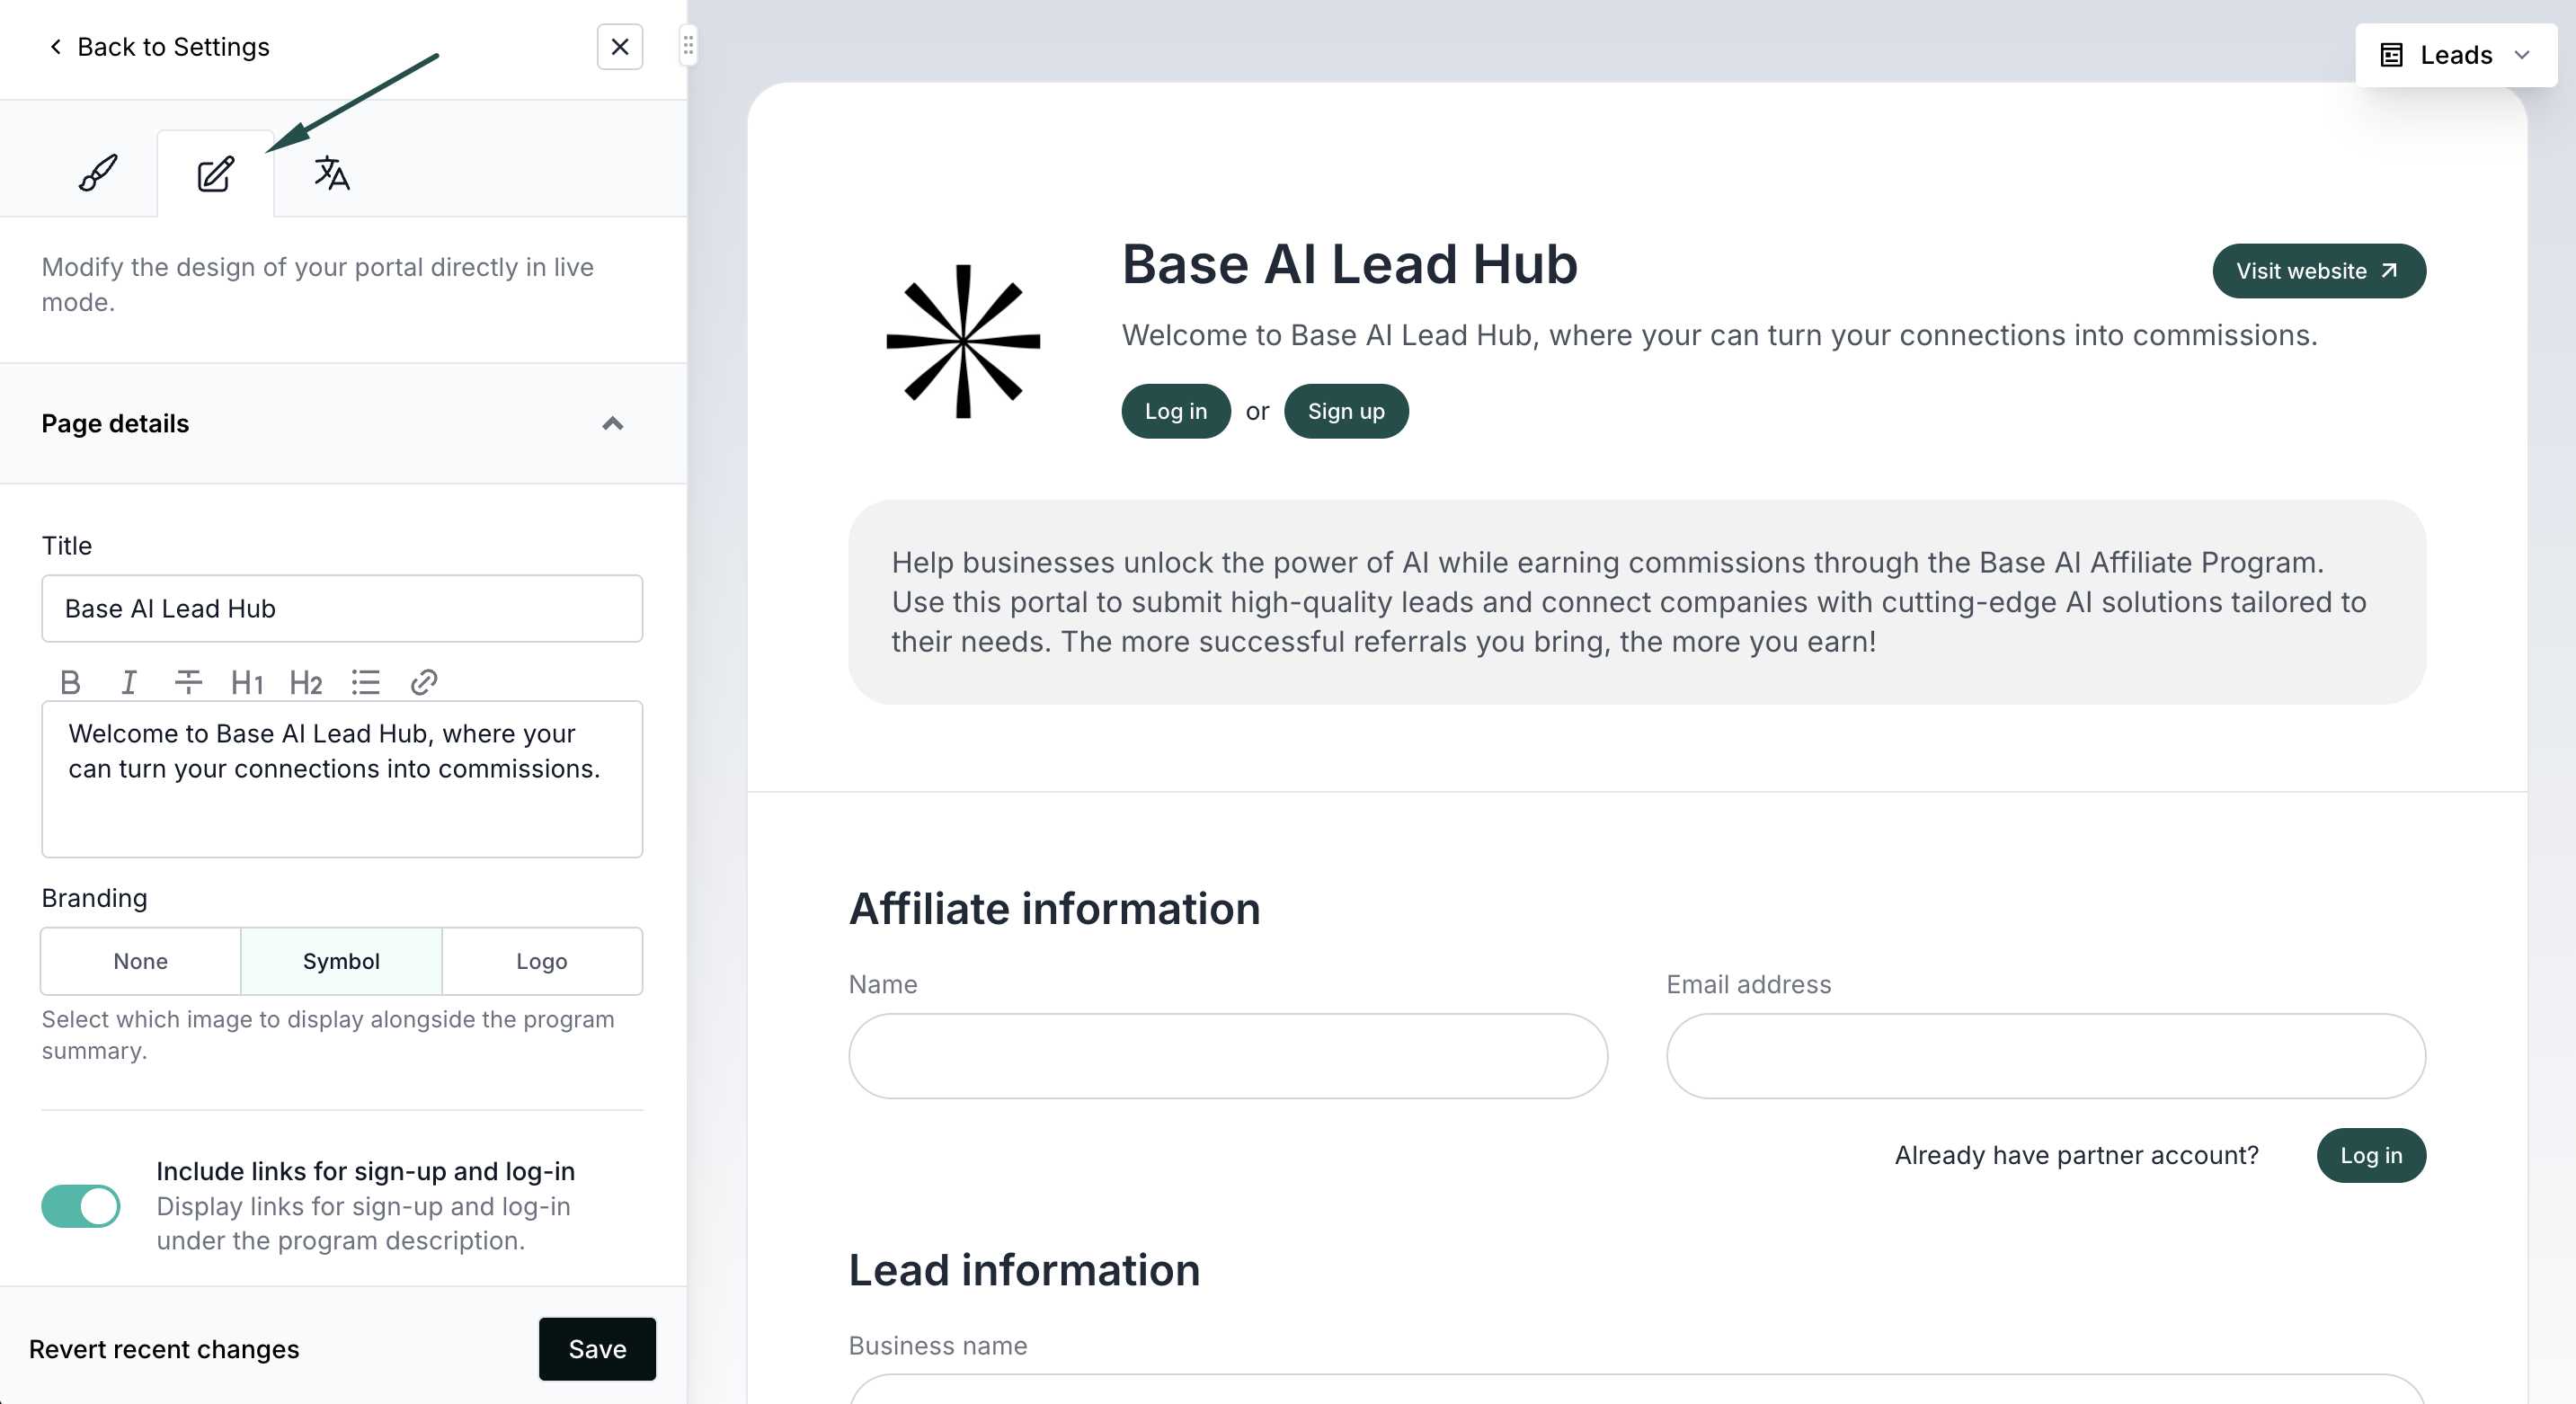
- Additionally, you can hover your mouse over any component of the lead page preview to edit it in line:

- Don't forget to click Save when you're happy with the edits. Read more about using Live Designer here.


Confirmation emails
A confirmation email will be sent when:
- someone submits a lead;
- a lead is converted;
- a lead is rejected.
Confirmation emails can be viewed and edited under Emails section:
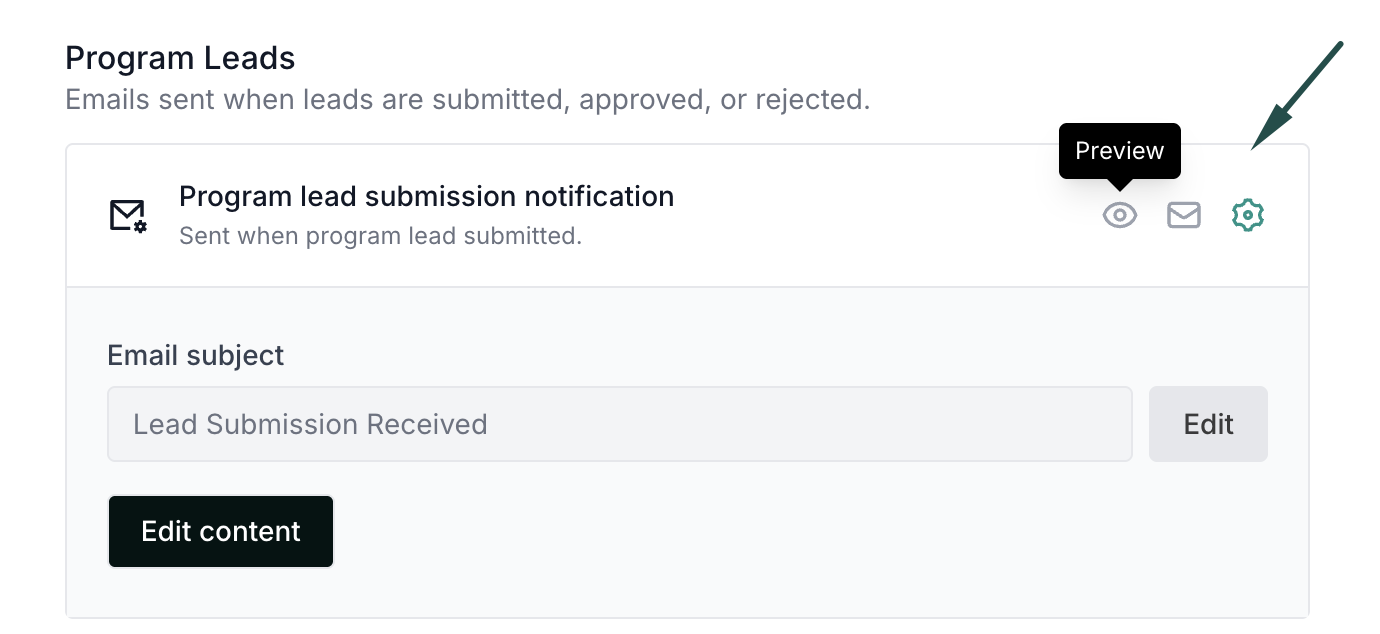
Switch to the Emails tab and scroll down to the Program Leads section: For every email, you can click on the:
- Eye icon to preview the email;
- Envelope icon to send a test email;
- Gear icon to edit the email subject, copy, or design.

Read more about program emails.