
Partner tags overview
Partner tags let you organize your affiliate base into meaningful groups and act on each one differently. From commission rules to portal content to performance reporting, tags are what make it possible to run a segmented program without managing every partner individually.
How to manage tags
To create, view existing, or delete tags:
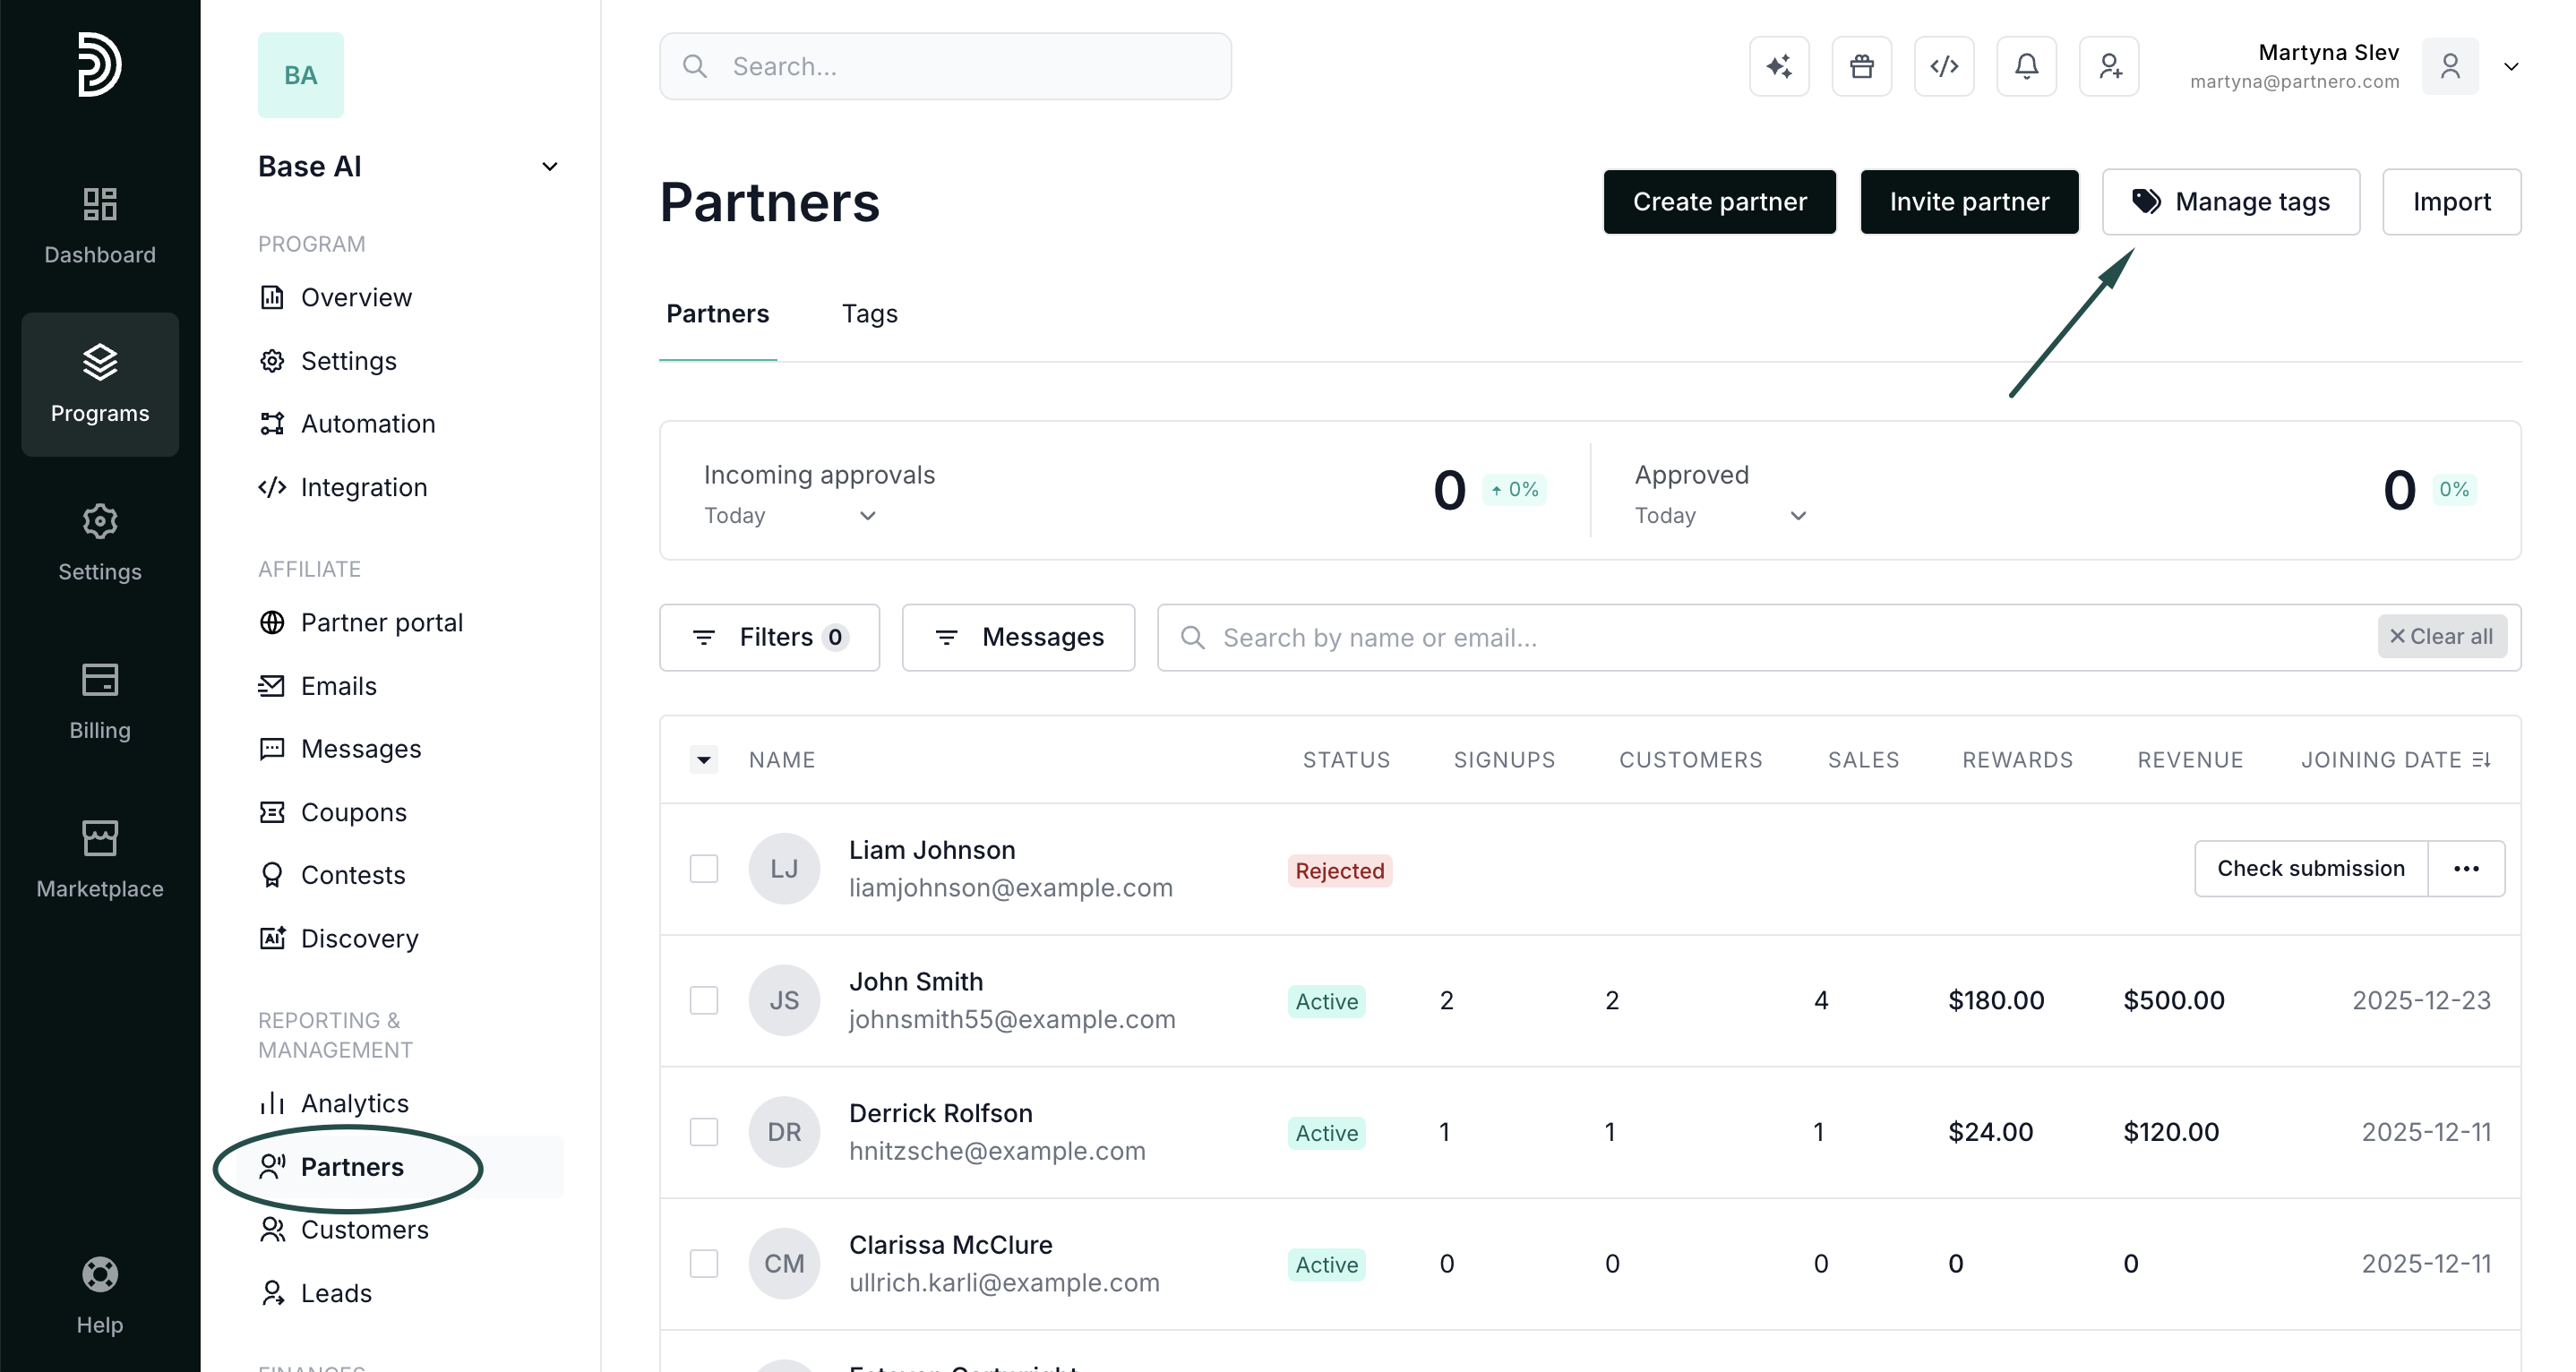
- In your program, click on Partners in the left-hand side menu.
- Click Manage tags in the upper right-hand corner:
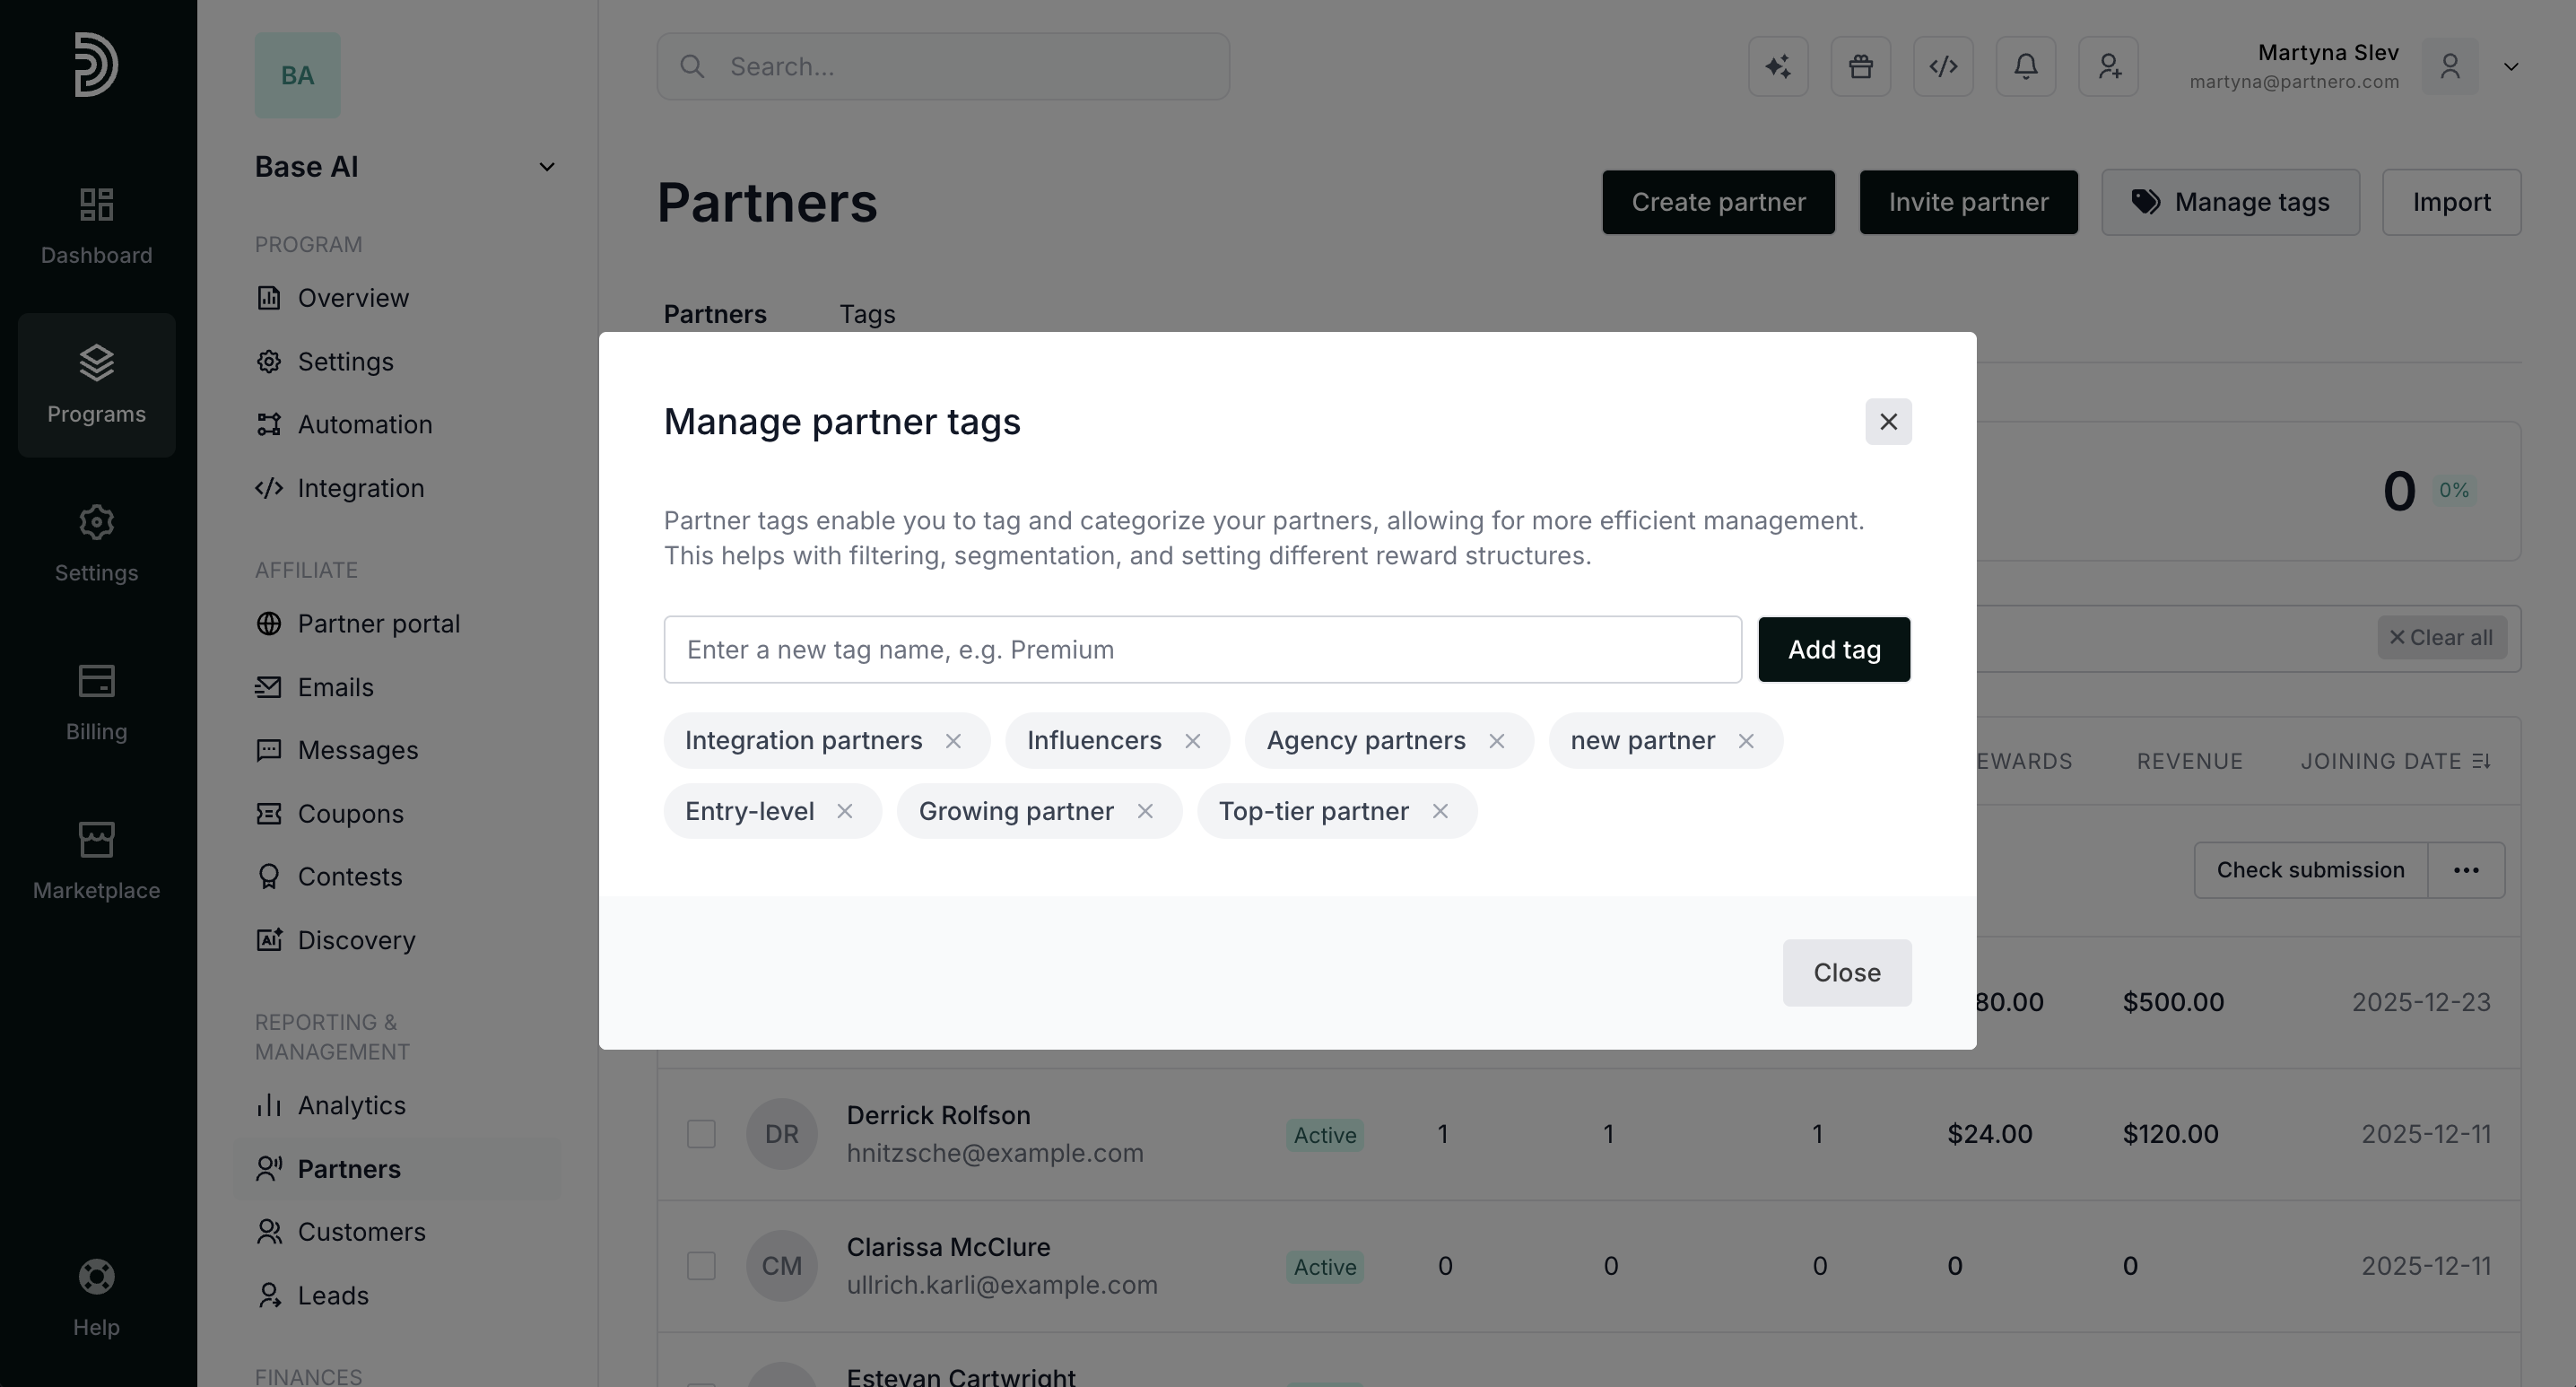
- Here, you can remove existing tags and create new ones:


How to assign partner tags
Tags can be assigned to a partner from their profile or from the Partners table.
To assign tags from the Partners table:
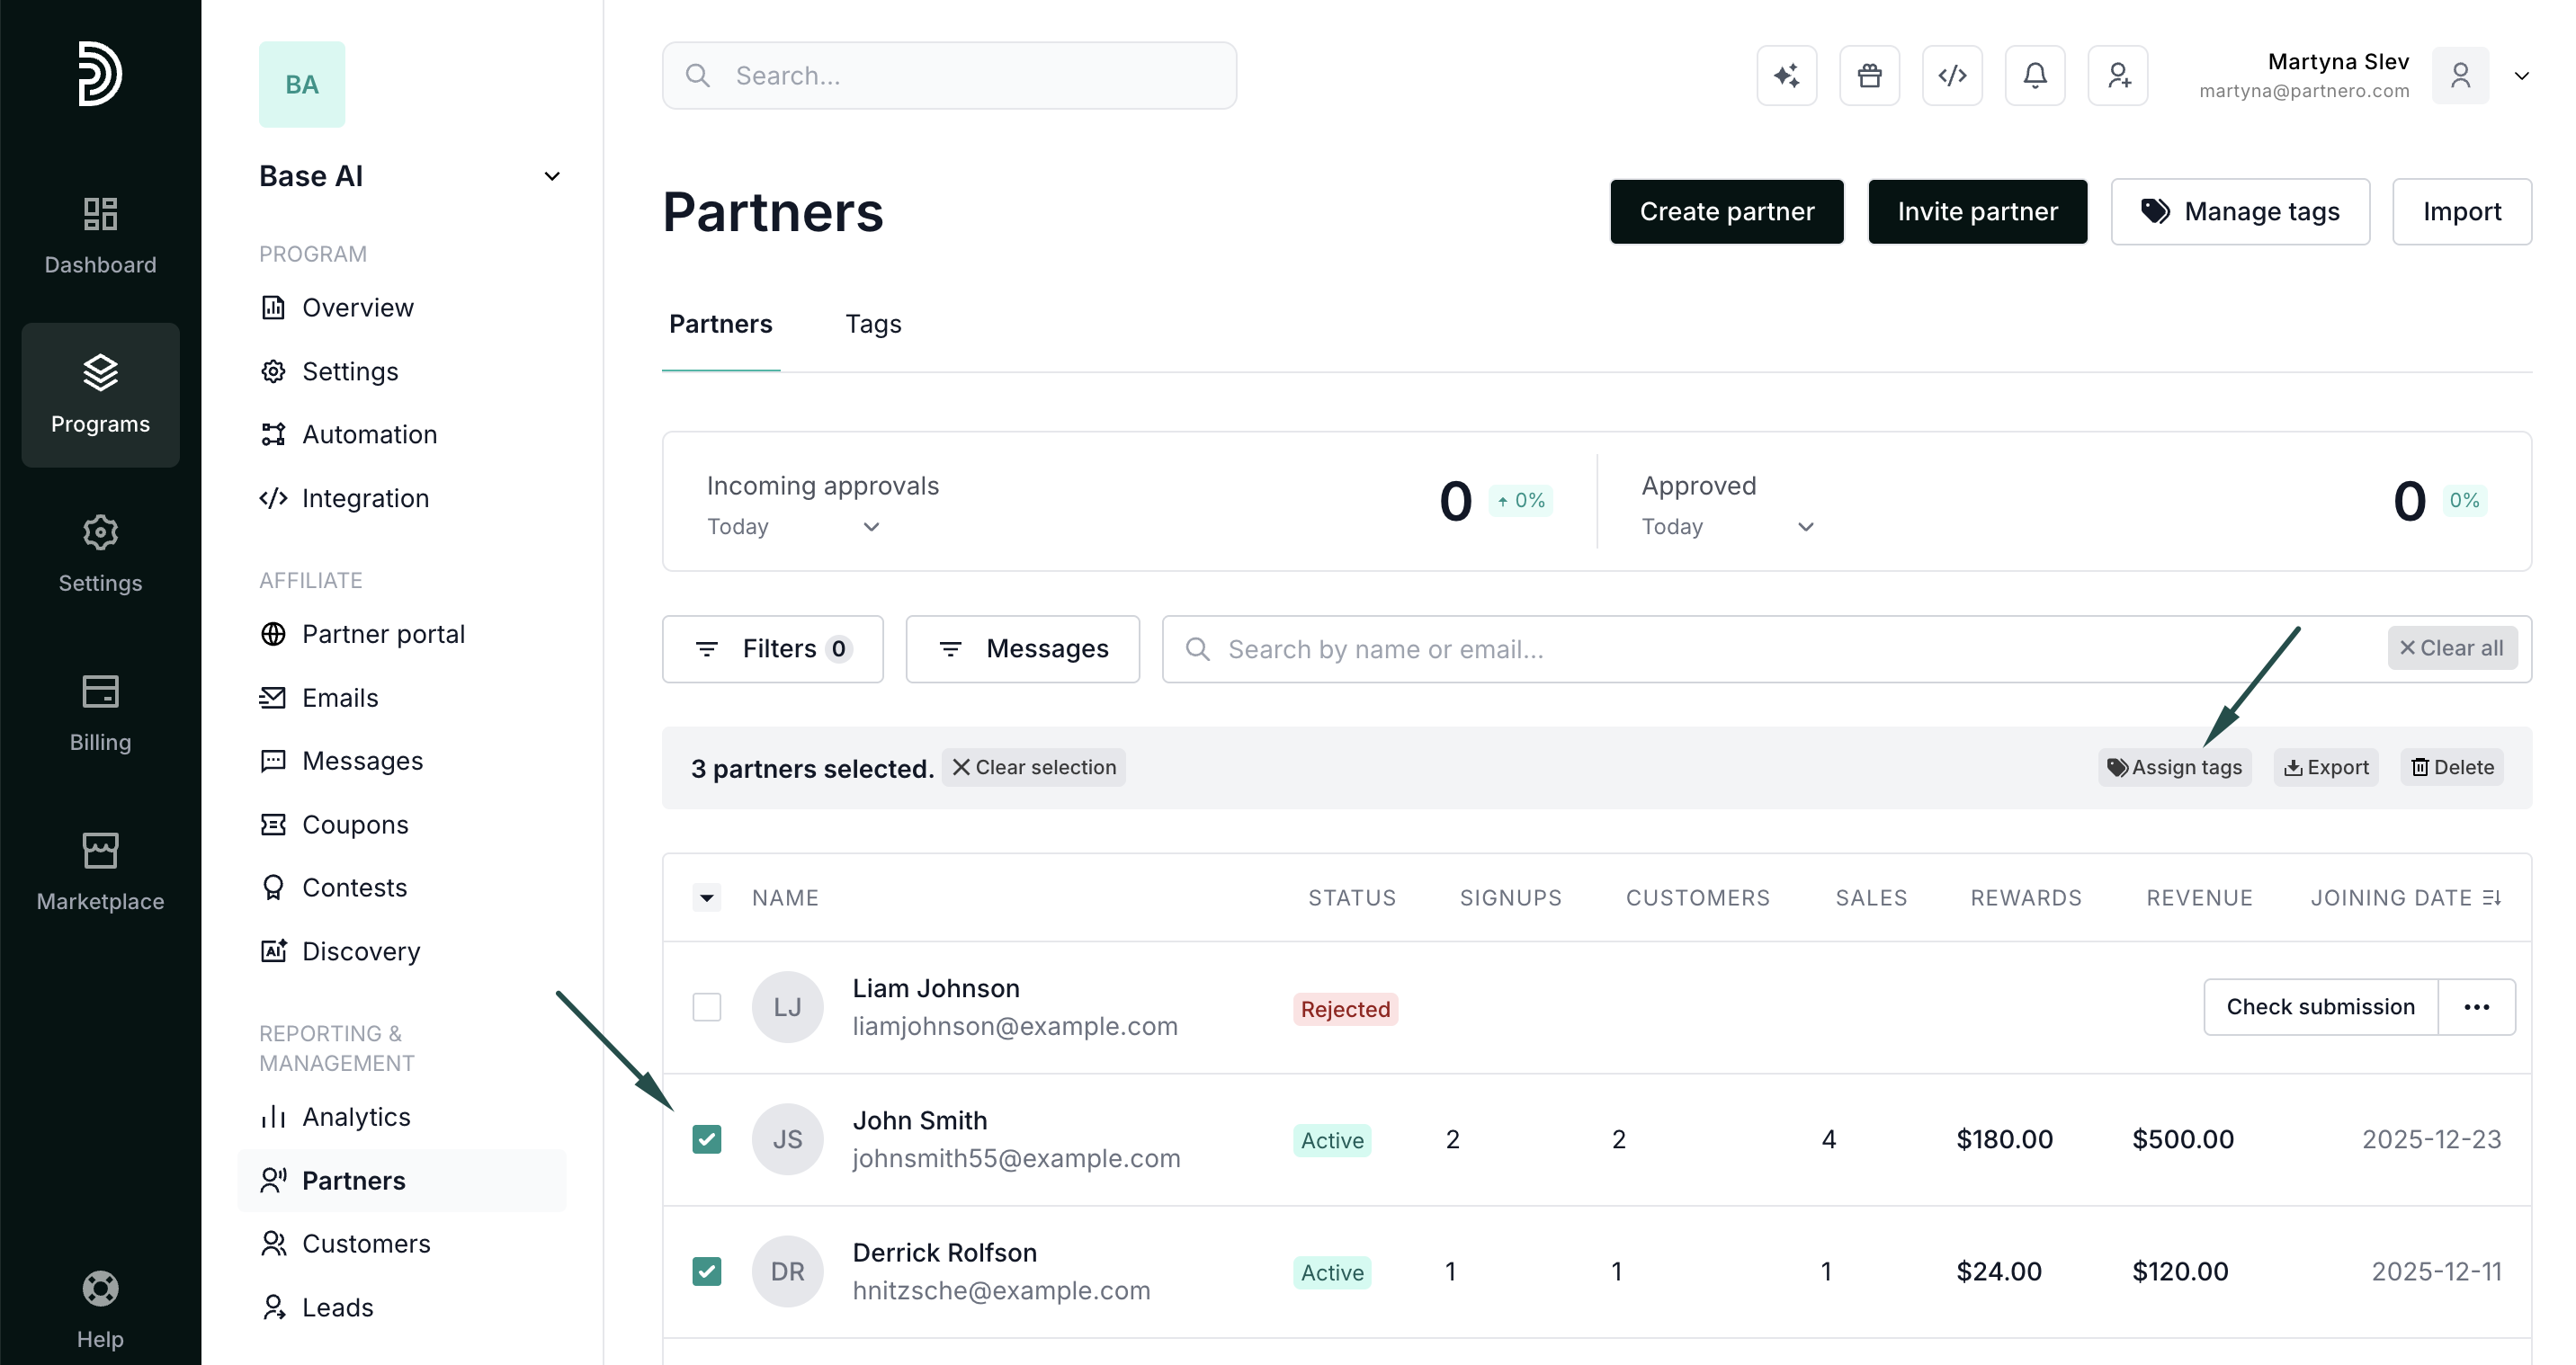
- In your program, click on Partners in the left-hand side menu.
- Find and select the partners you'd like to tag and click Assign tags:
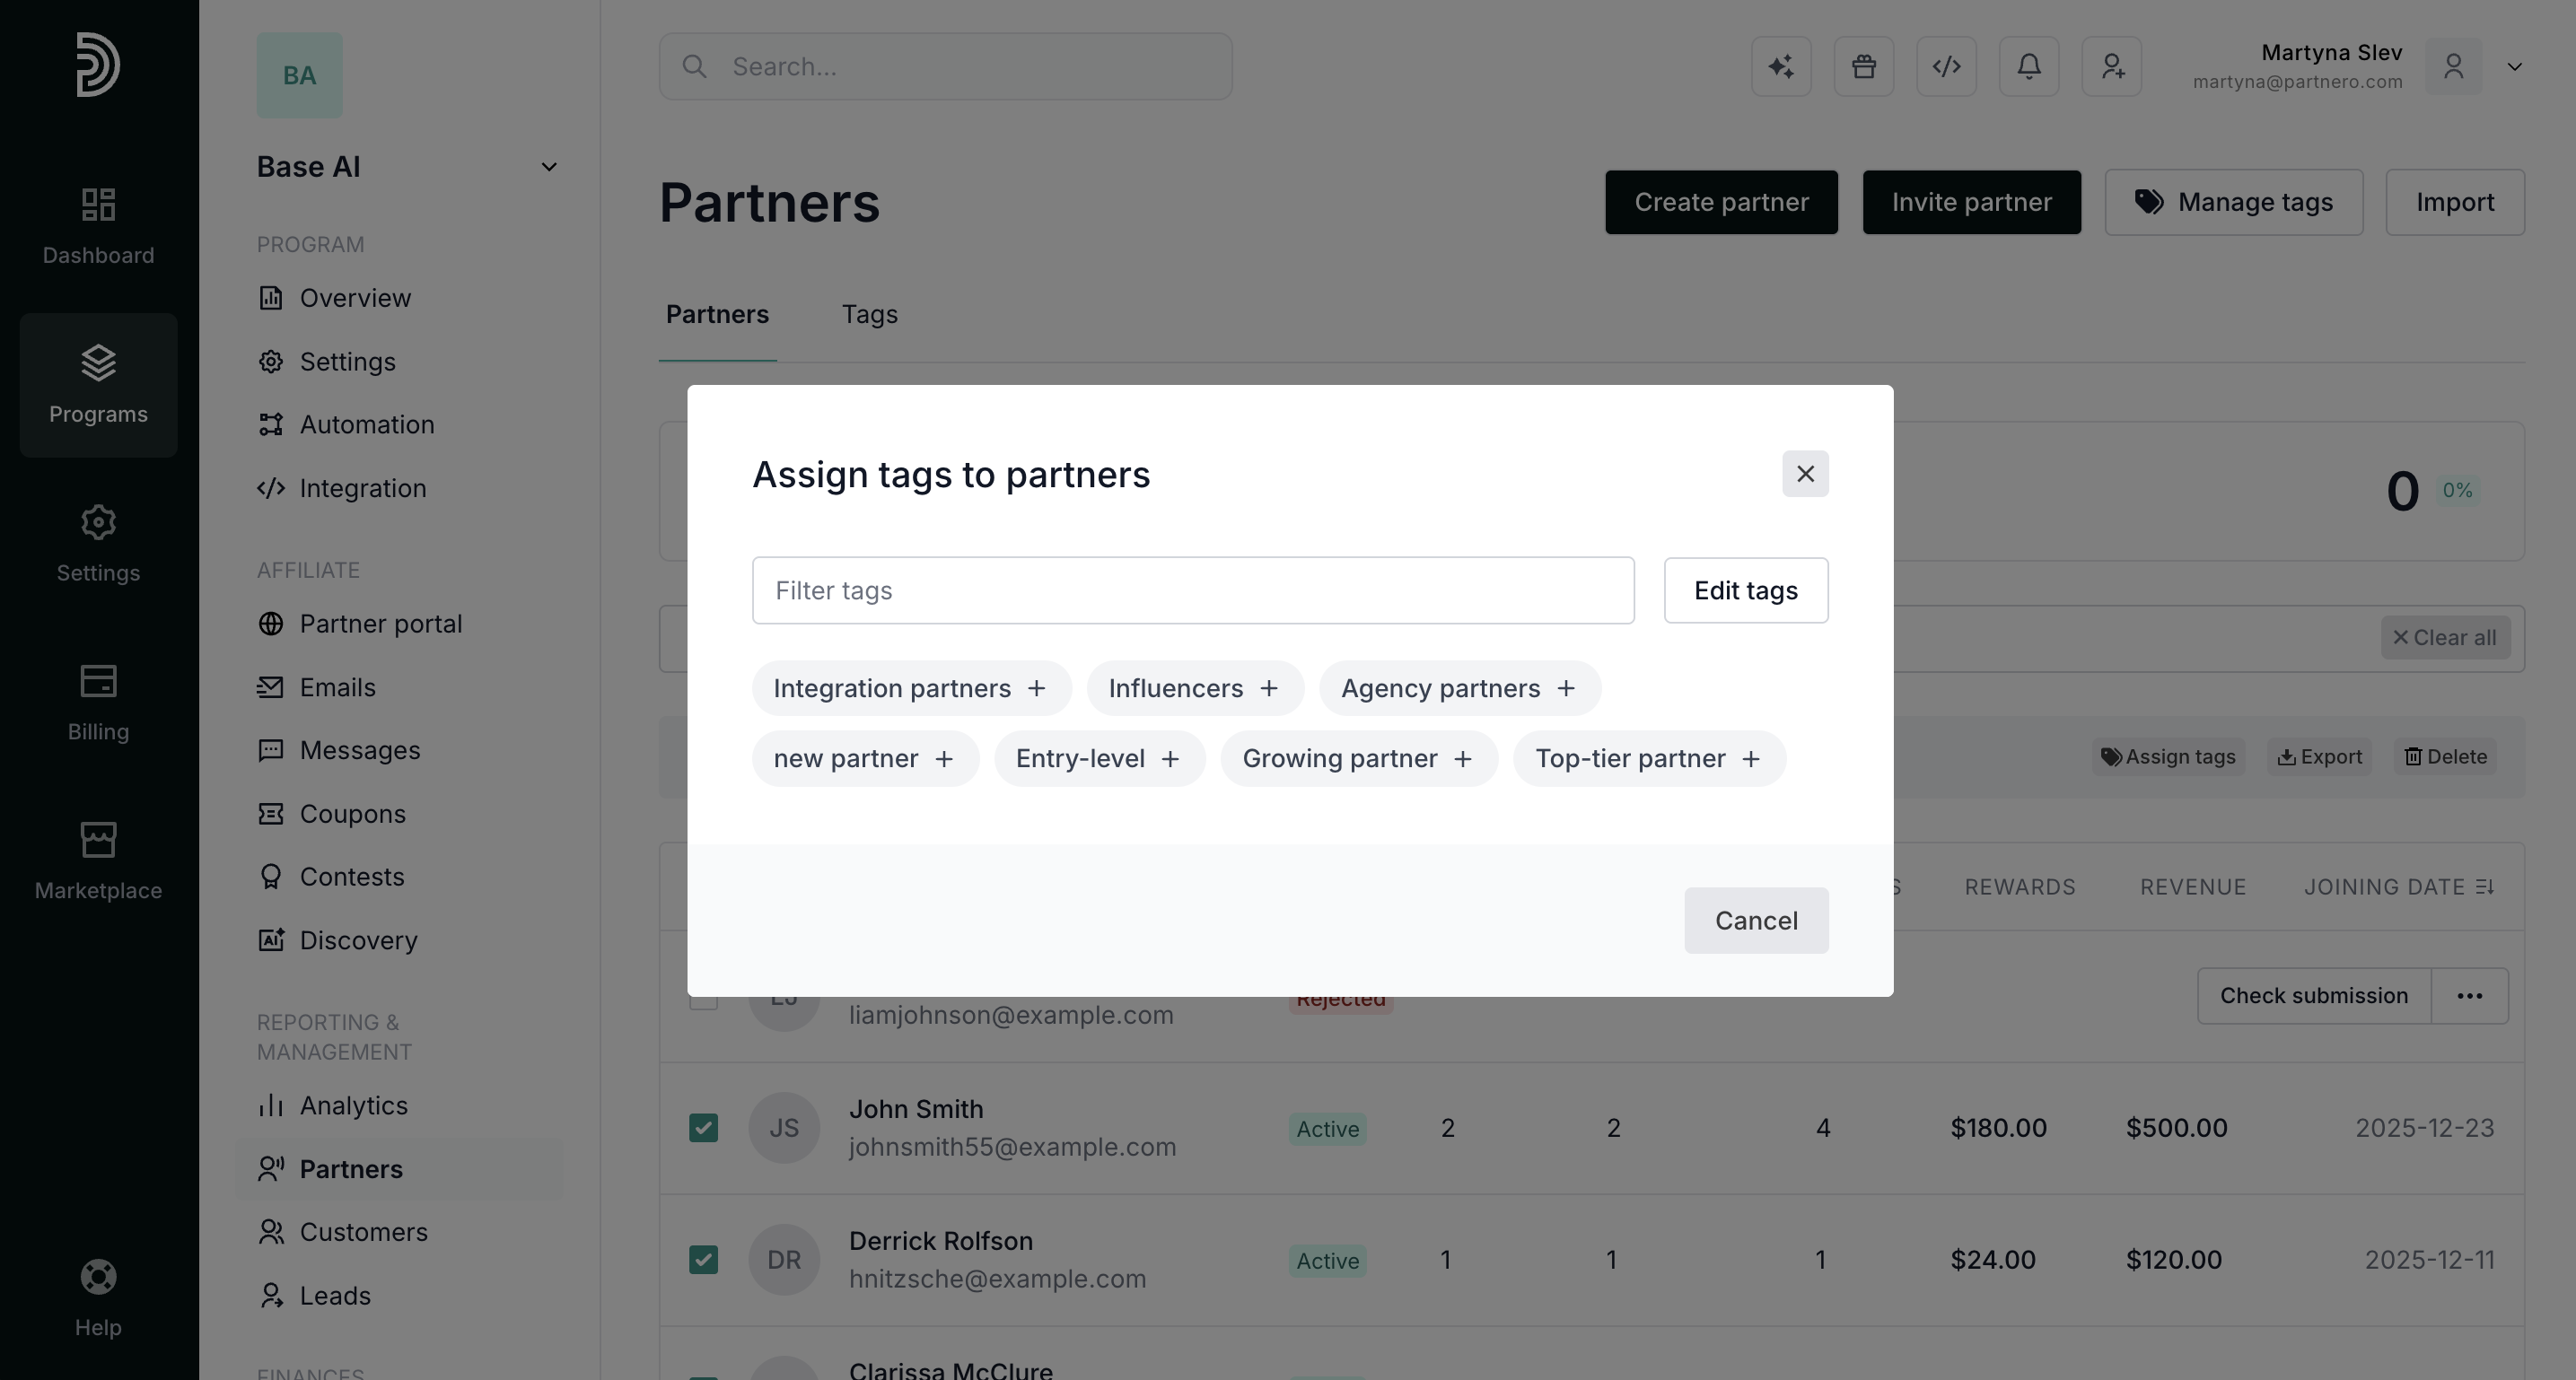
- Click on the existing tags you'd like to assign, or click Edit tags to create and assign new ones.


To assign tags to an individual partner:
- In your program, click on Partners in the left-hand side menu.
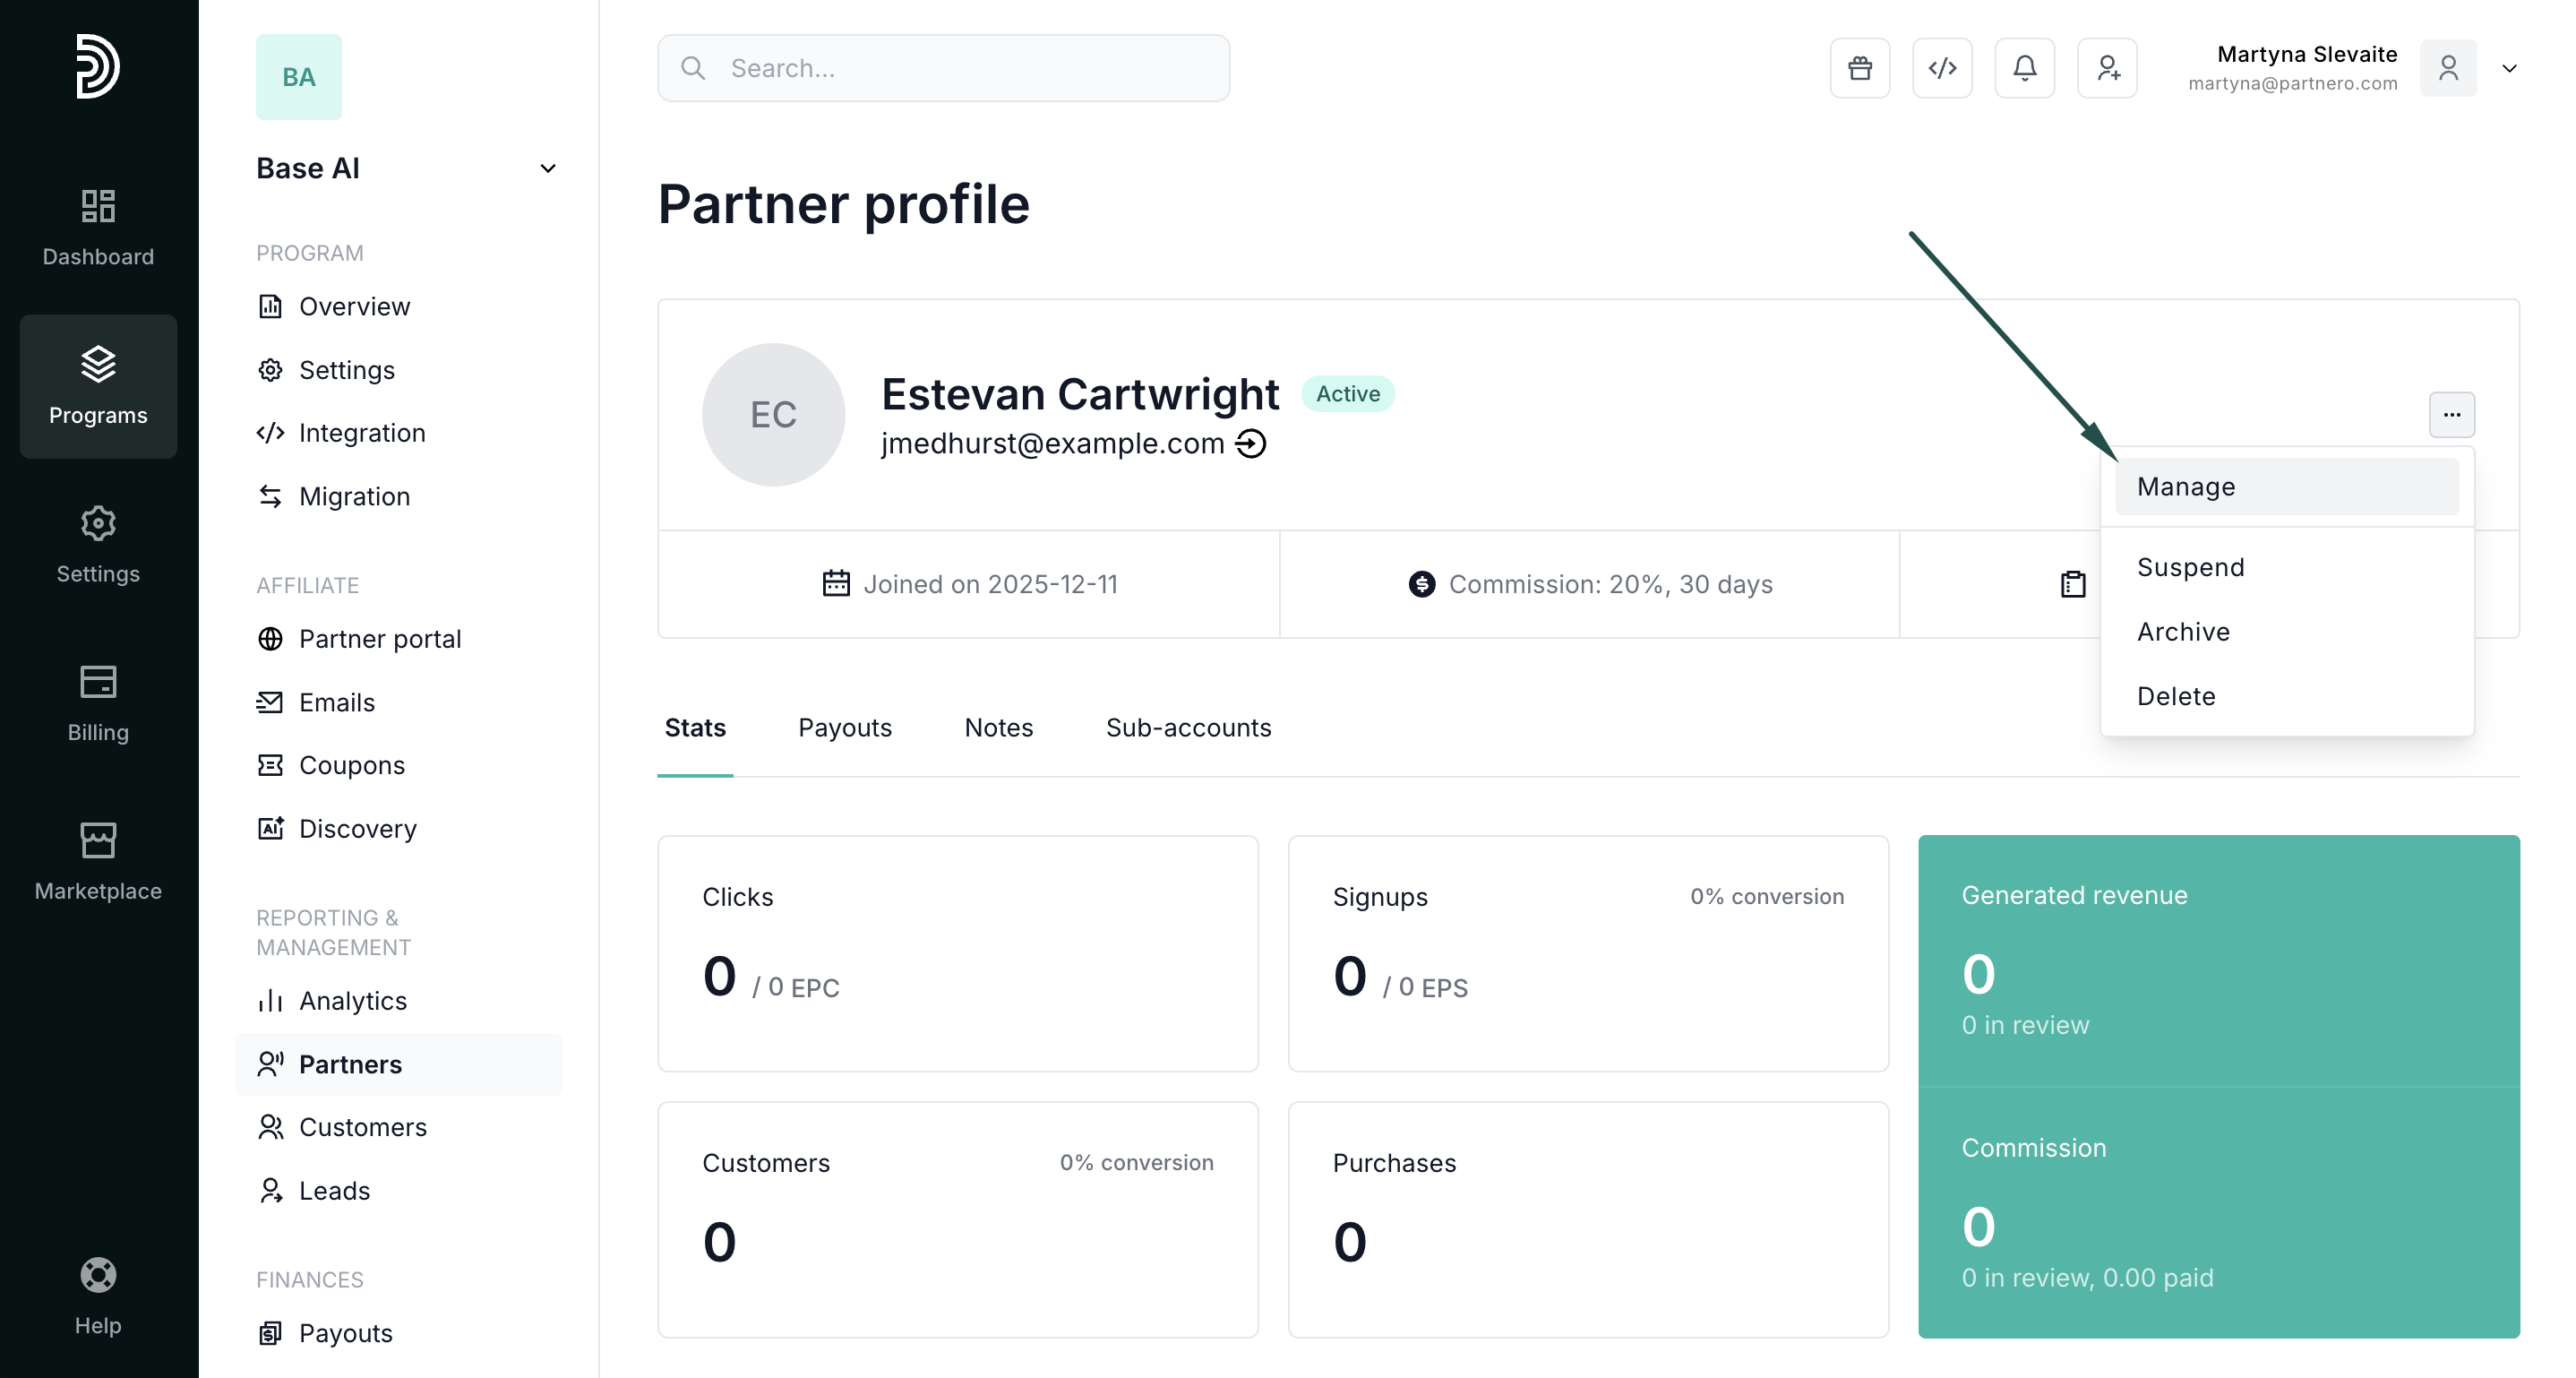
- Find a partner using their name or email and open their profile. Click Manage:
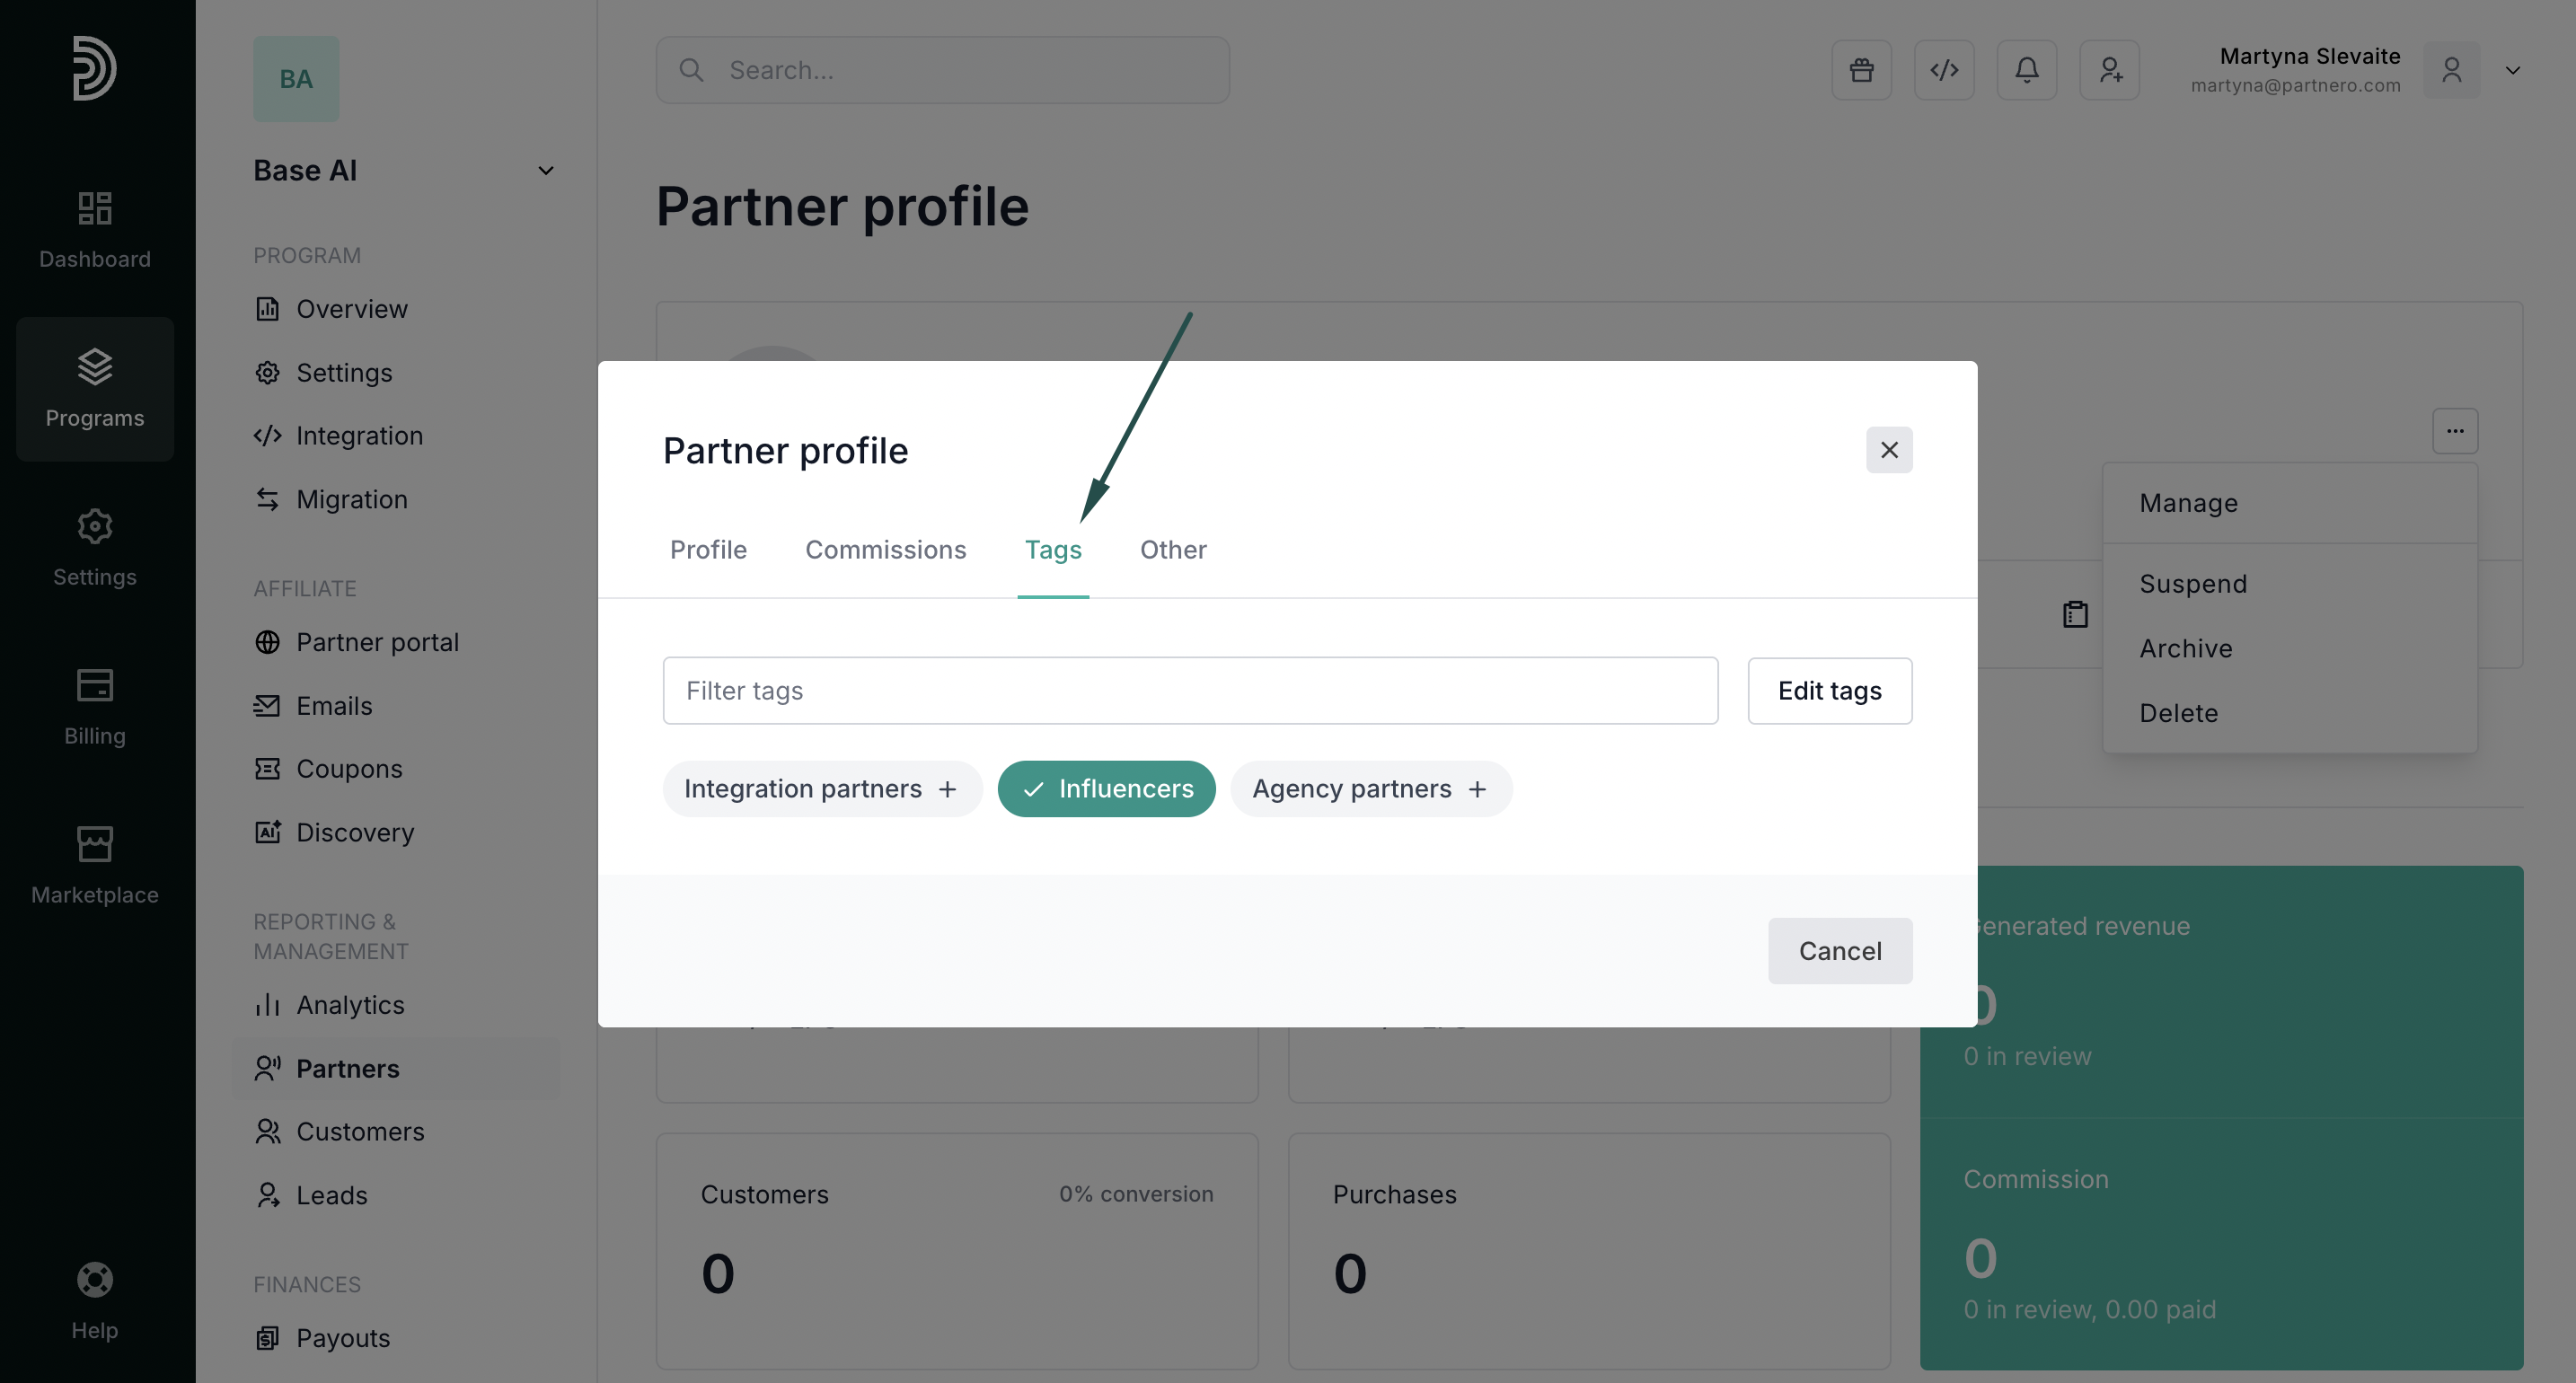
- Switch to the Tags tab. Click on existing tags to assign one, or click Edit tags to create a new tag:
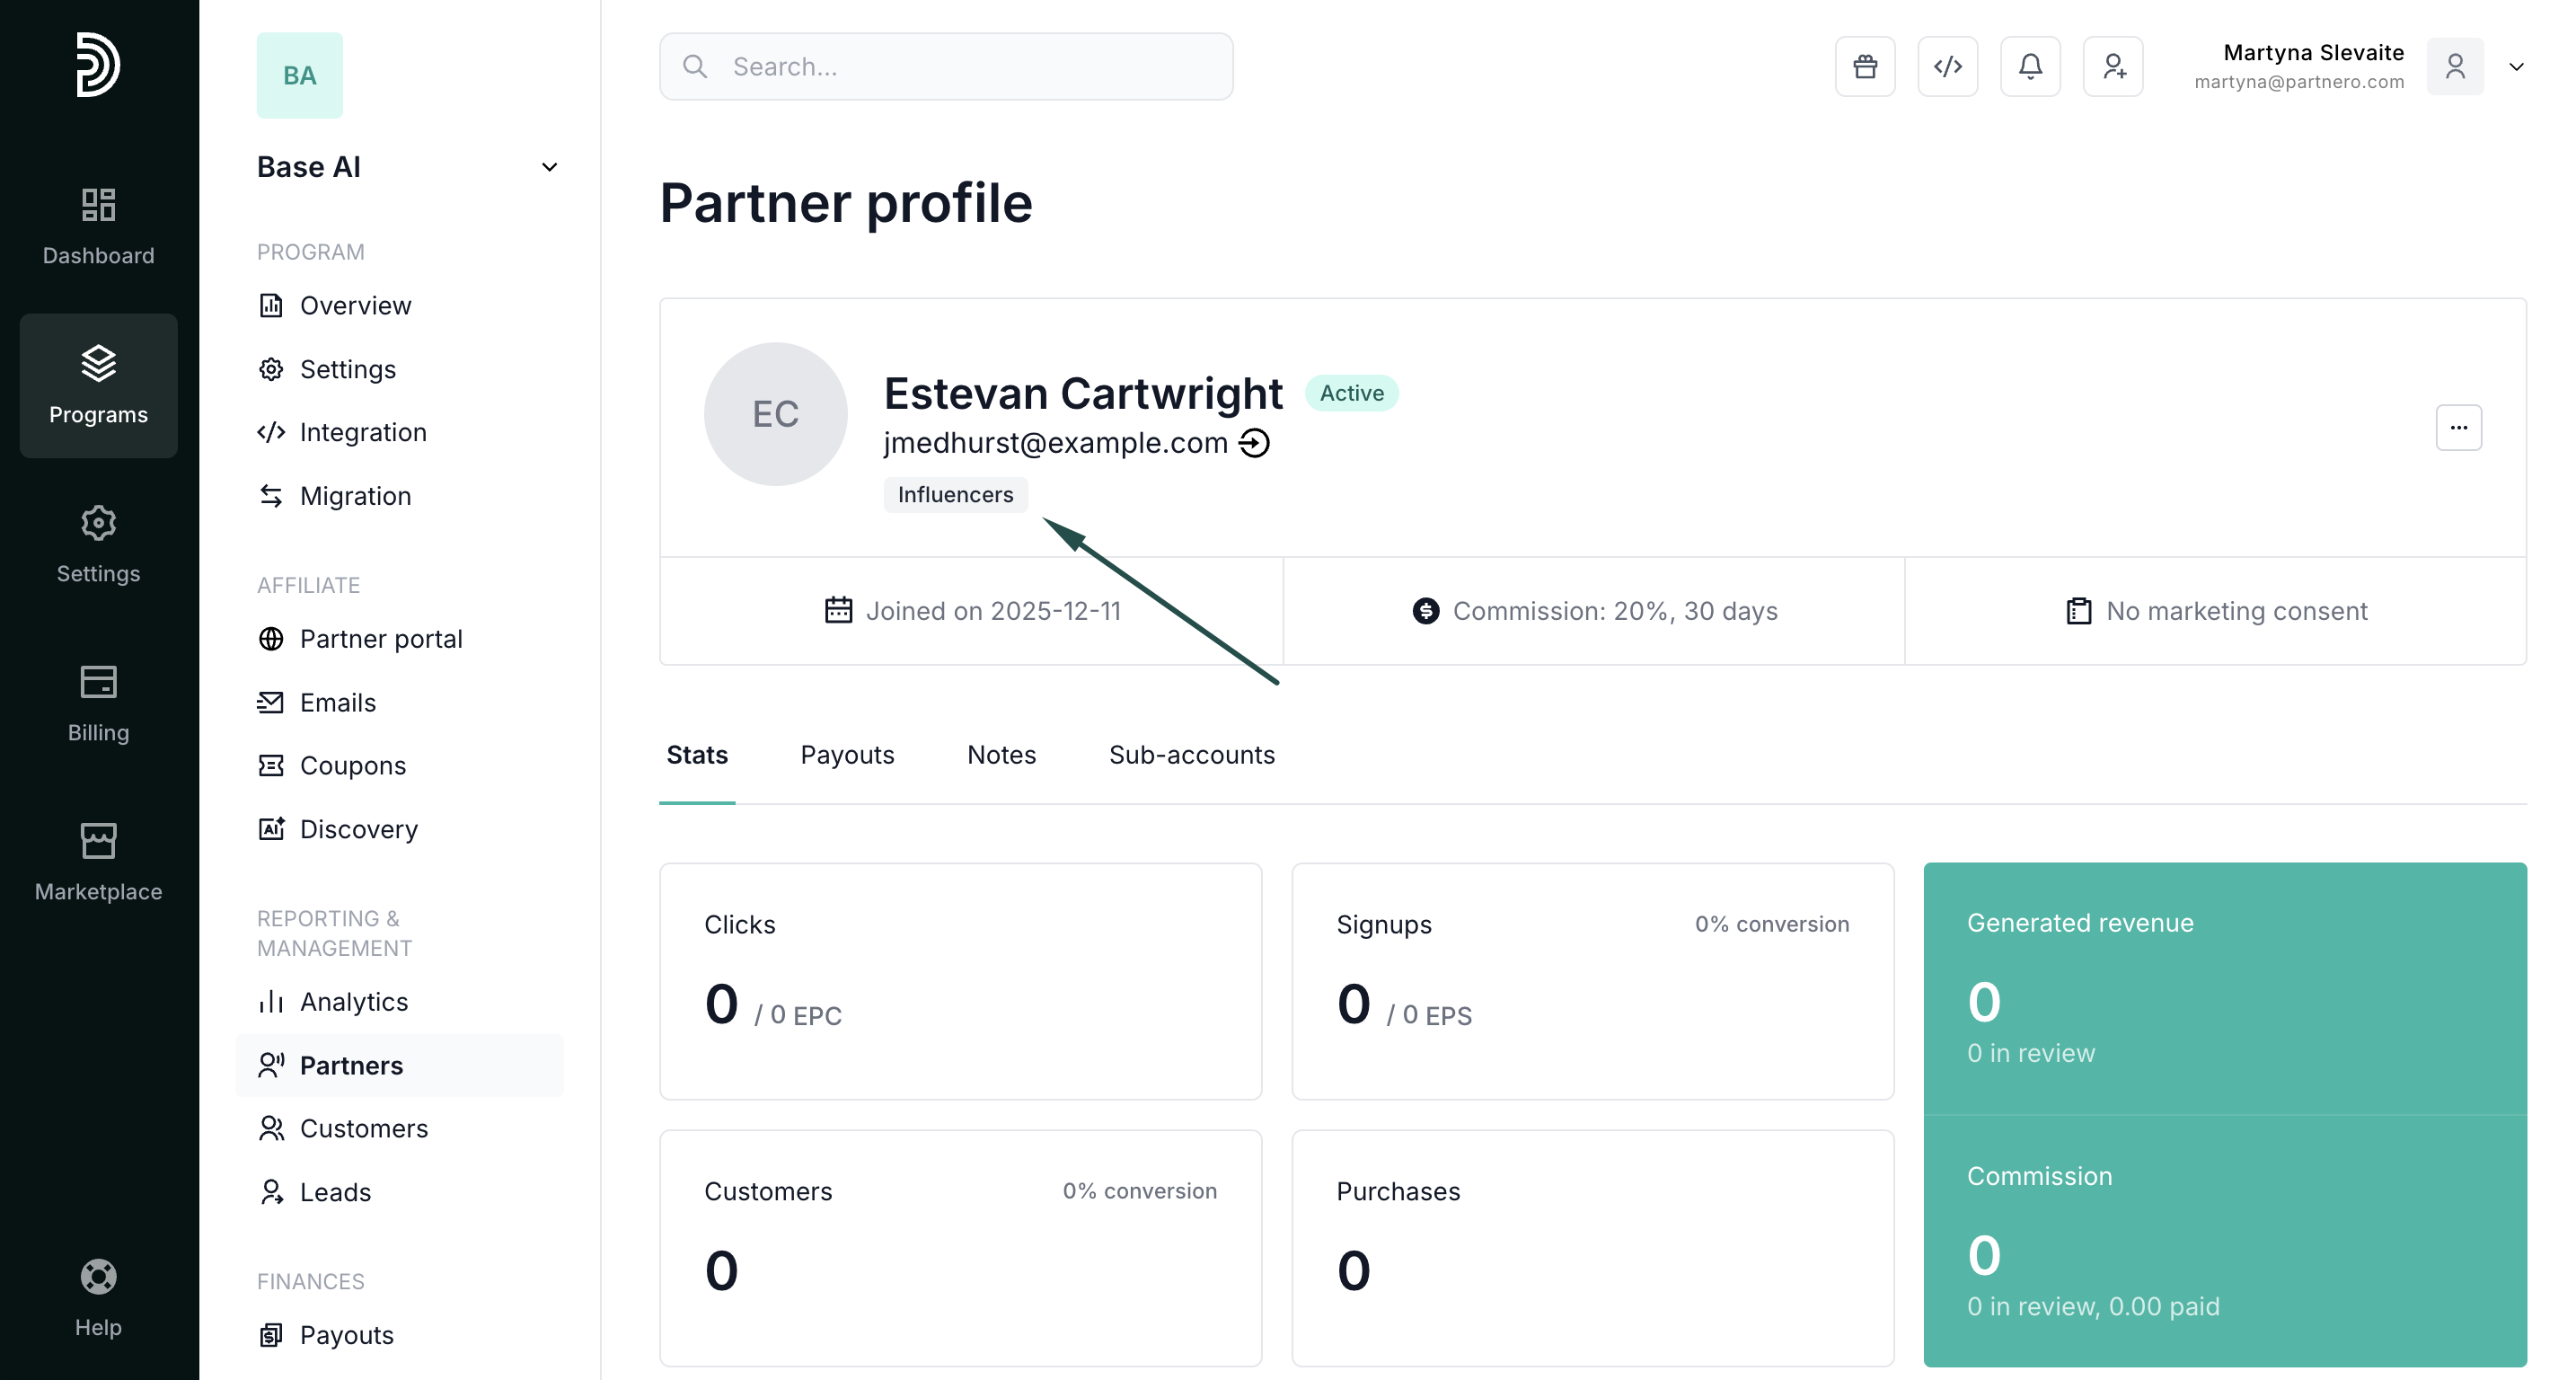
- You will see the assigned tag displayed in the partner's profile:


How to set up commissions for specific tags
Each partner tag can have an individual commission structure. To set up rewards:
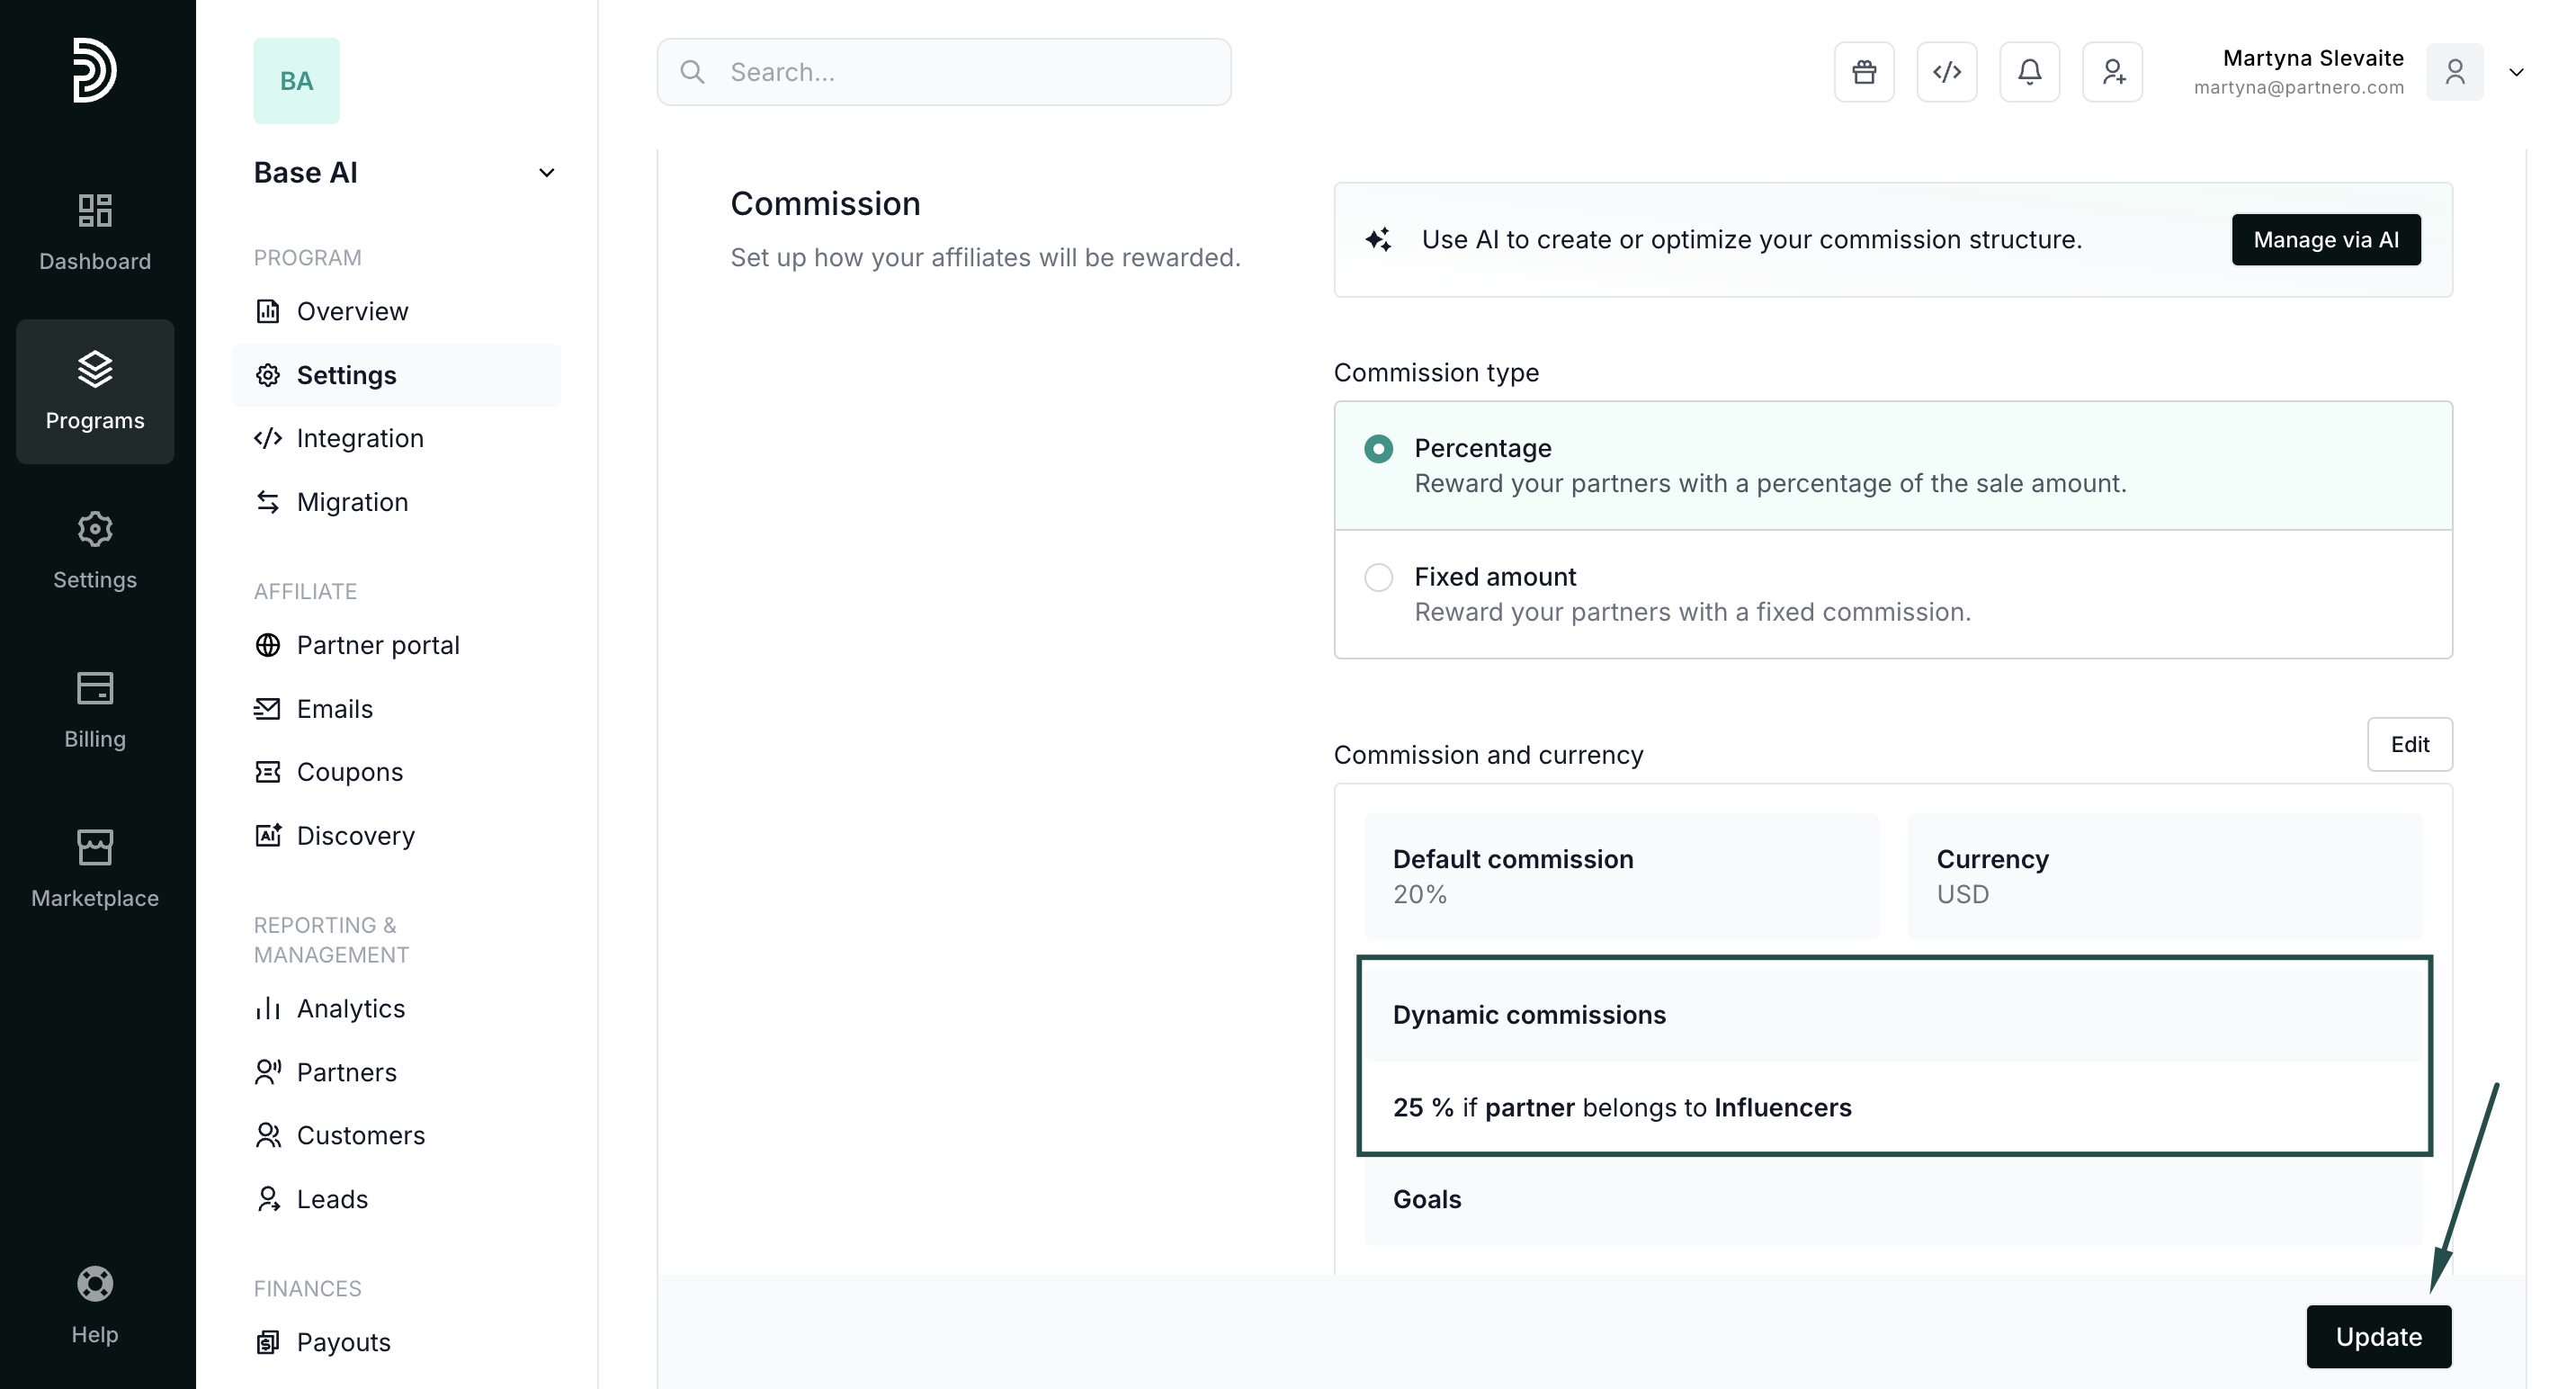
- Go to Settings under Program and click Commission rules. If you already have other advanced commissions set up, click Edit:
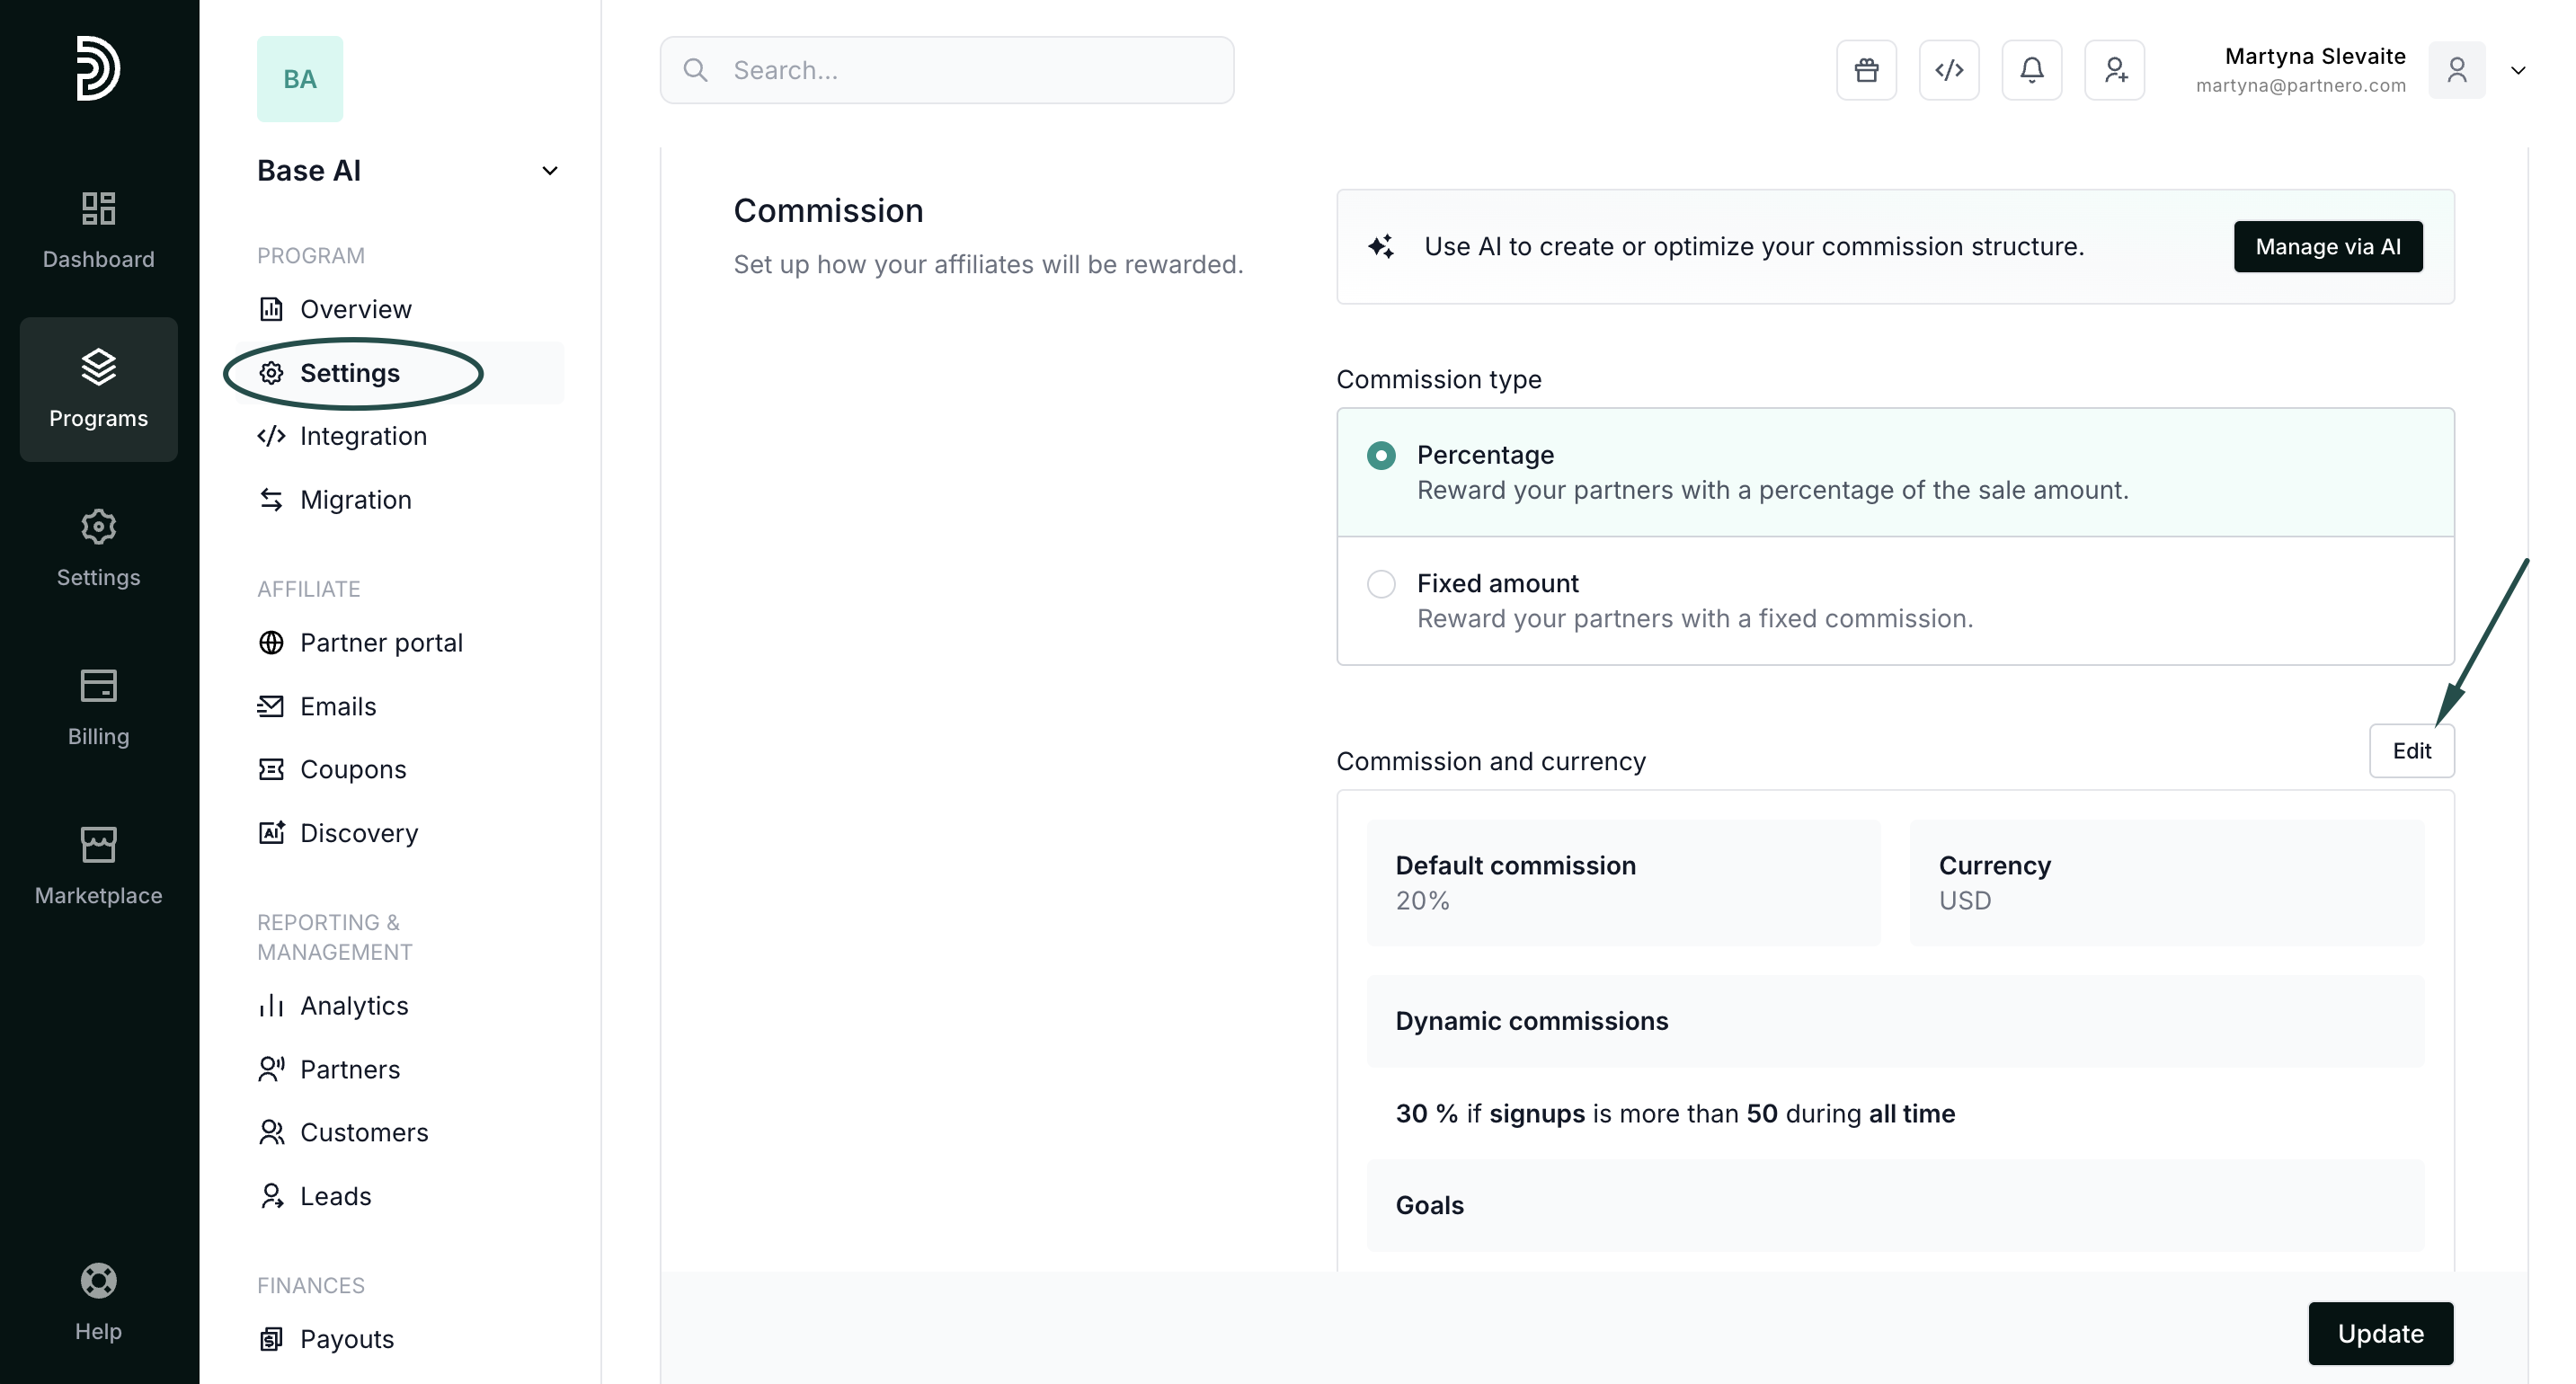
- In the Dynamic commissions tab, click +Add tier and set up the reward condition. In the example below, we're offering 25% commission if a partner > belongs to > "Influencers":
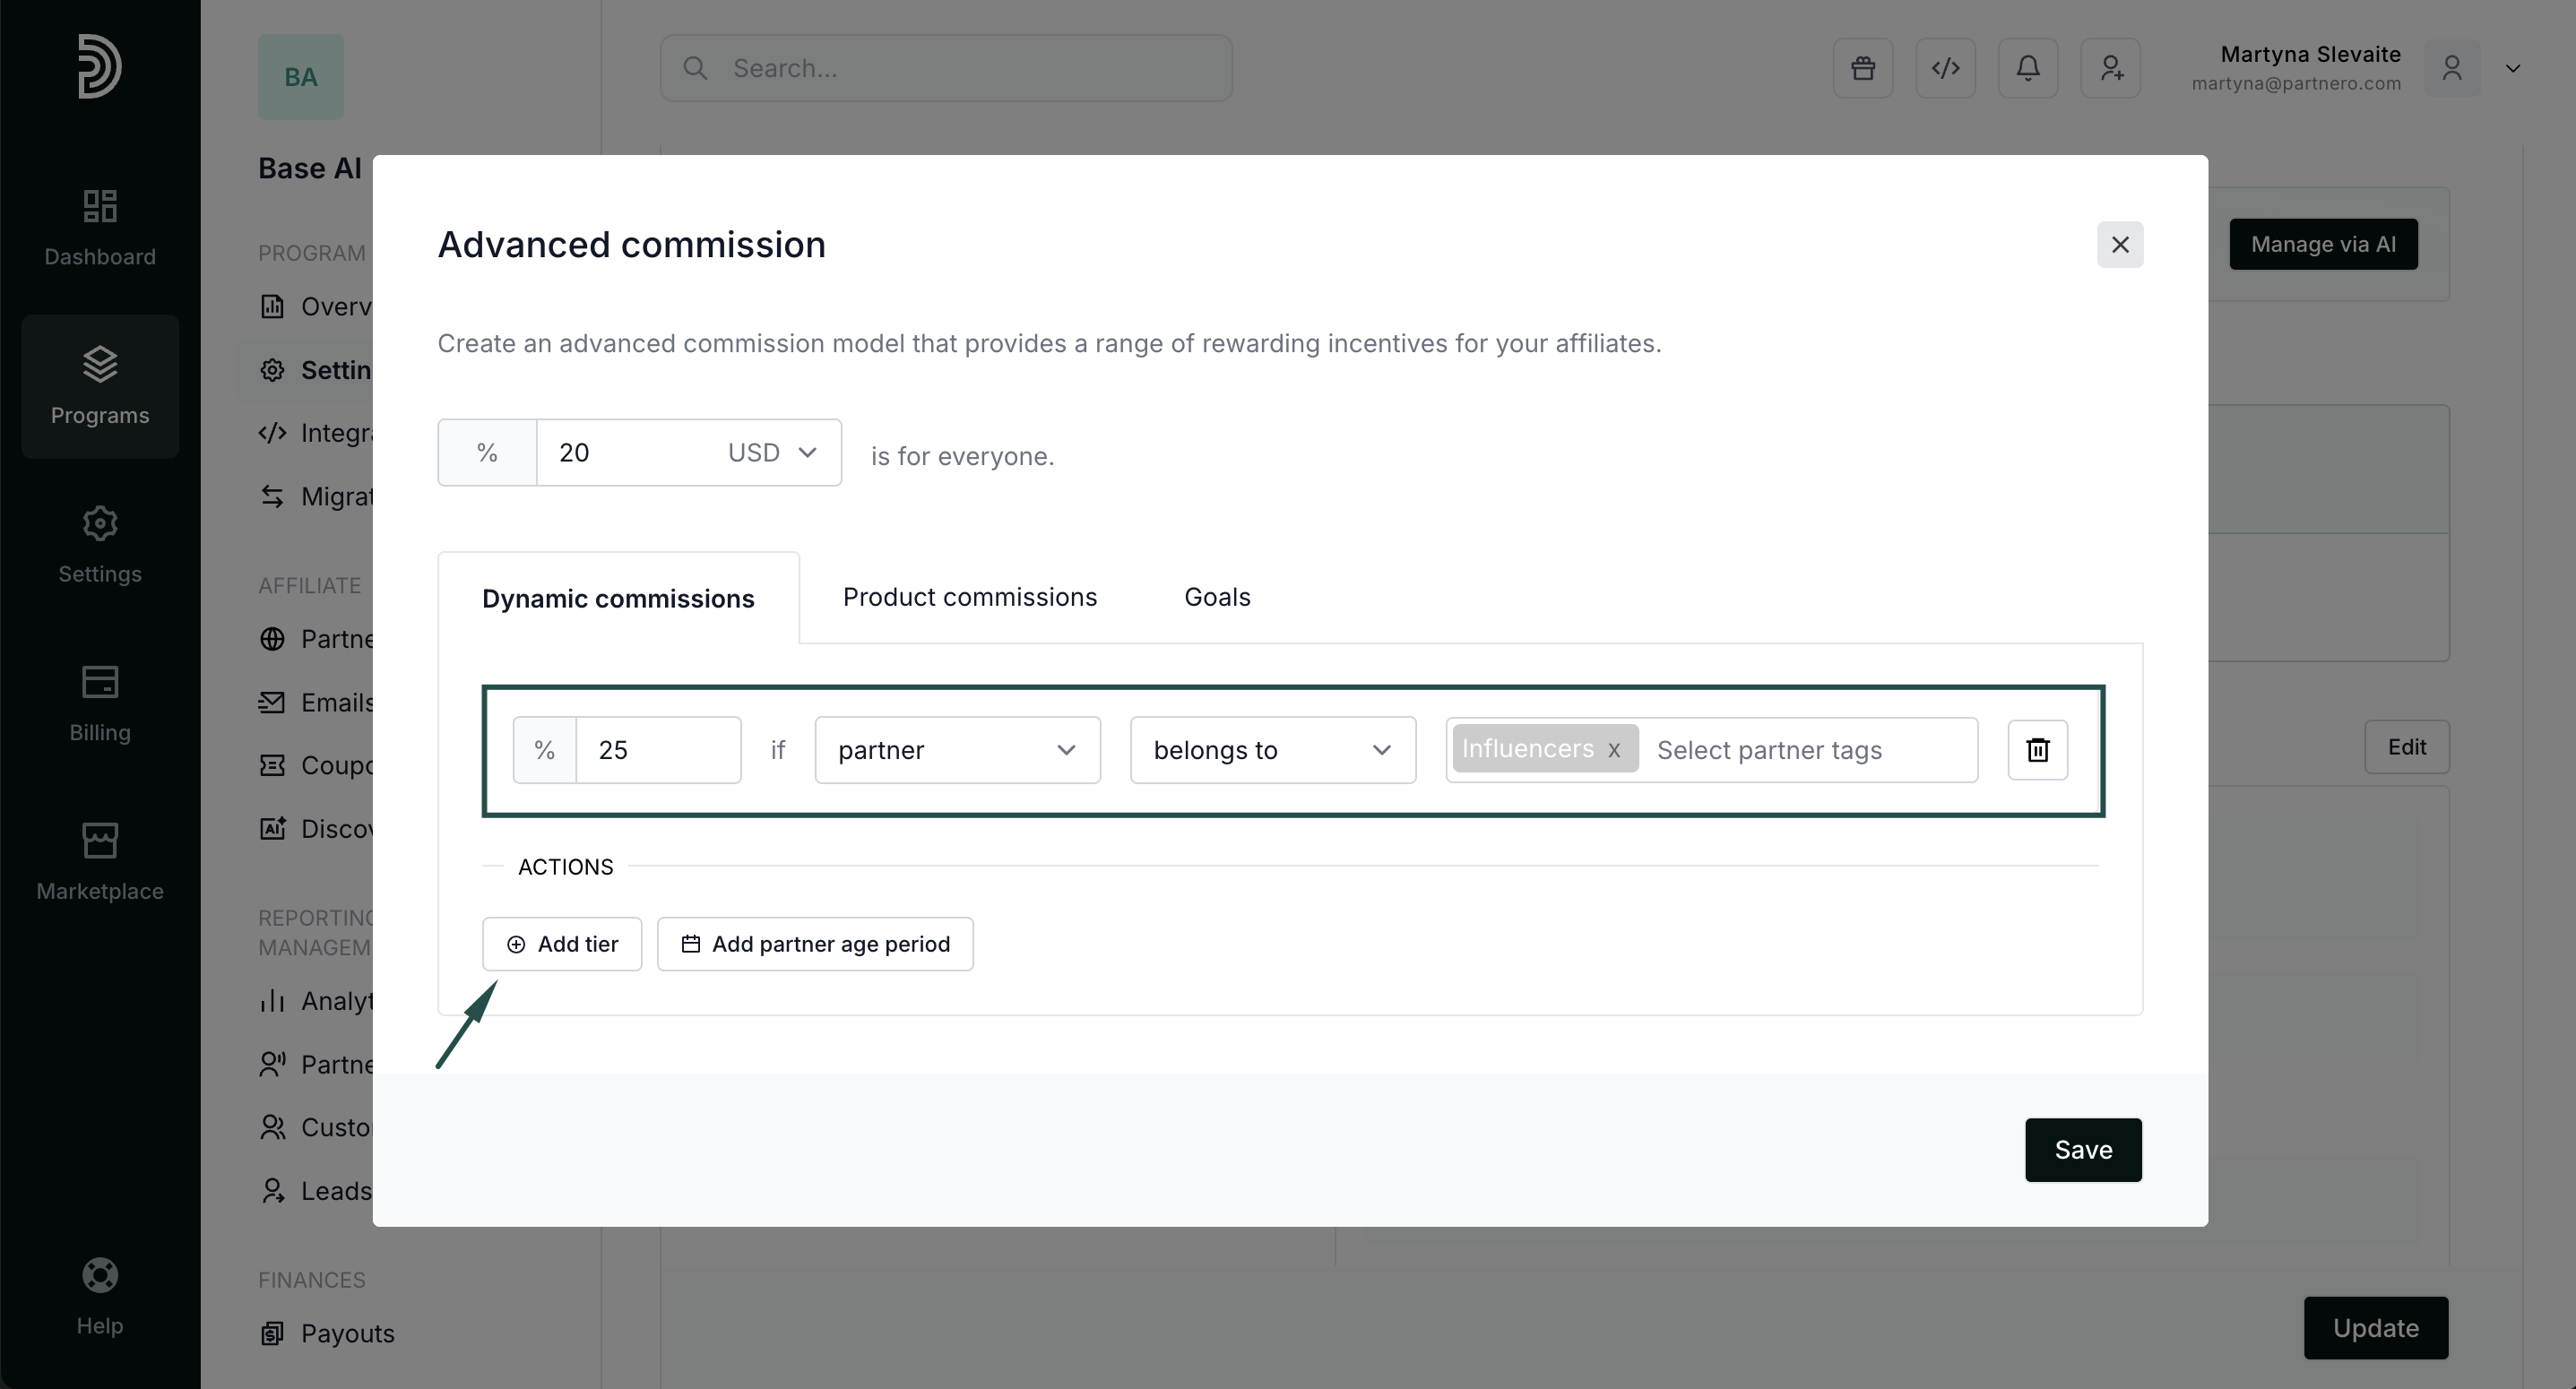
- Click Save to close the modal, and then Update to save the new settings:


Performance overview by tags
You can view all your existing tags and track performance by group under Partners → Tags tab: 
The overview shows the number of partners, signups, clicks, paid customers, and revenue per tag. Click any tag to see the full list of partners in that group: 