
Affiliate program settings
In this article, we'll go through the main settings of an affiliate program. If you haven't yet, you'll need to create a program first.
Settings overview
The Settings section has three tabs. Let's review the General tab.  The General tab gives you the option to view and edit the main details of your program:
- Program name - this name will be visible to your partners when they sign up and is used in program emails.
- Website URL - the default page that your partners’ affiliate links will lead to.
- Partner portal URL - the partner portal login page. You can use our default link or connect your own domain.
Here you can:
- Connect a custom partner portal URL
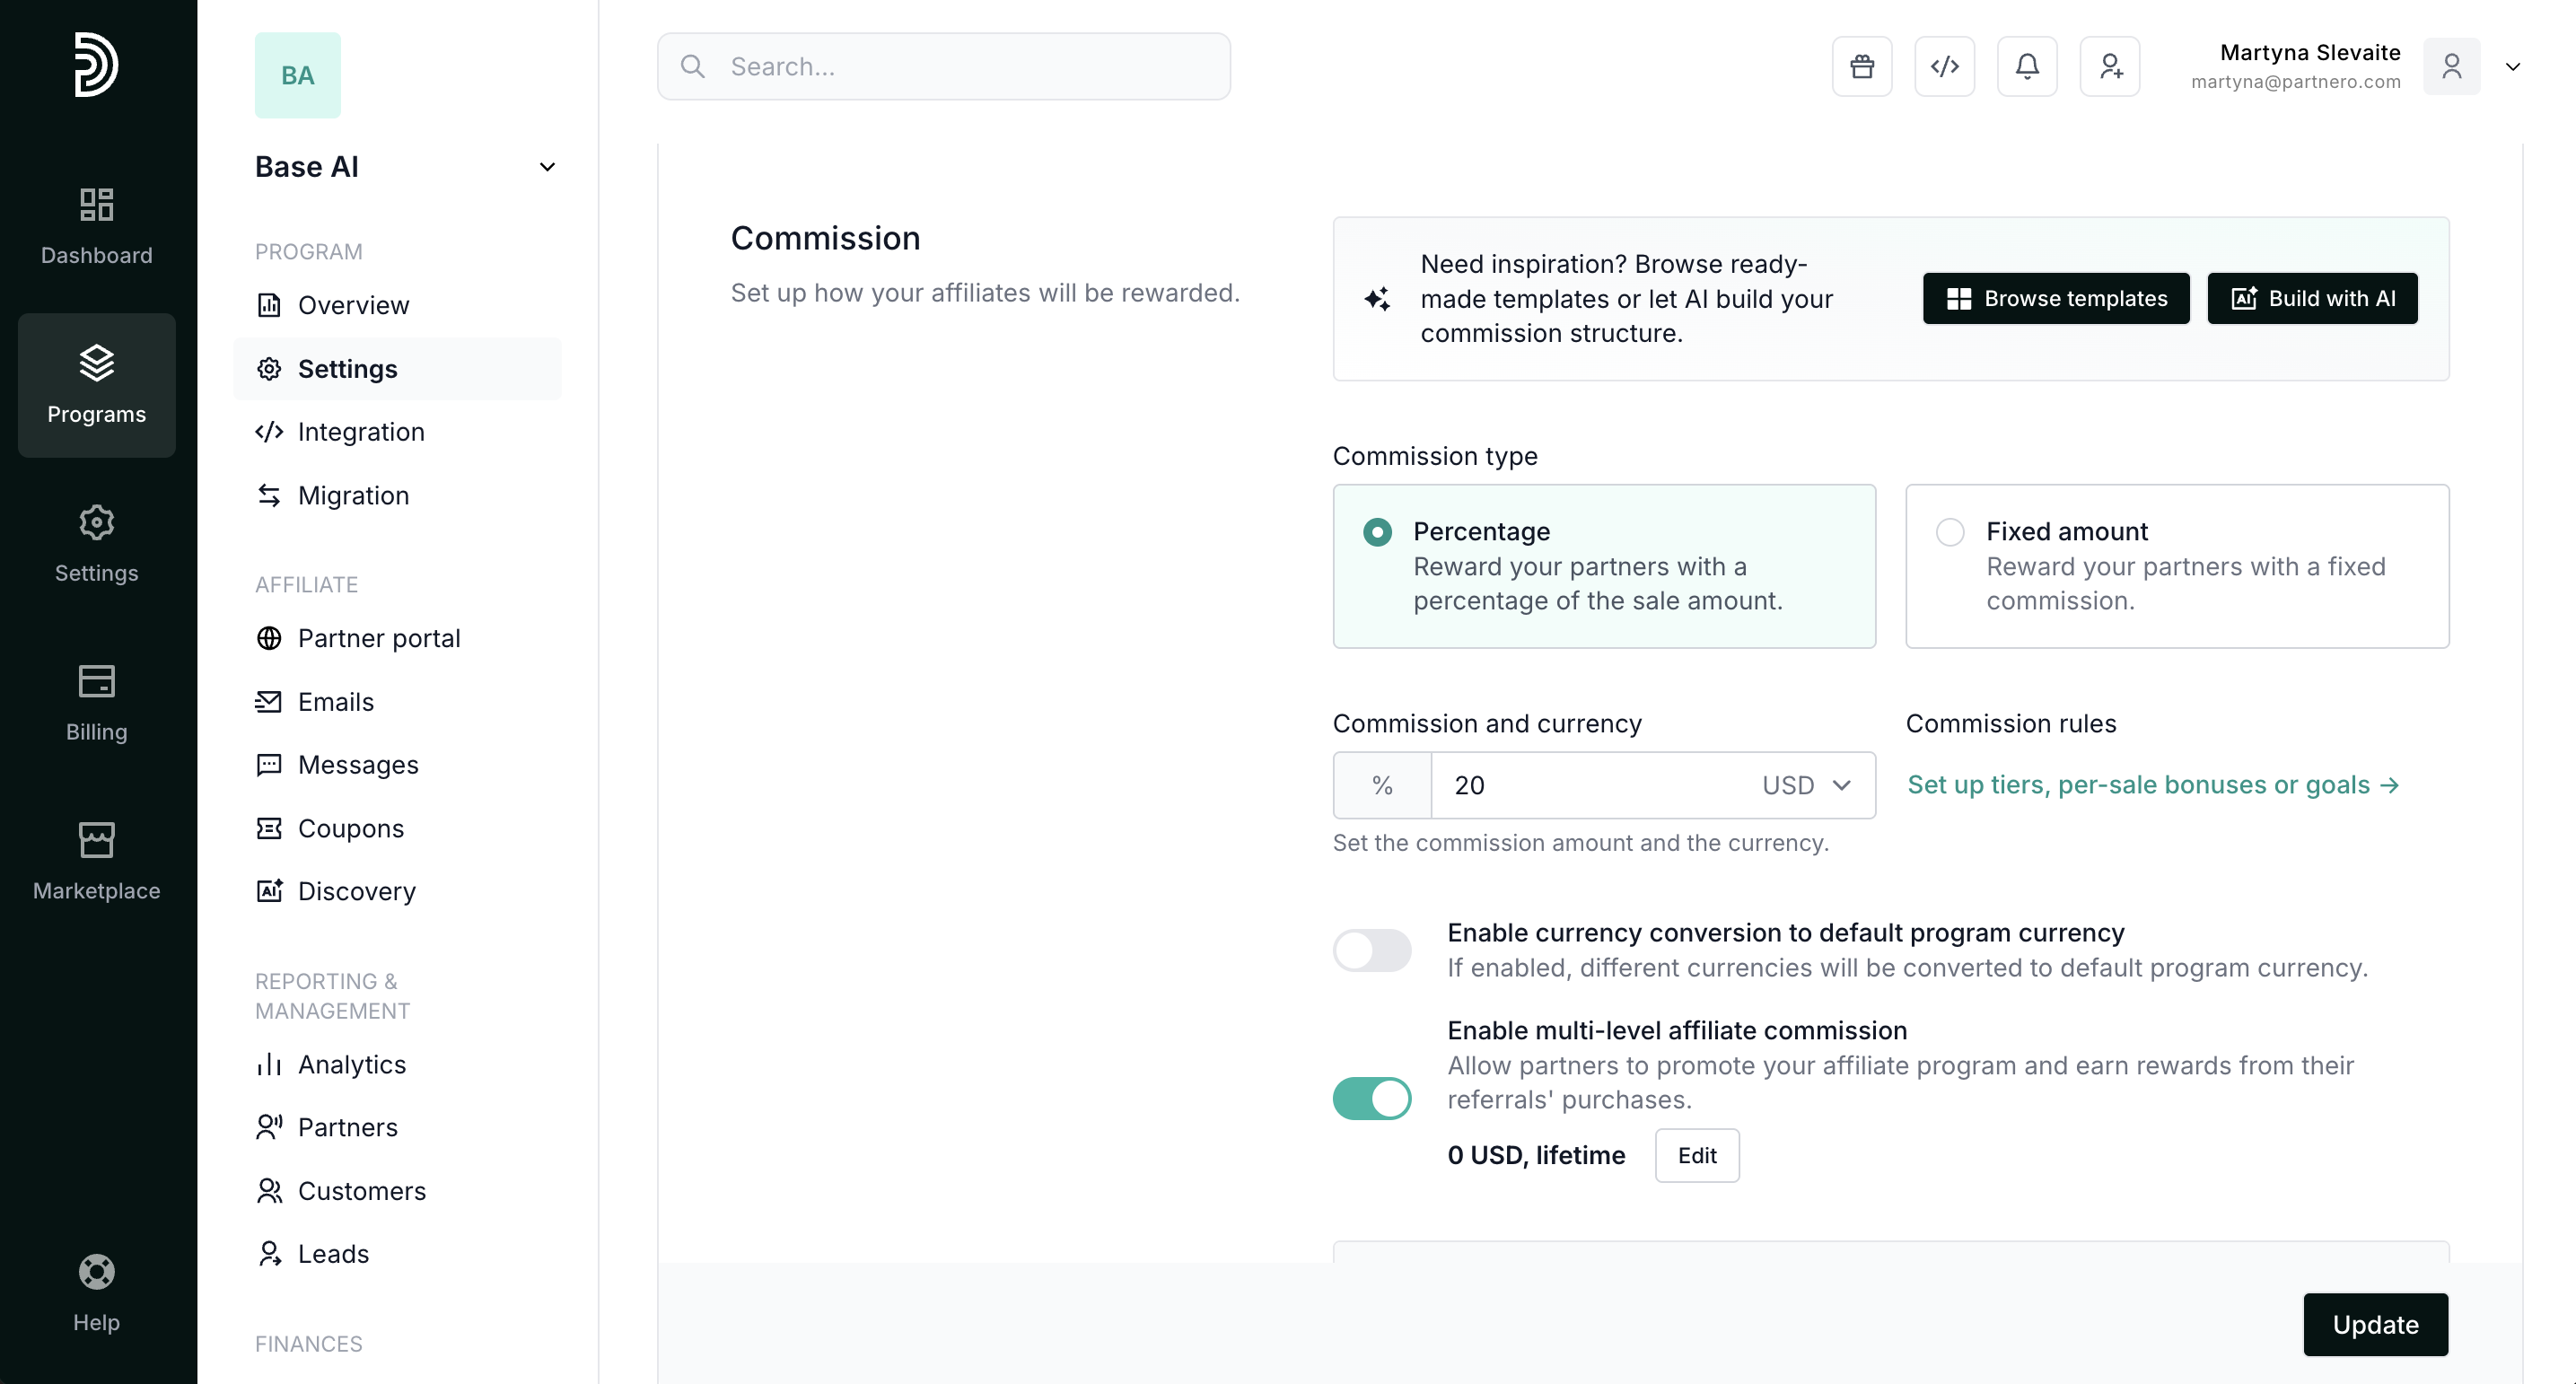
- Customize your commission structure
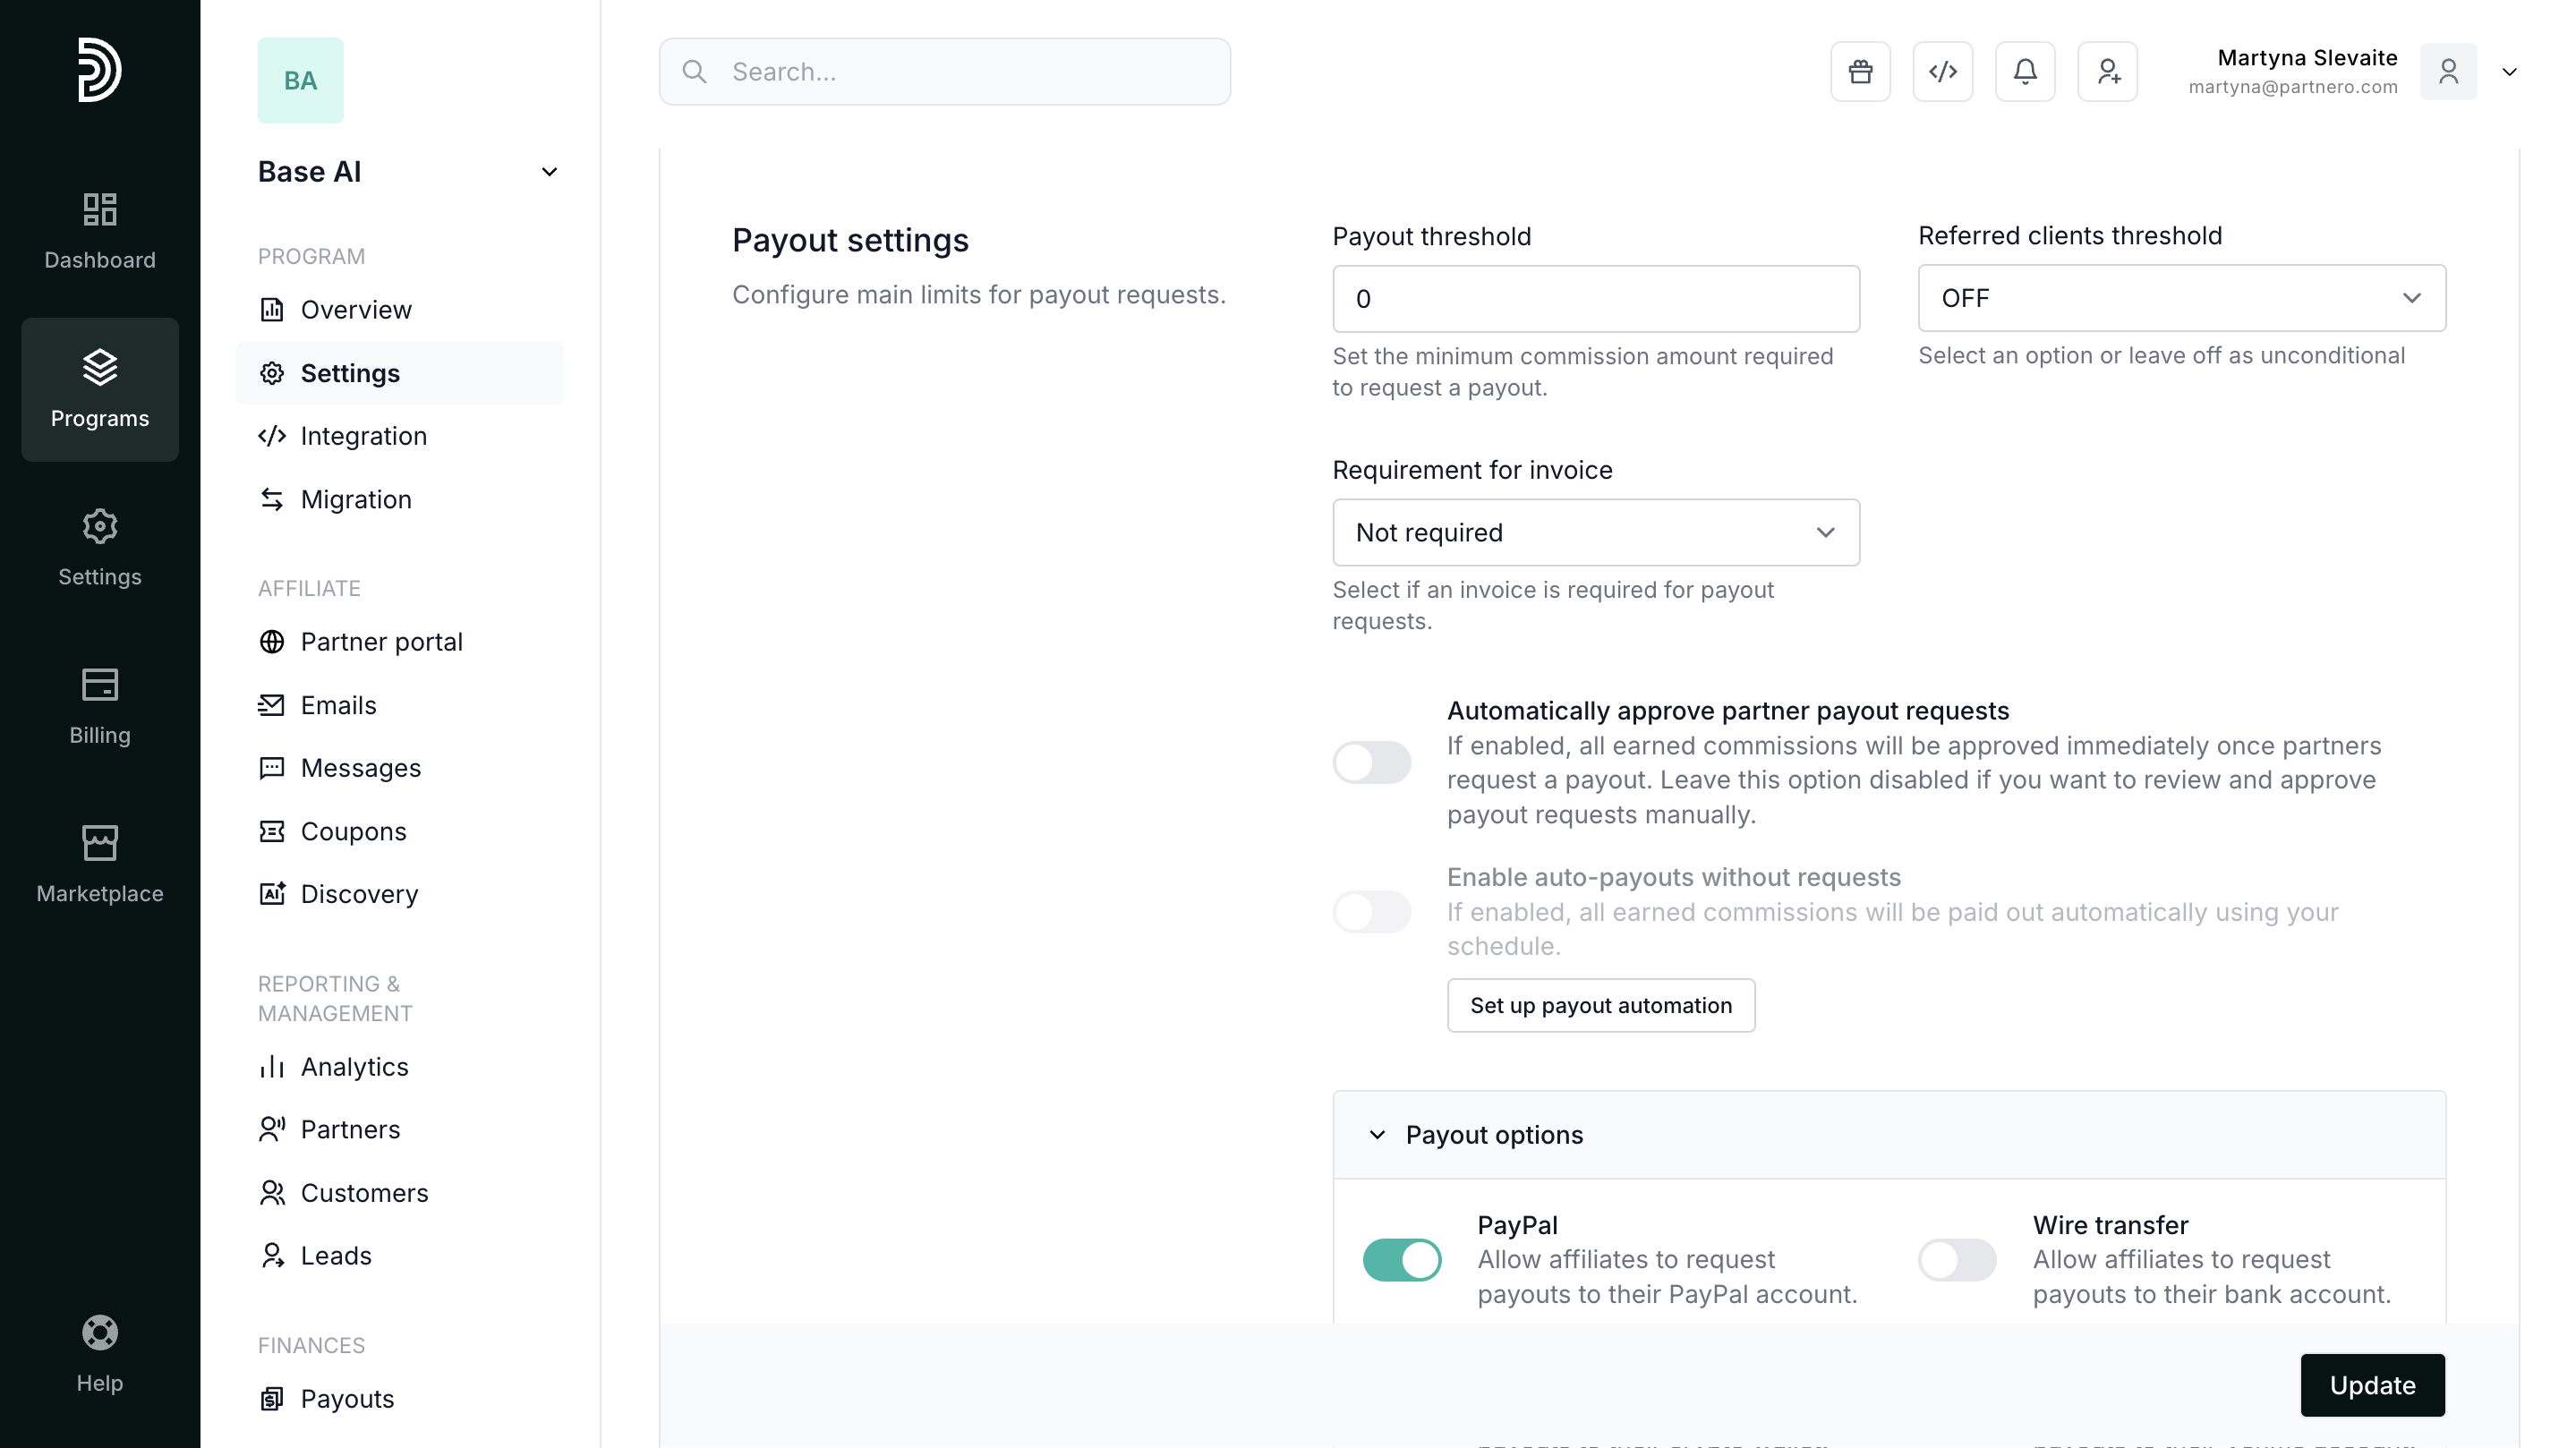
- Customize payout settings and options
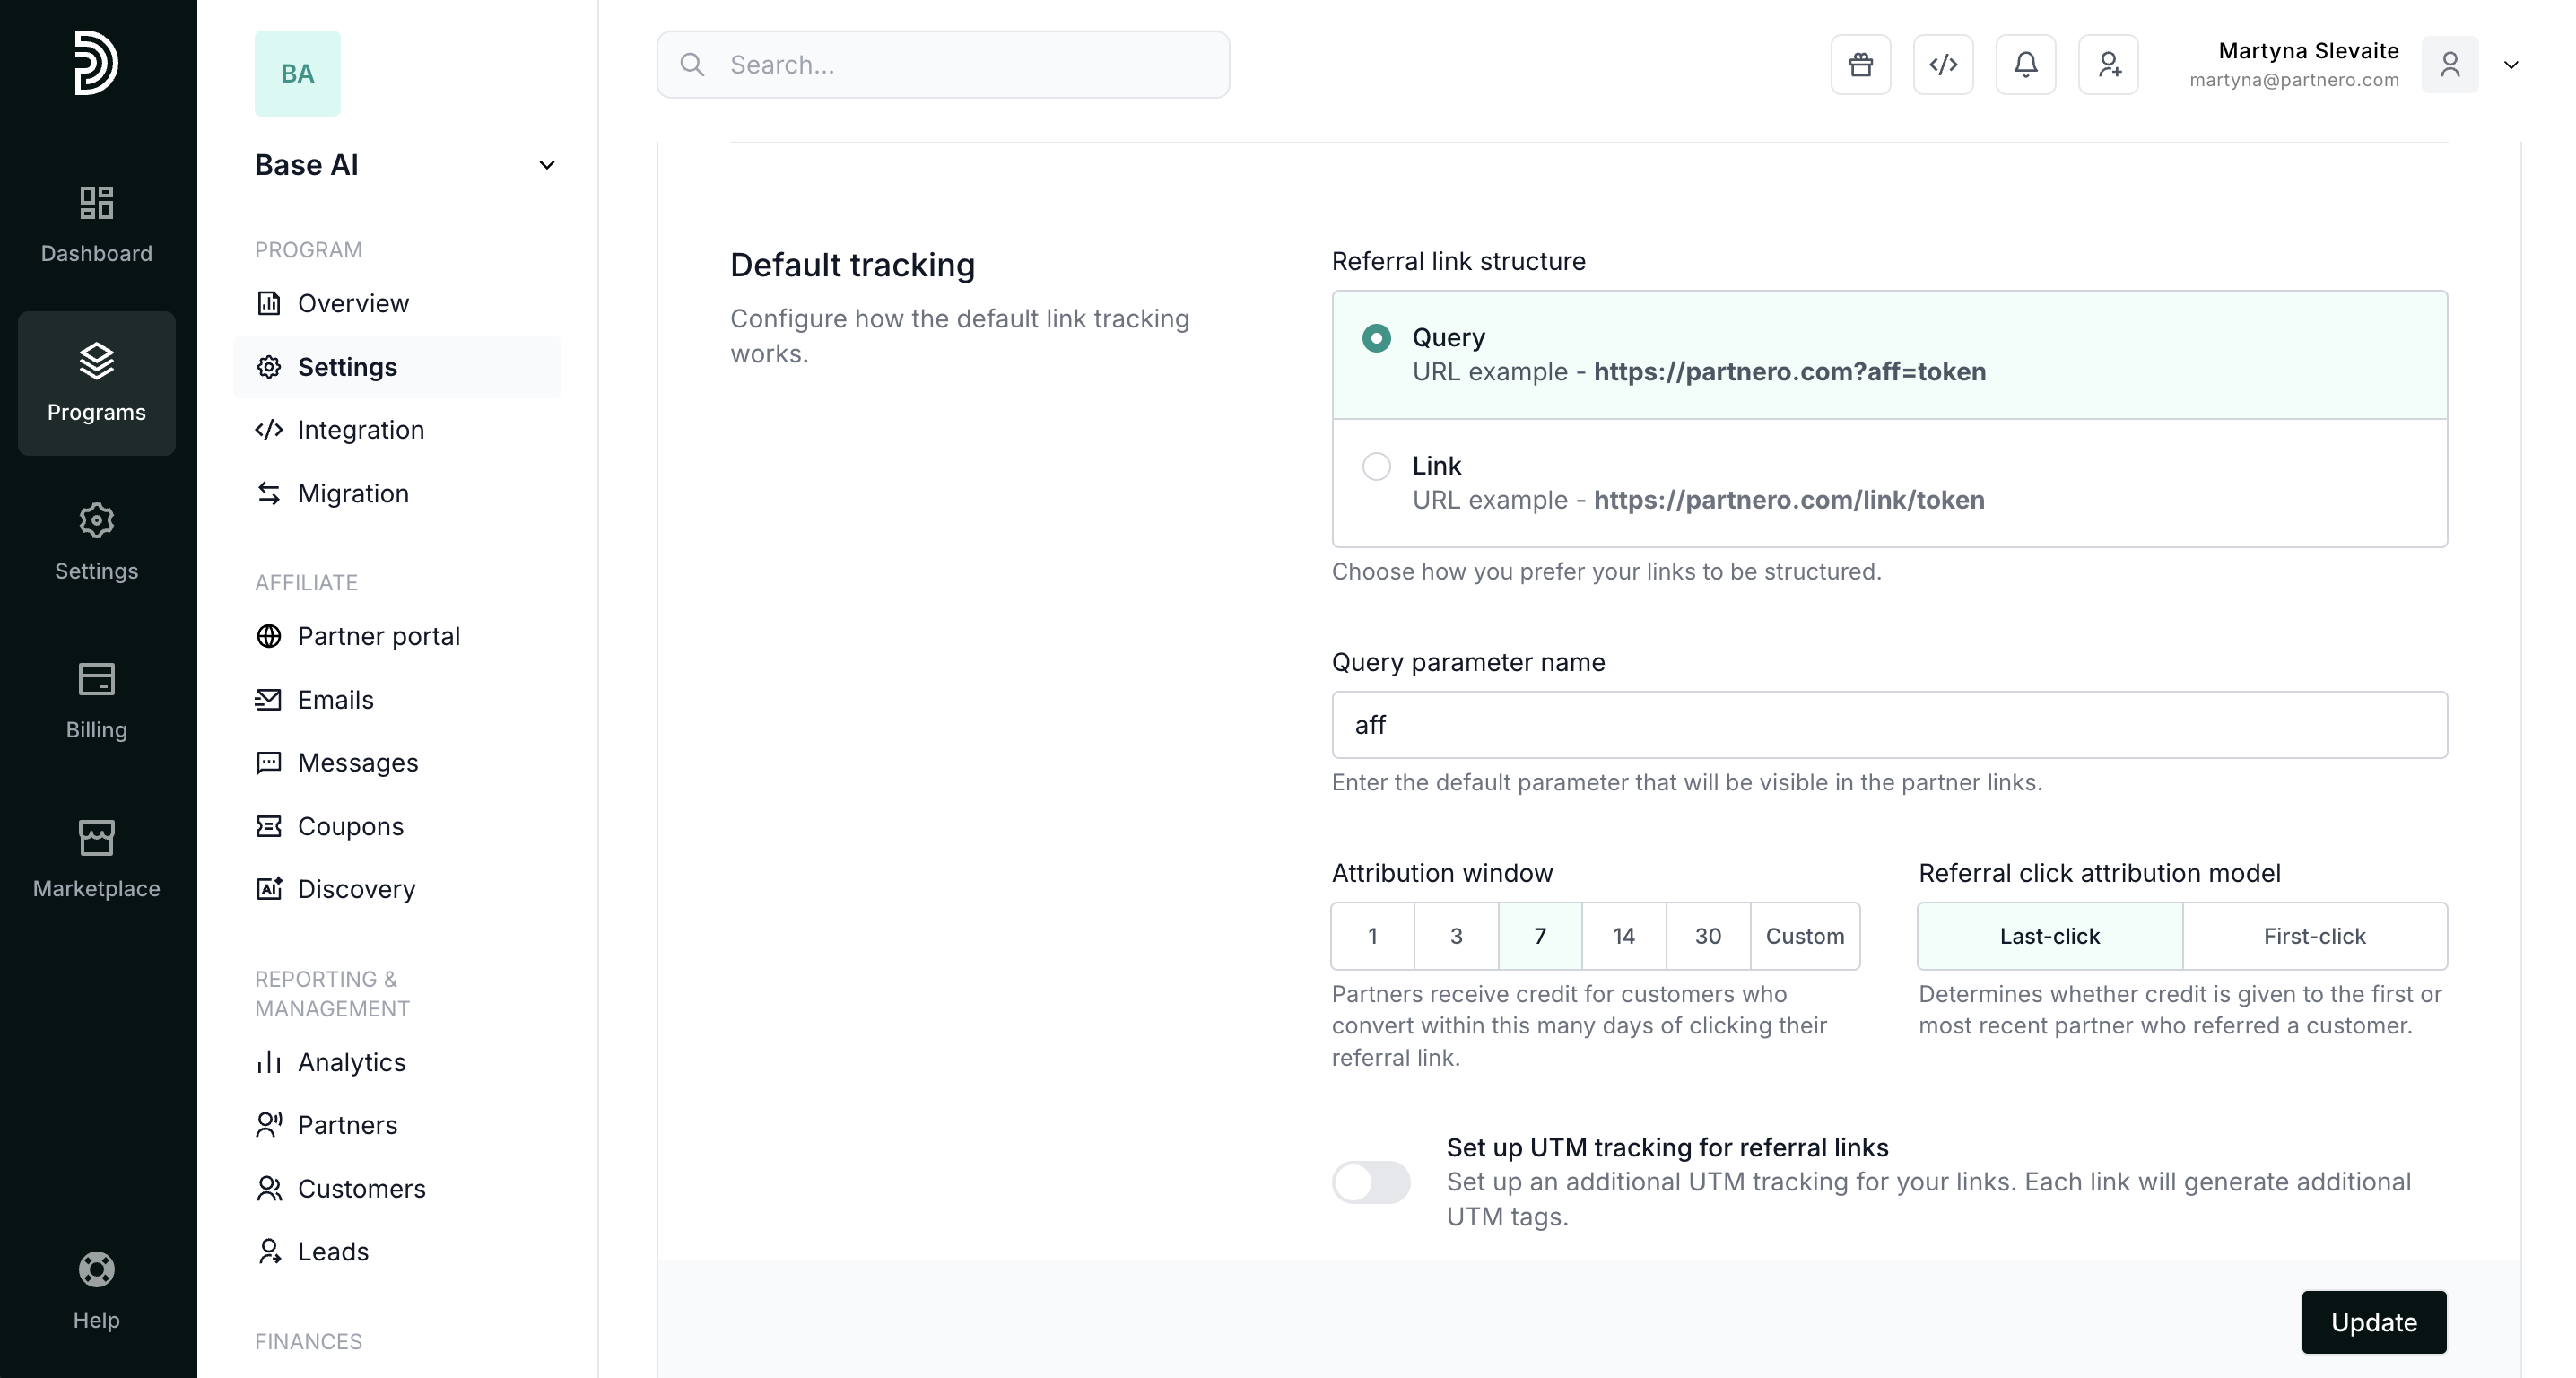
- Configure tracking links and attribution
- Manage coupon tracking
- Connect additional tracking links through Advanced links
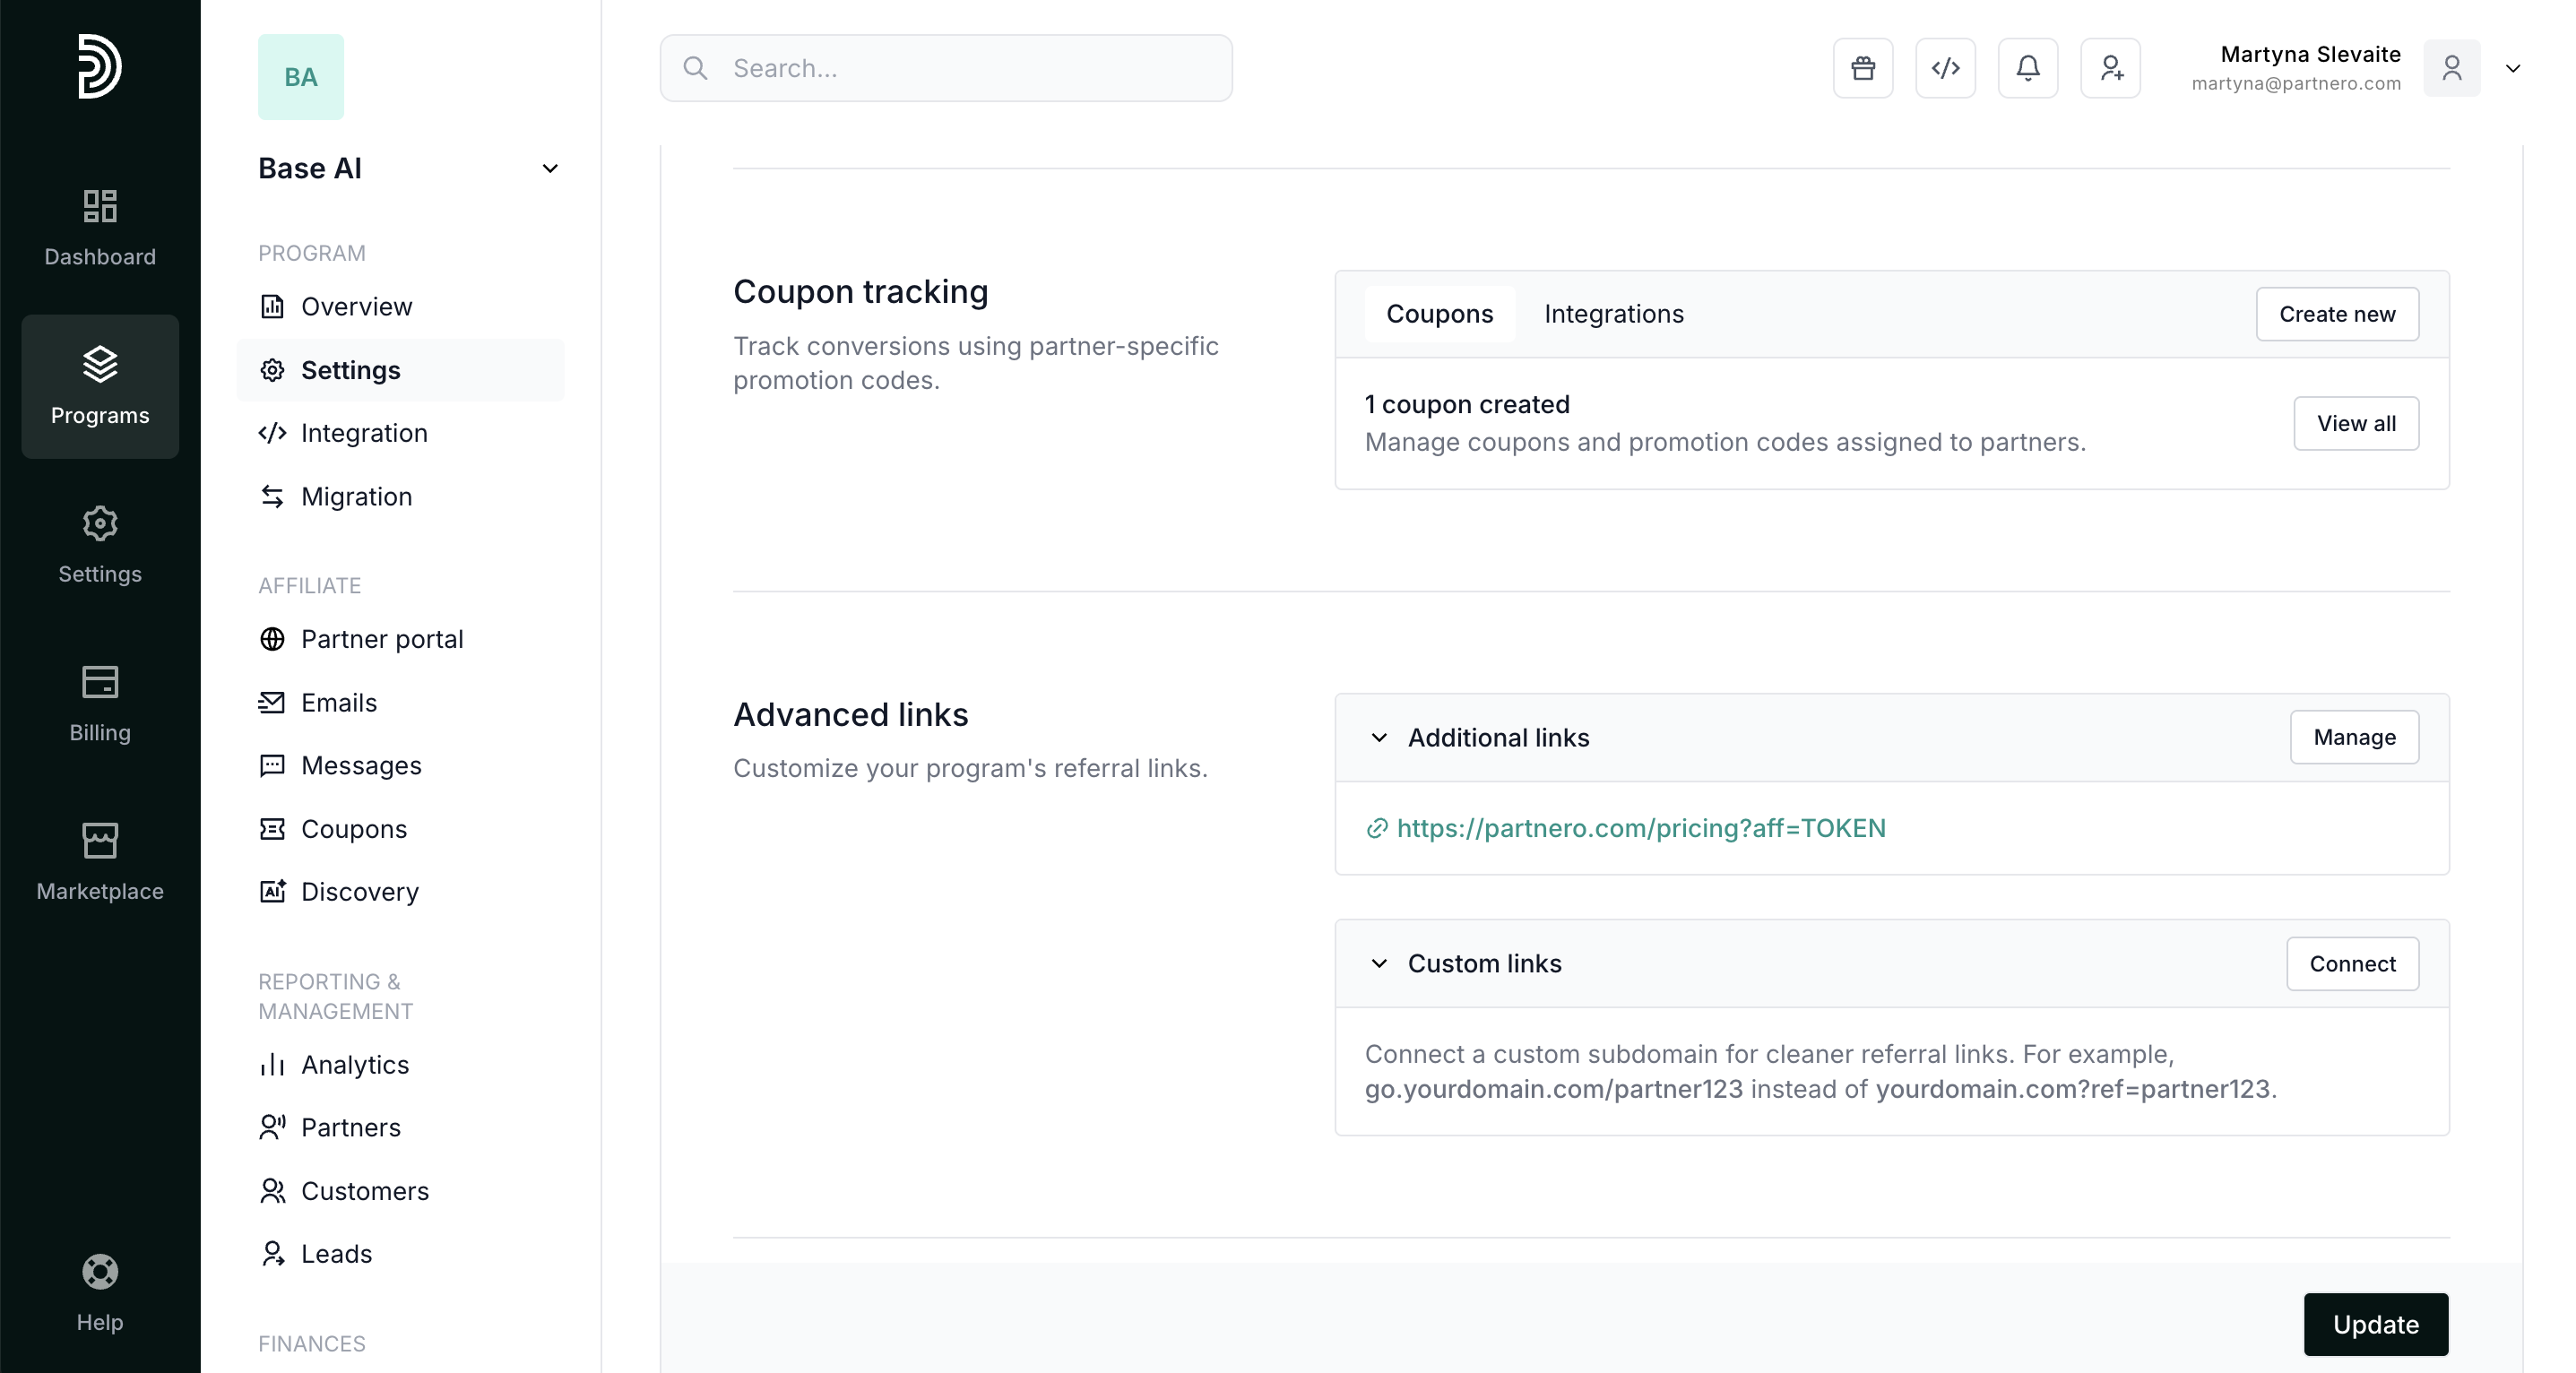
- Connect a custom domain for your tracking links.
- Update Transaction & Protection settings
- Enable leads collection


This Other section offers additional options for your program:
- Enable approval form for new partners - if enabled, new partners will have to fill out a form and get approved before accessing your program. Read more about approvals here.
- Email notifications for partners - if enabled, your partners will have the possibility to allow email notifications about new signups, sales, and others. Learn more about program emails here.
- Onboarding description for new partners - if enabled, your new partners will get a description sidebar tabs below their profile settings. Read more about onboarding here.
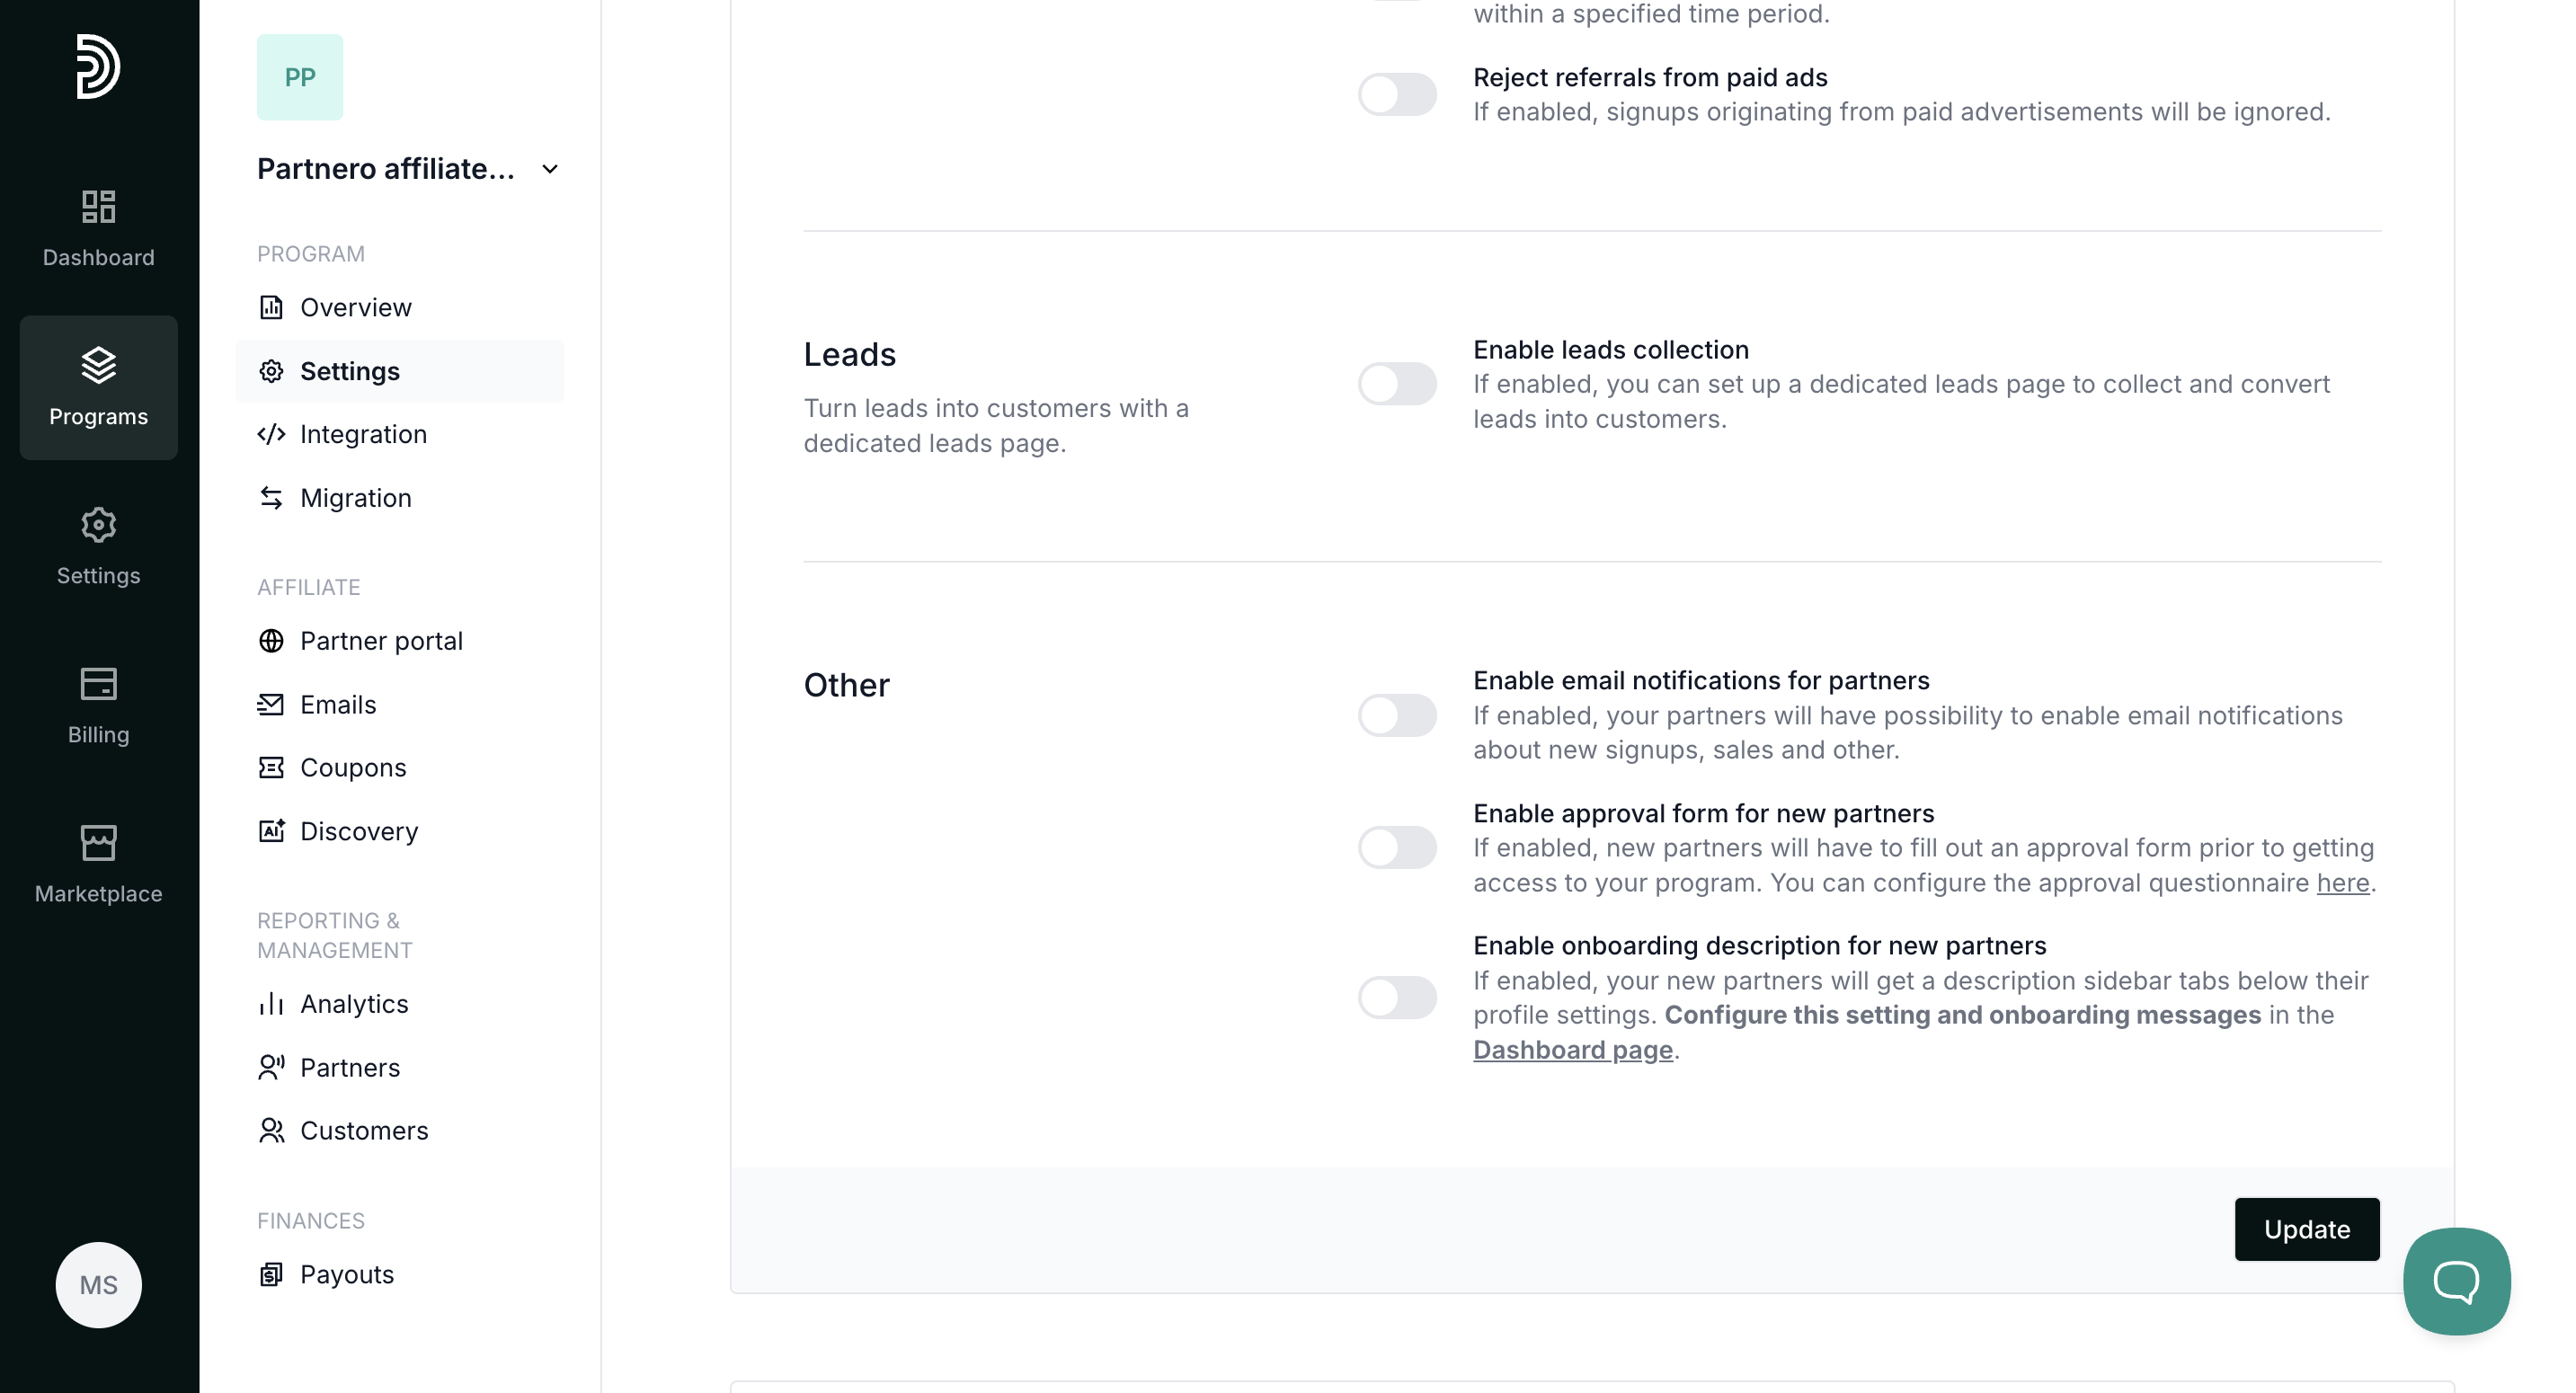

Make sure to click Update after you make any changes!
The last section on the General tab is to delete, duplicate, or reset your program: 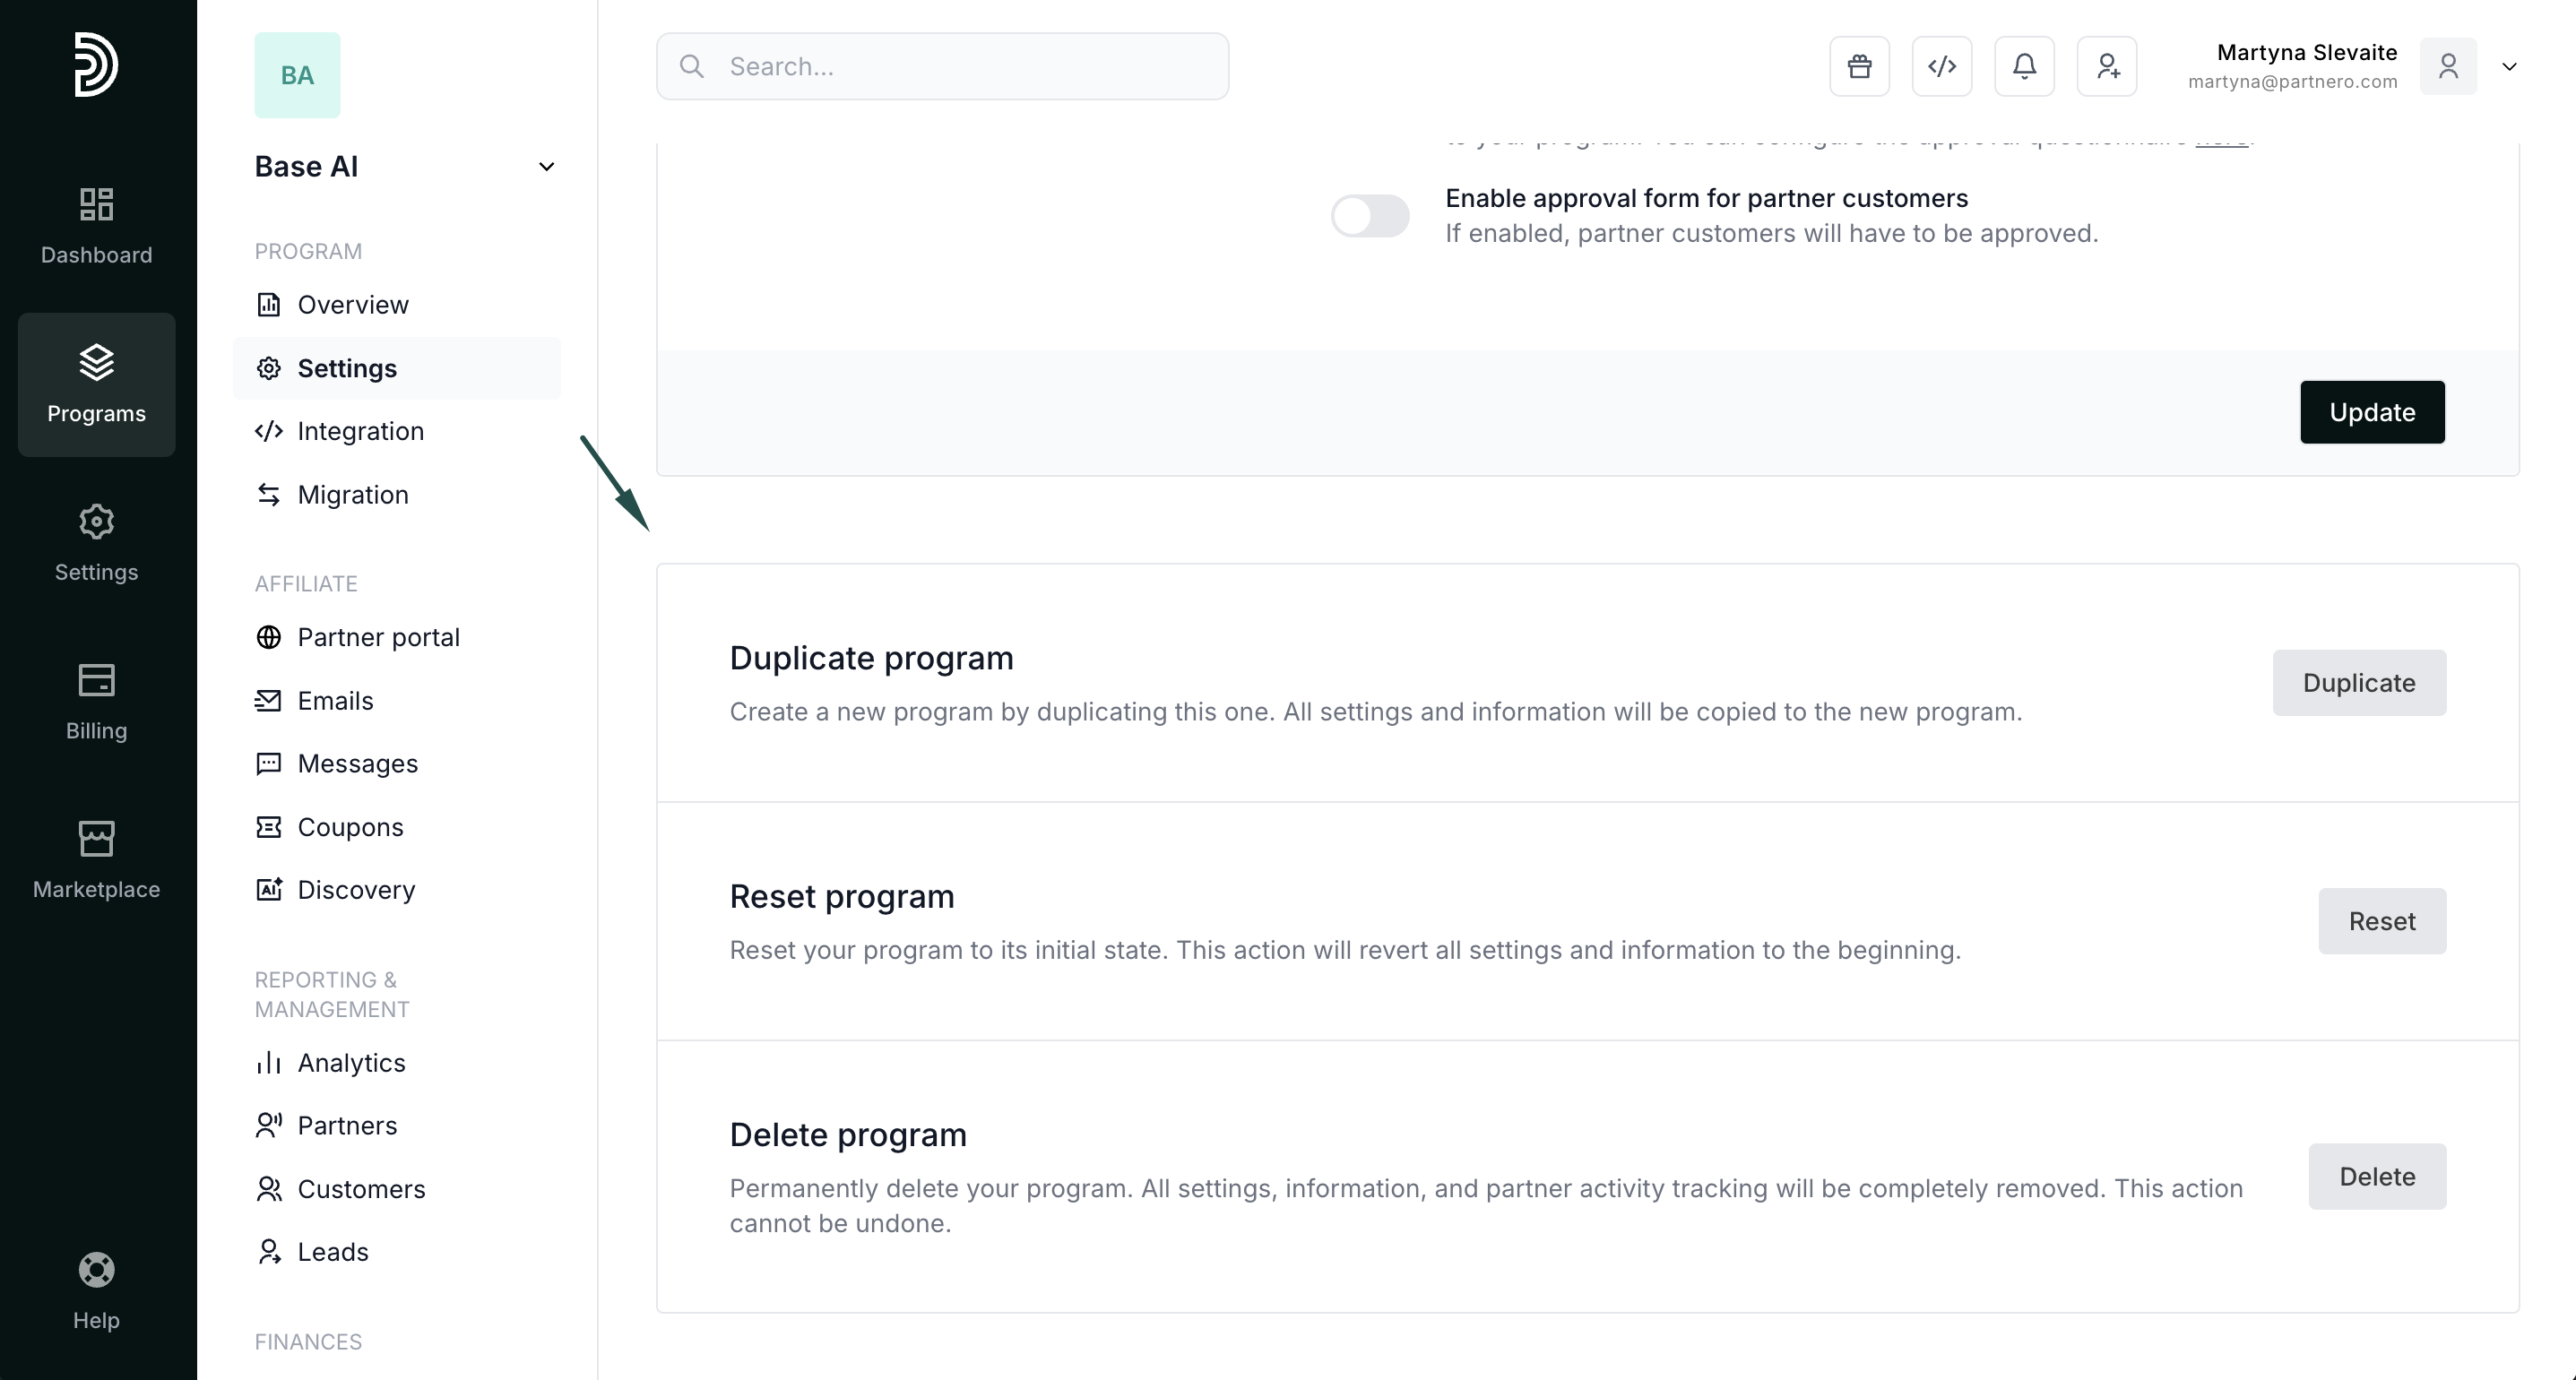
Notifications tab
The second tab in the program Settings section is Notifications:
 Here, you can enable notifications for various events in your program. Here's how.